Elementary Art: 3-D Fish
The last few years I have been a contract educator for the Huntington Museum of Art. The program I work allows me to travel all over the tri-state area and teach this project with 2nd grade classes. I usually start the program talking about the elements of art. We talk about shape, line, texture, patterns, and color. We also talk about the difference between 2-D shapes and 3-D forms. These are all things that kids can use in this project. This project is usually well received by 1st grade and up. If you have a younger kid who wants to do this project that would be fine but they will probably need some assistance. Give it a shot and let me know how it goes!
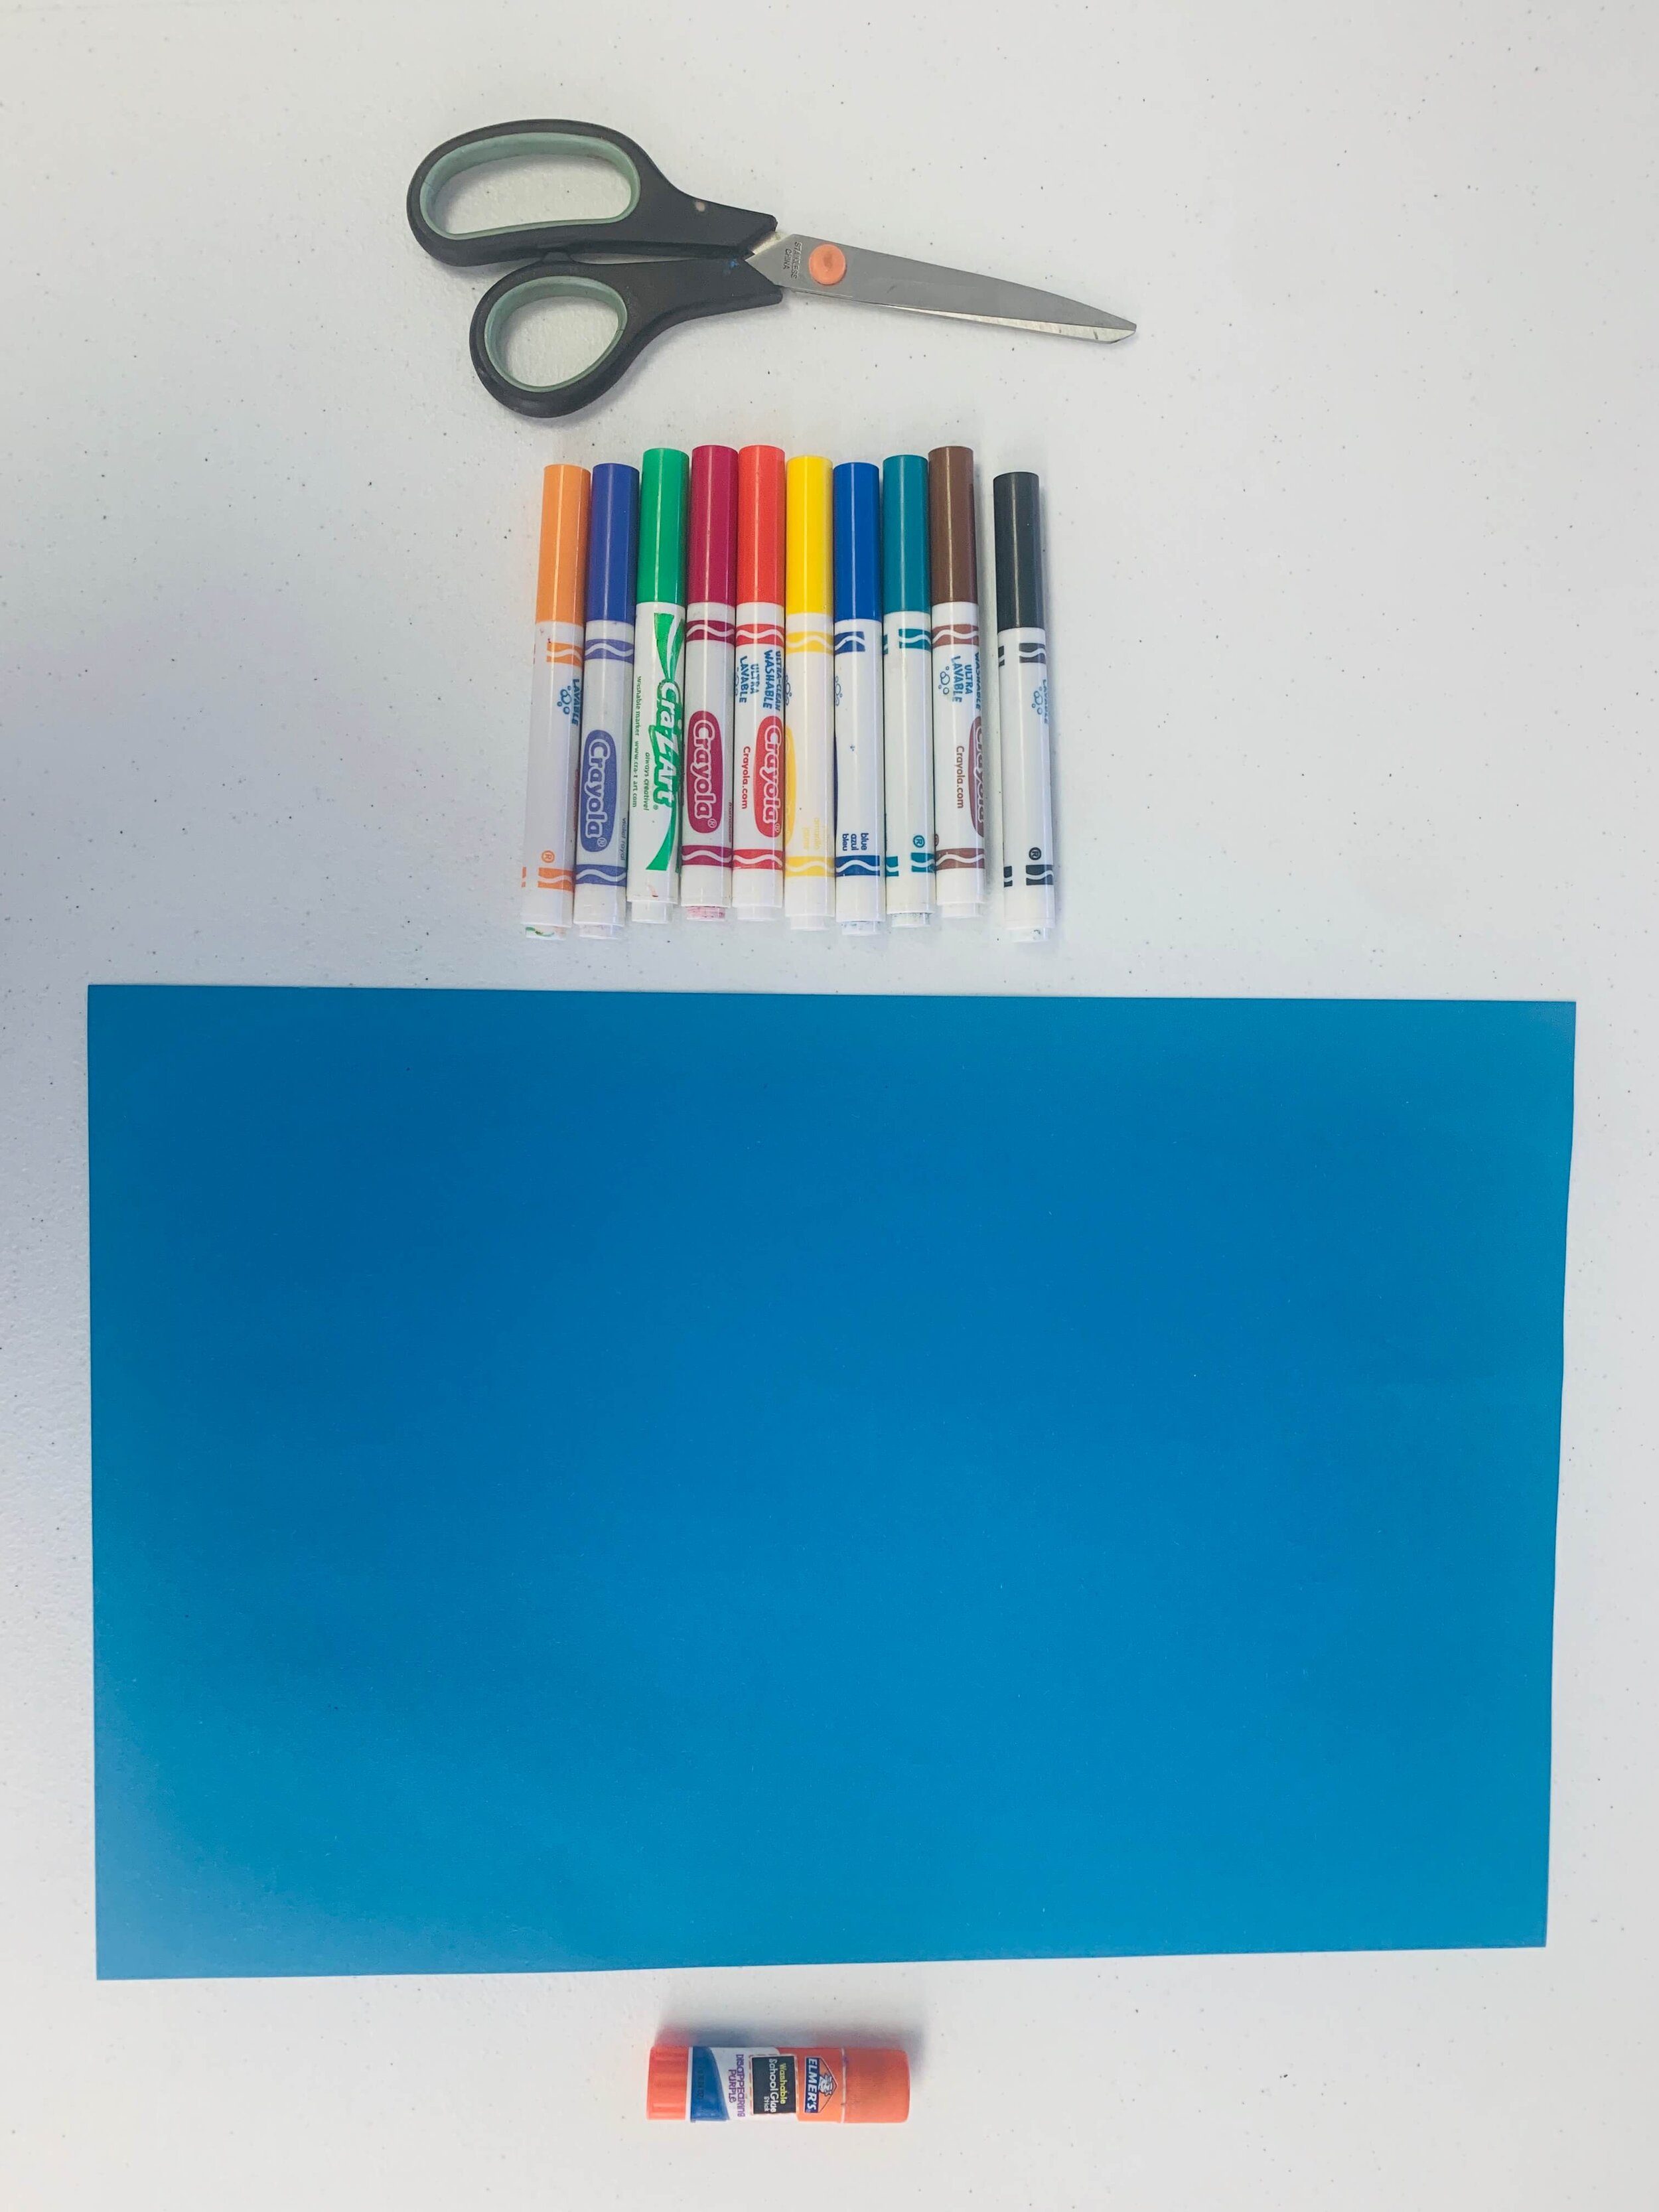
Materials
These are the materials you’ll need for this project.
-Markers/Crayons
-Scissors
-Glue Stick
-Paper
(The paper size I am using in my demo is 12 x 18 but you can use any paper size. The smaller the paper the smaller the fish.)
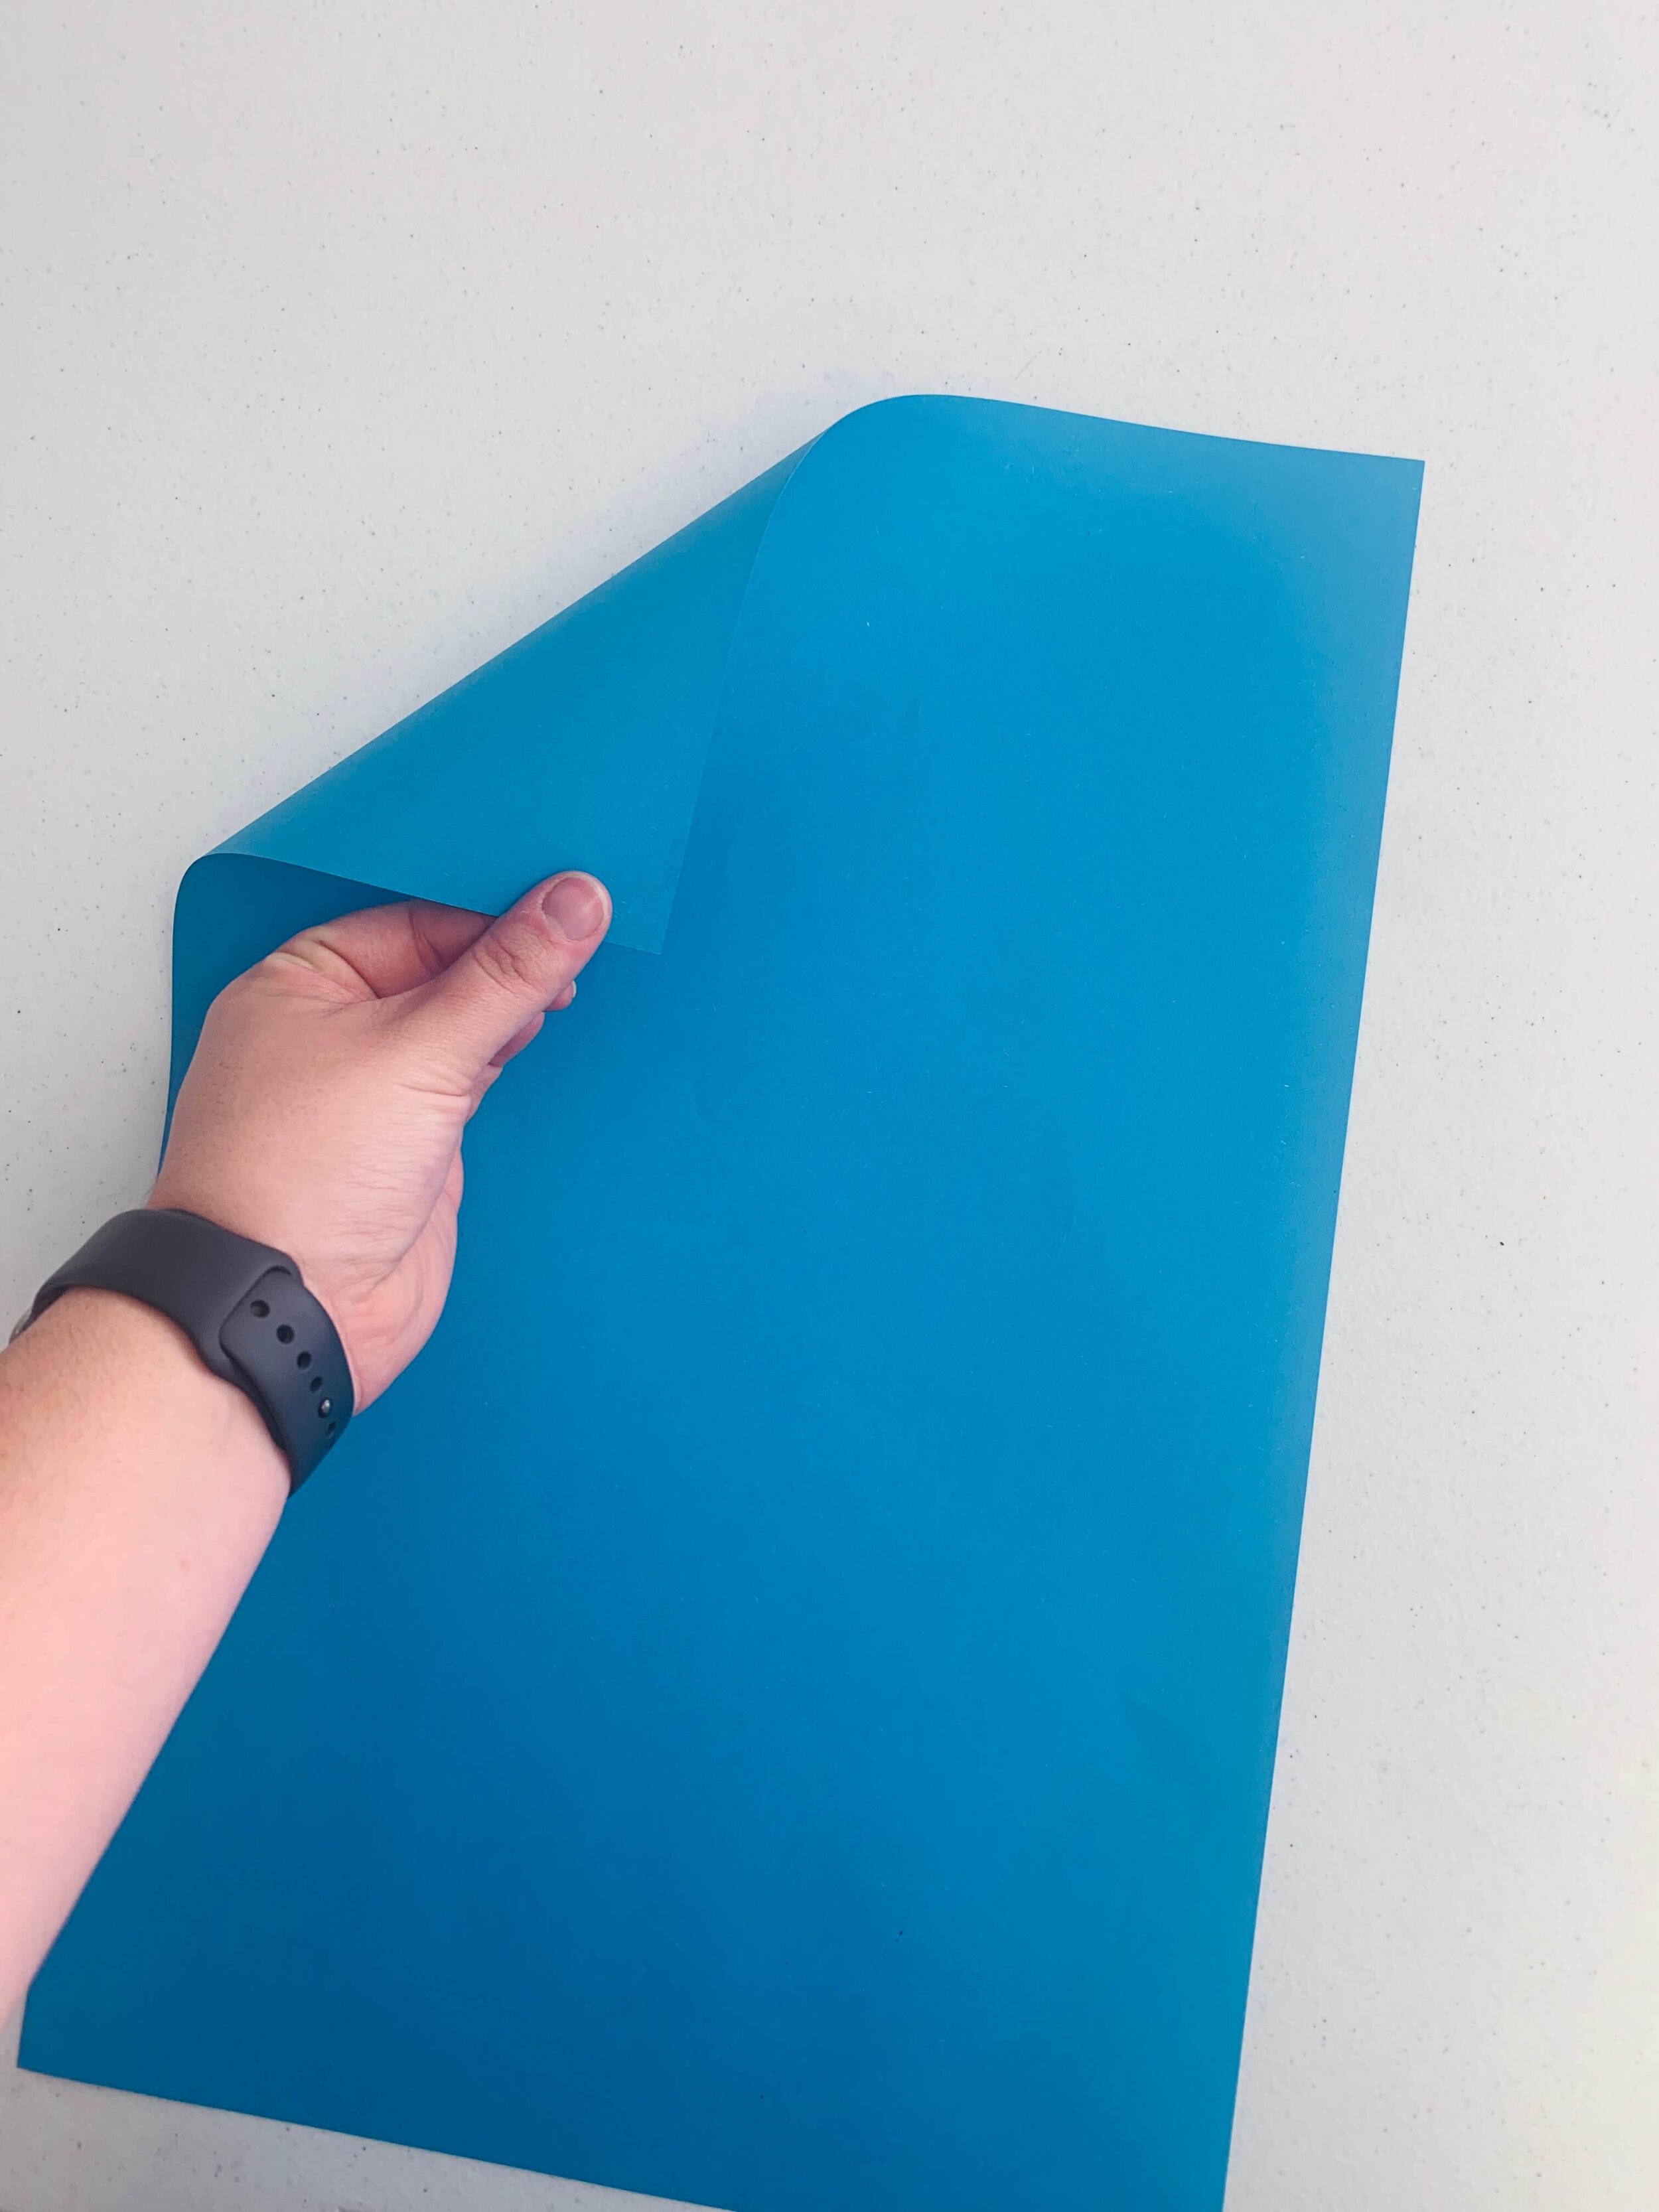
Folding
There are four big folds in this project. The folding can be hard for younger kids so you might have to help with these parts. For the first fold, you have to take one corner and fold it to the opposite side of the paper.
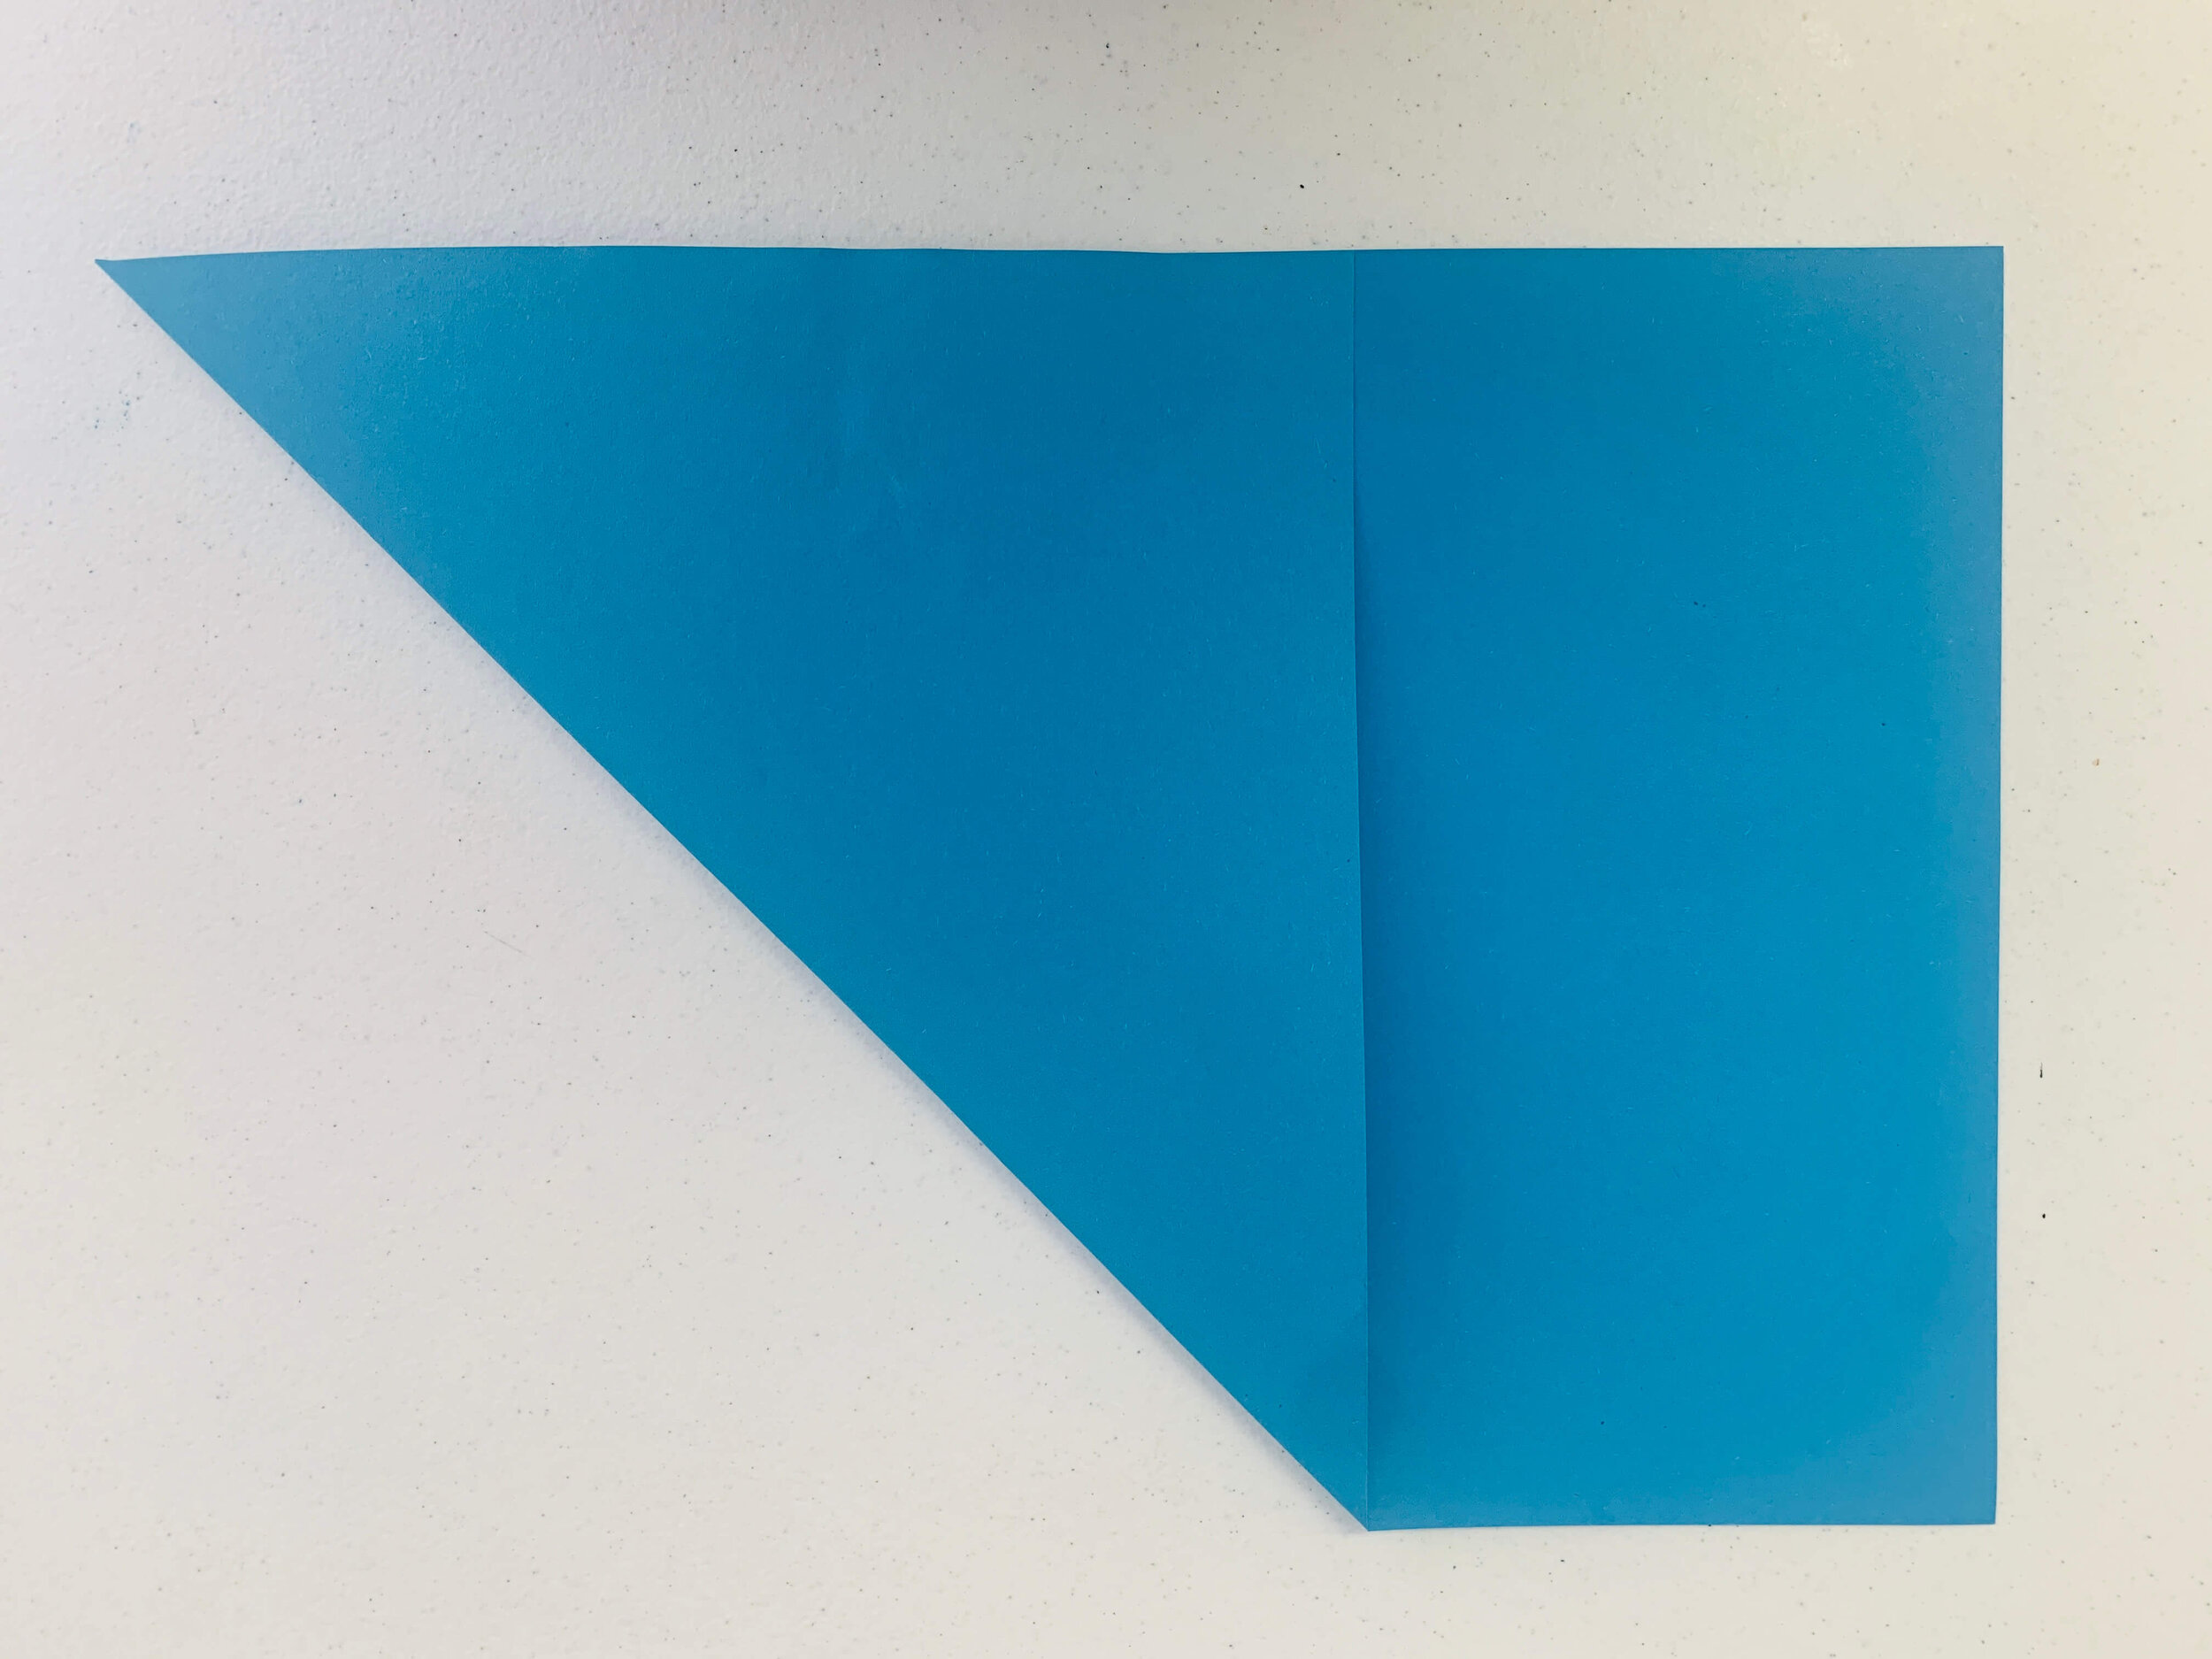
It should look like this.
Notice you made two shapes! What shapes are they?
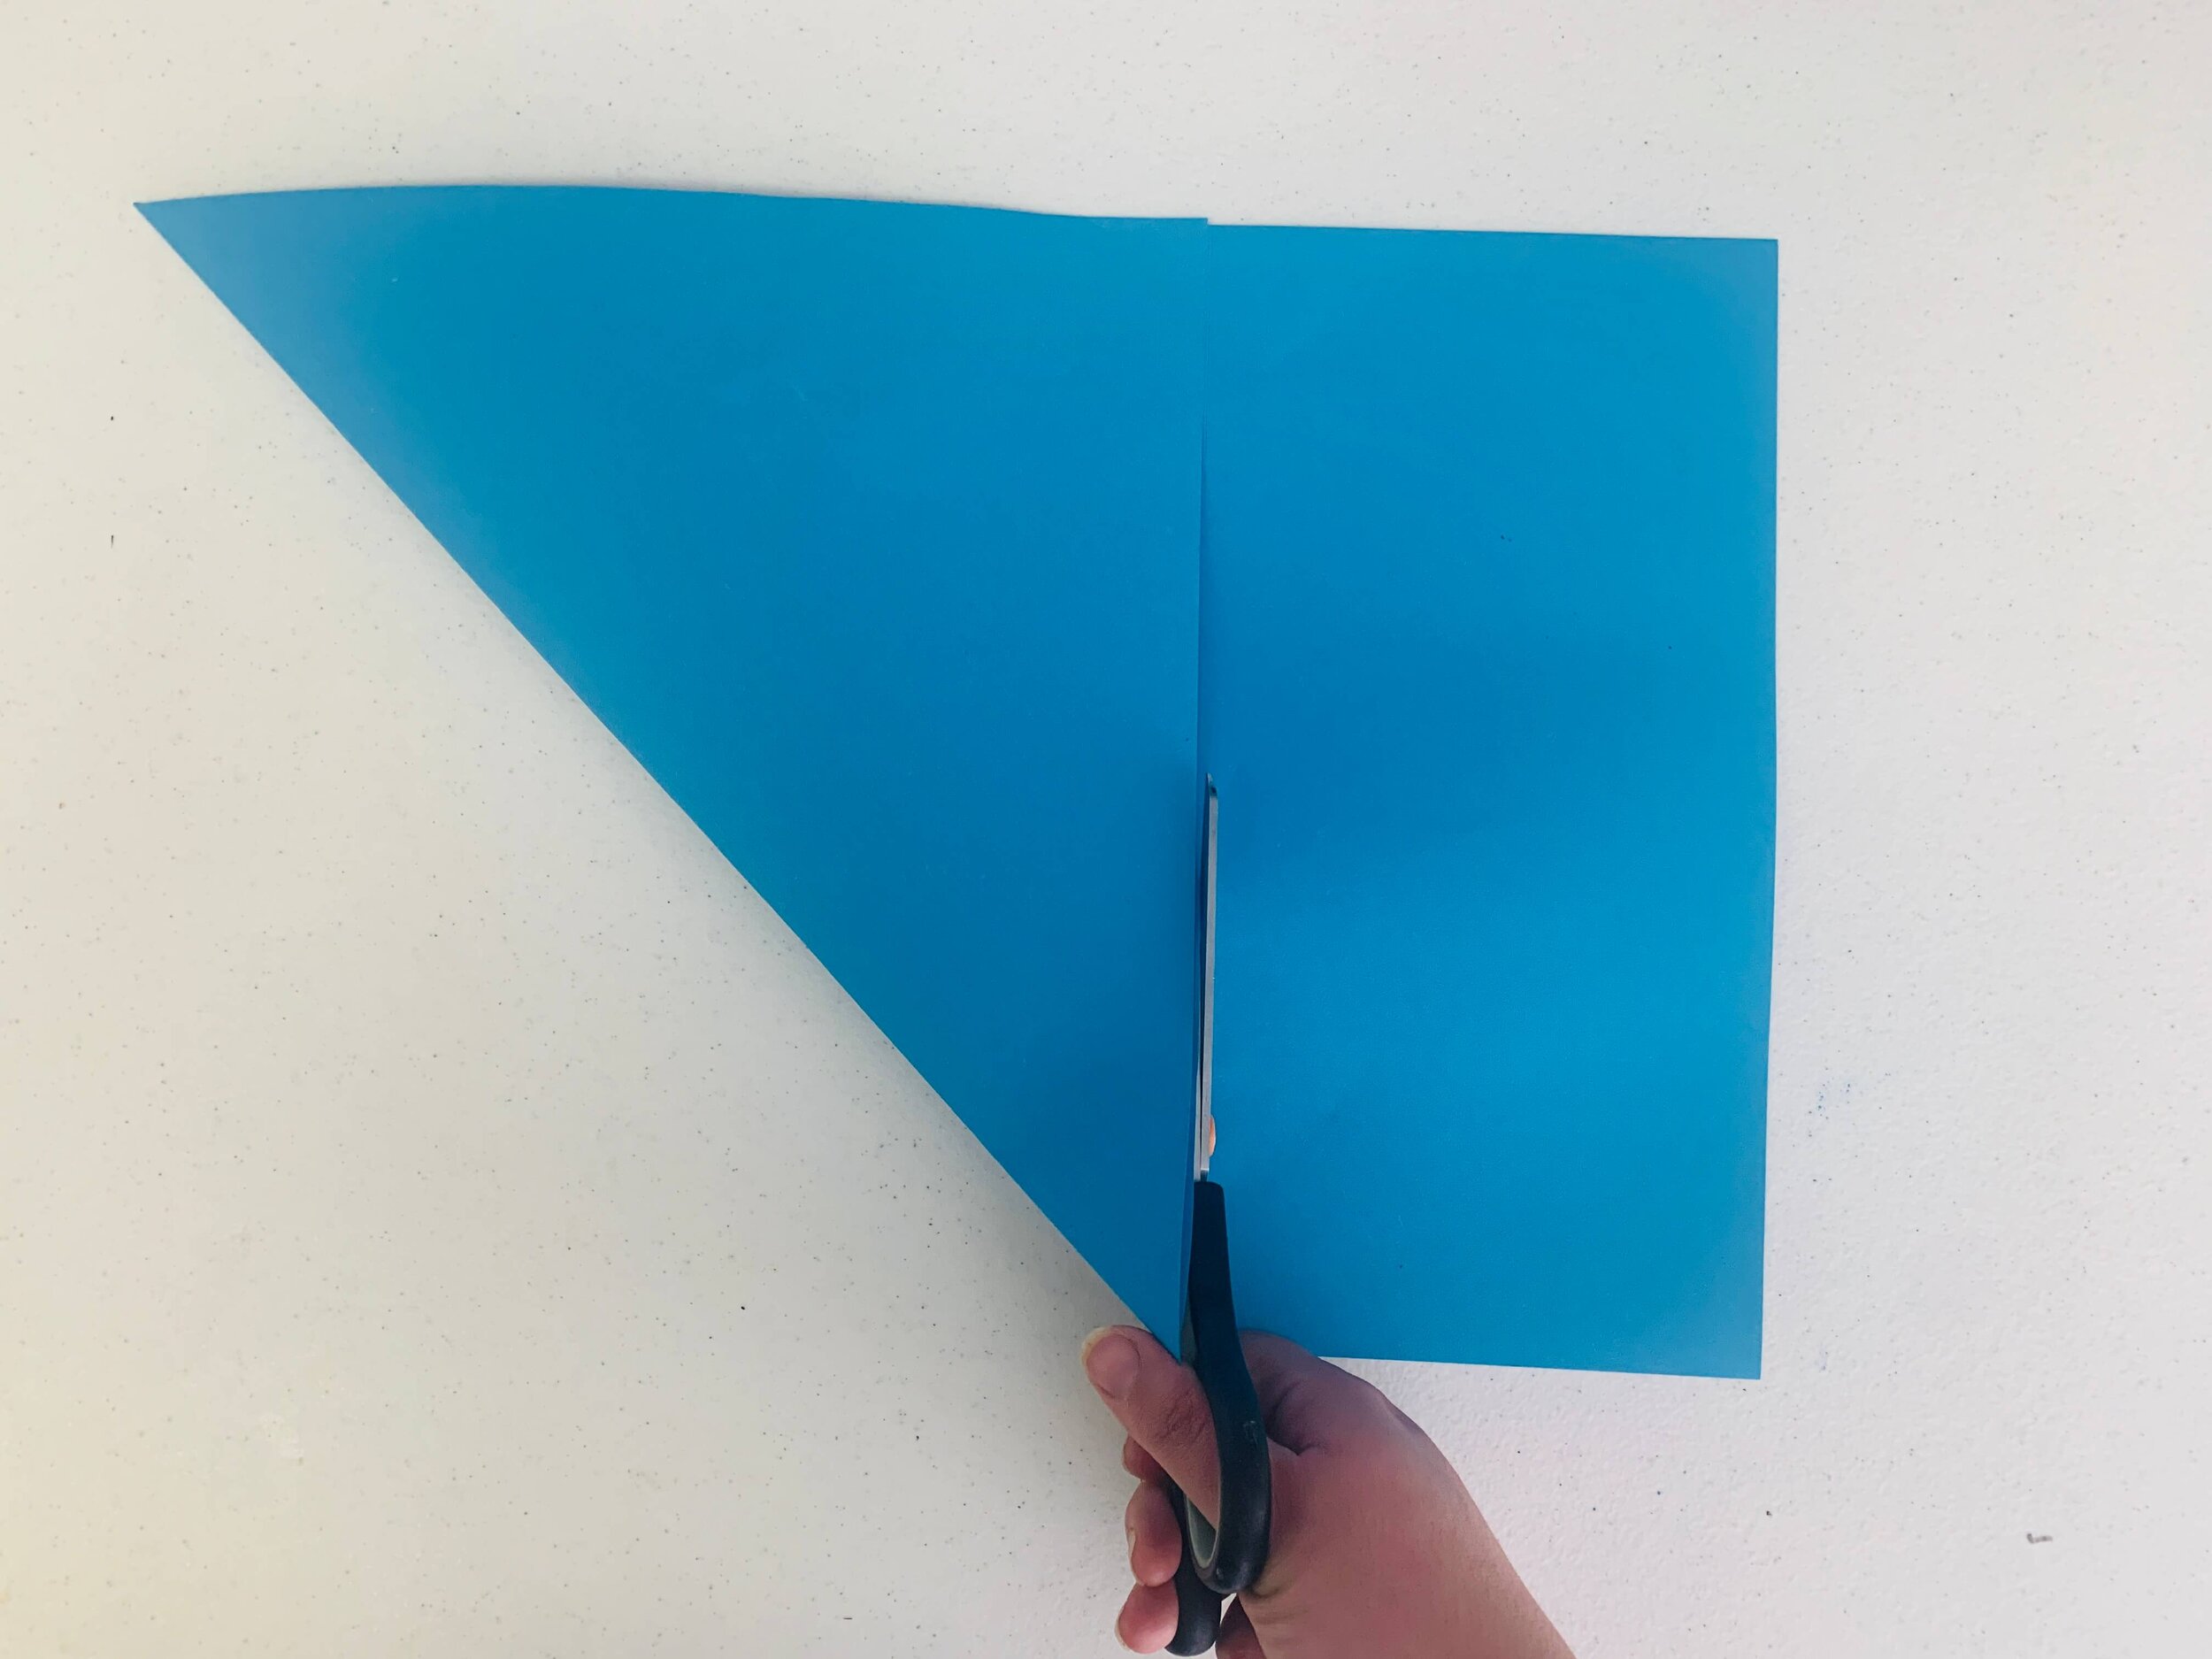
Two Shapes
I always tell my students to find the two shapes that we made when we did that fold. (A triangle/rectangle) Our goal with this next step is to separate those two shapes. There is only one line connecting them. Use the scissors to separate those two shapes.
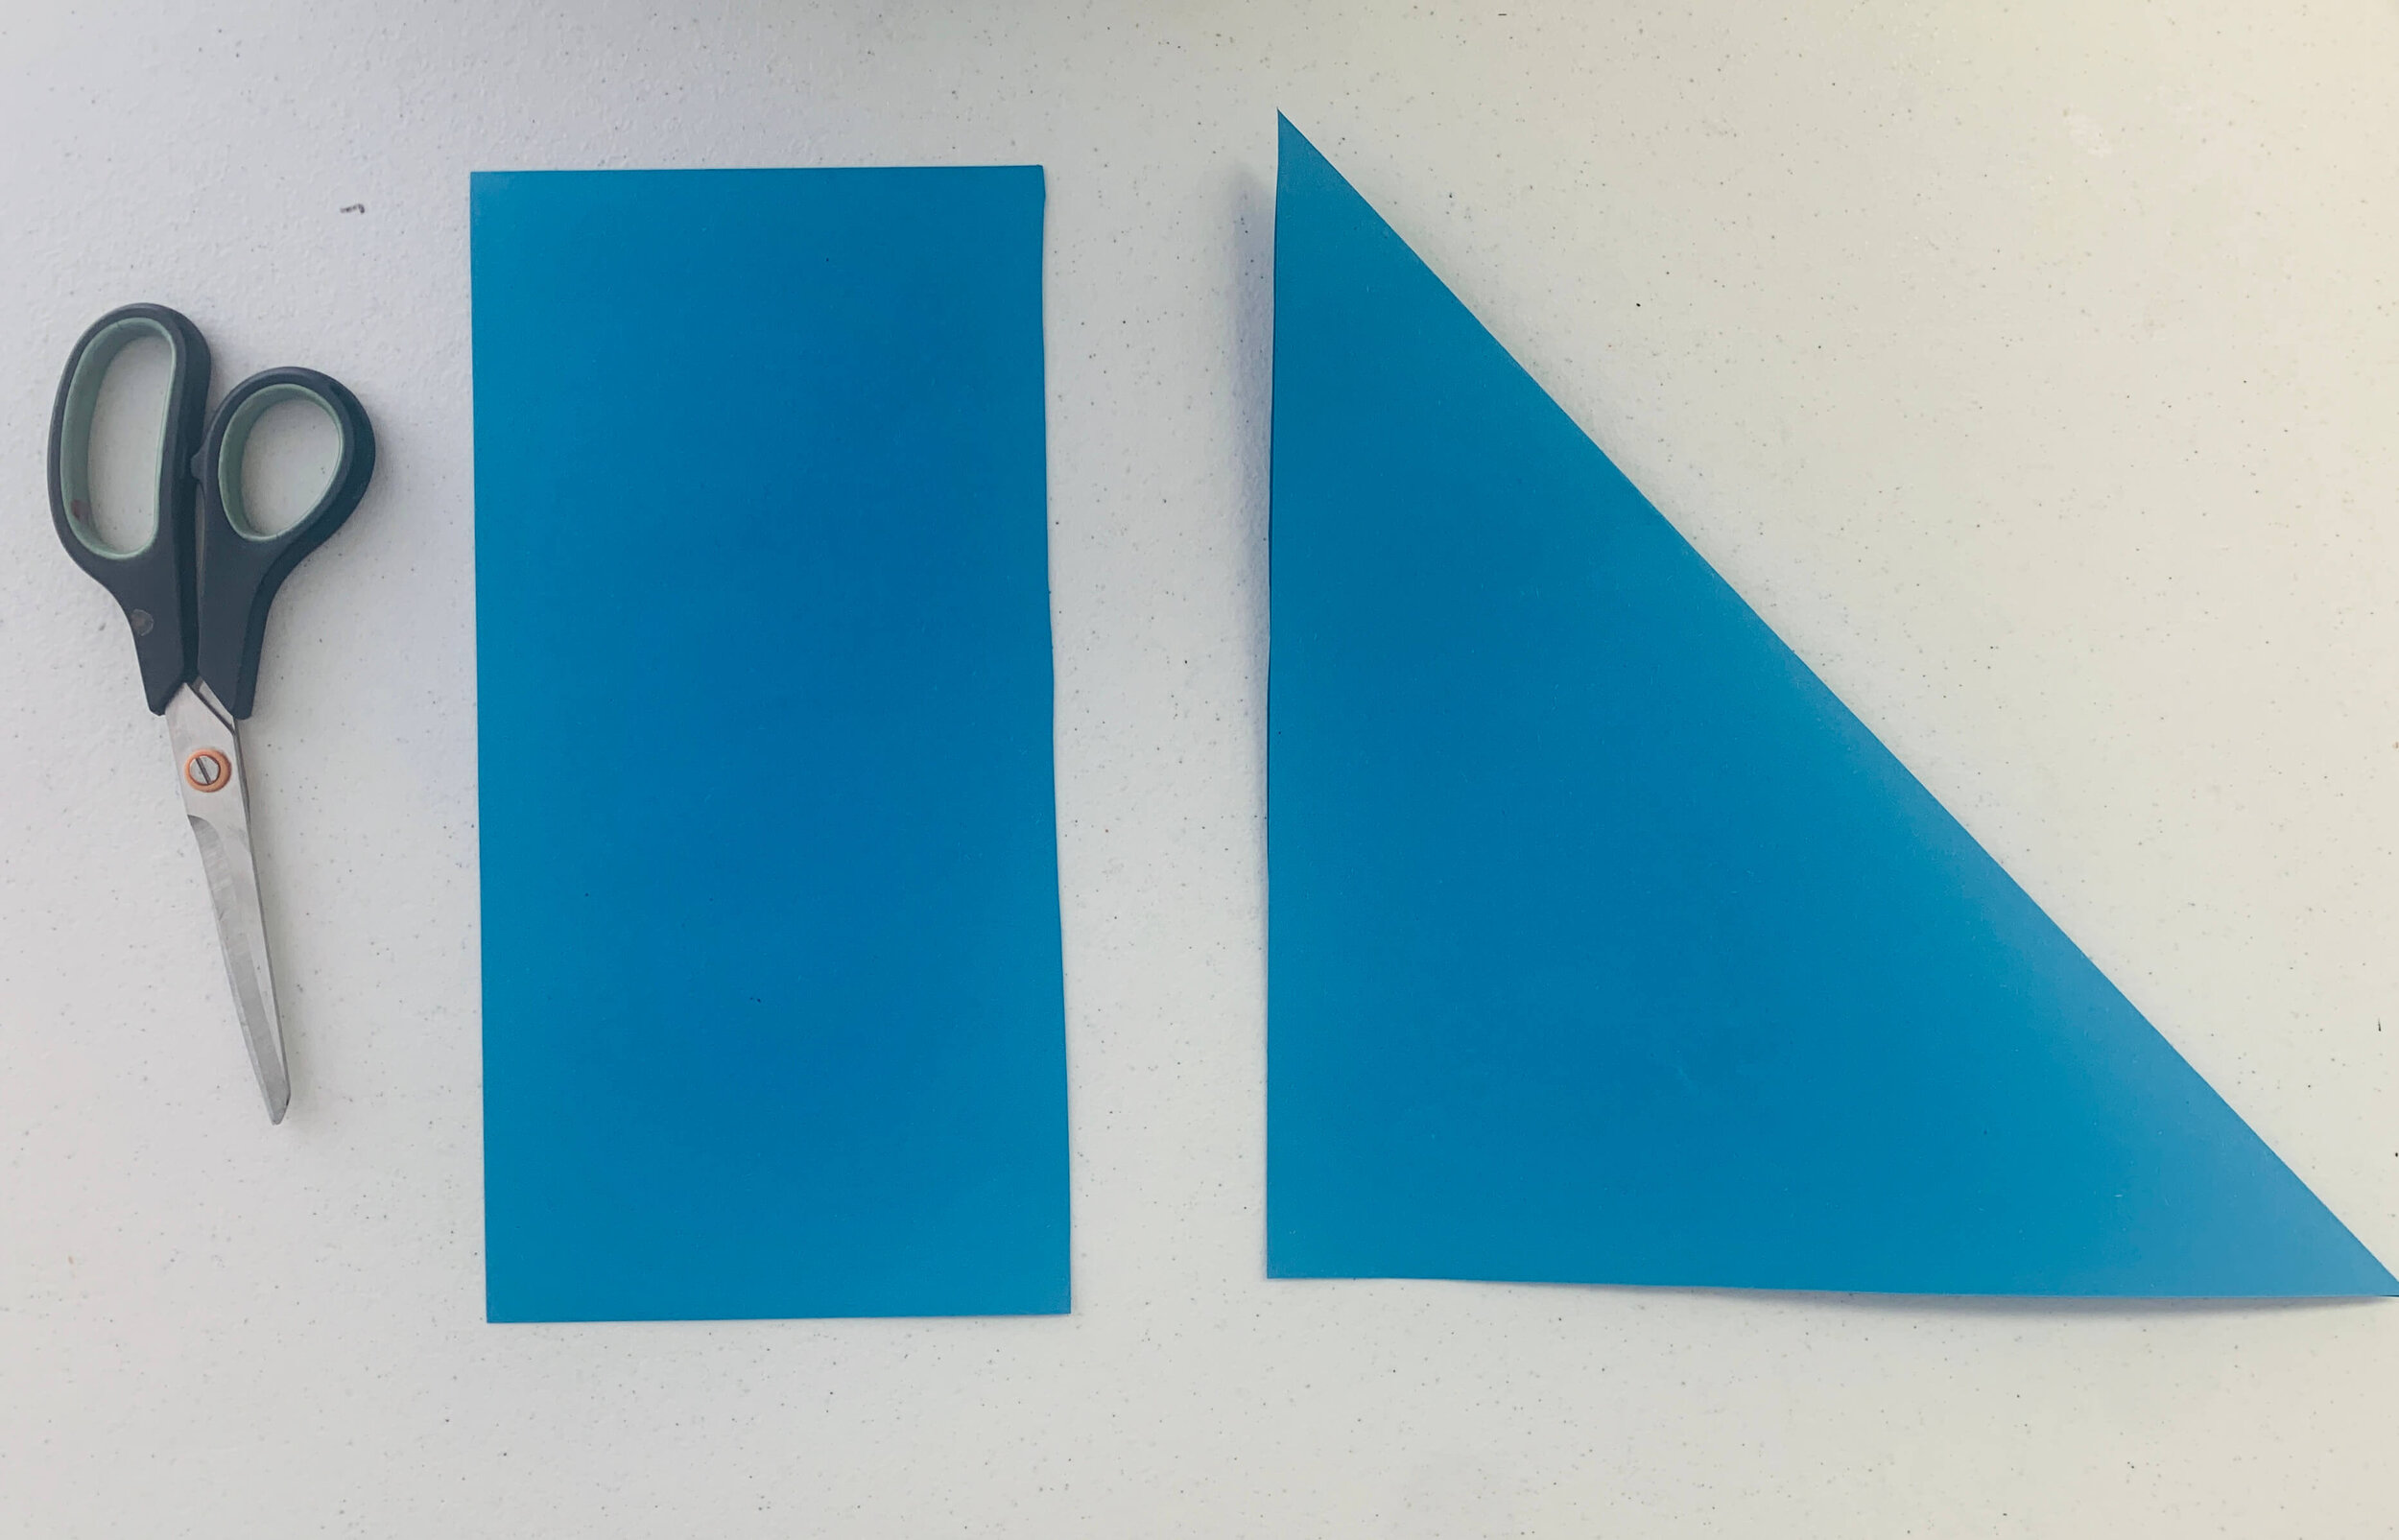
Two Shapes
This should be how it looks. Now sit the rectangle to the side because we are going to focus on the triangle.
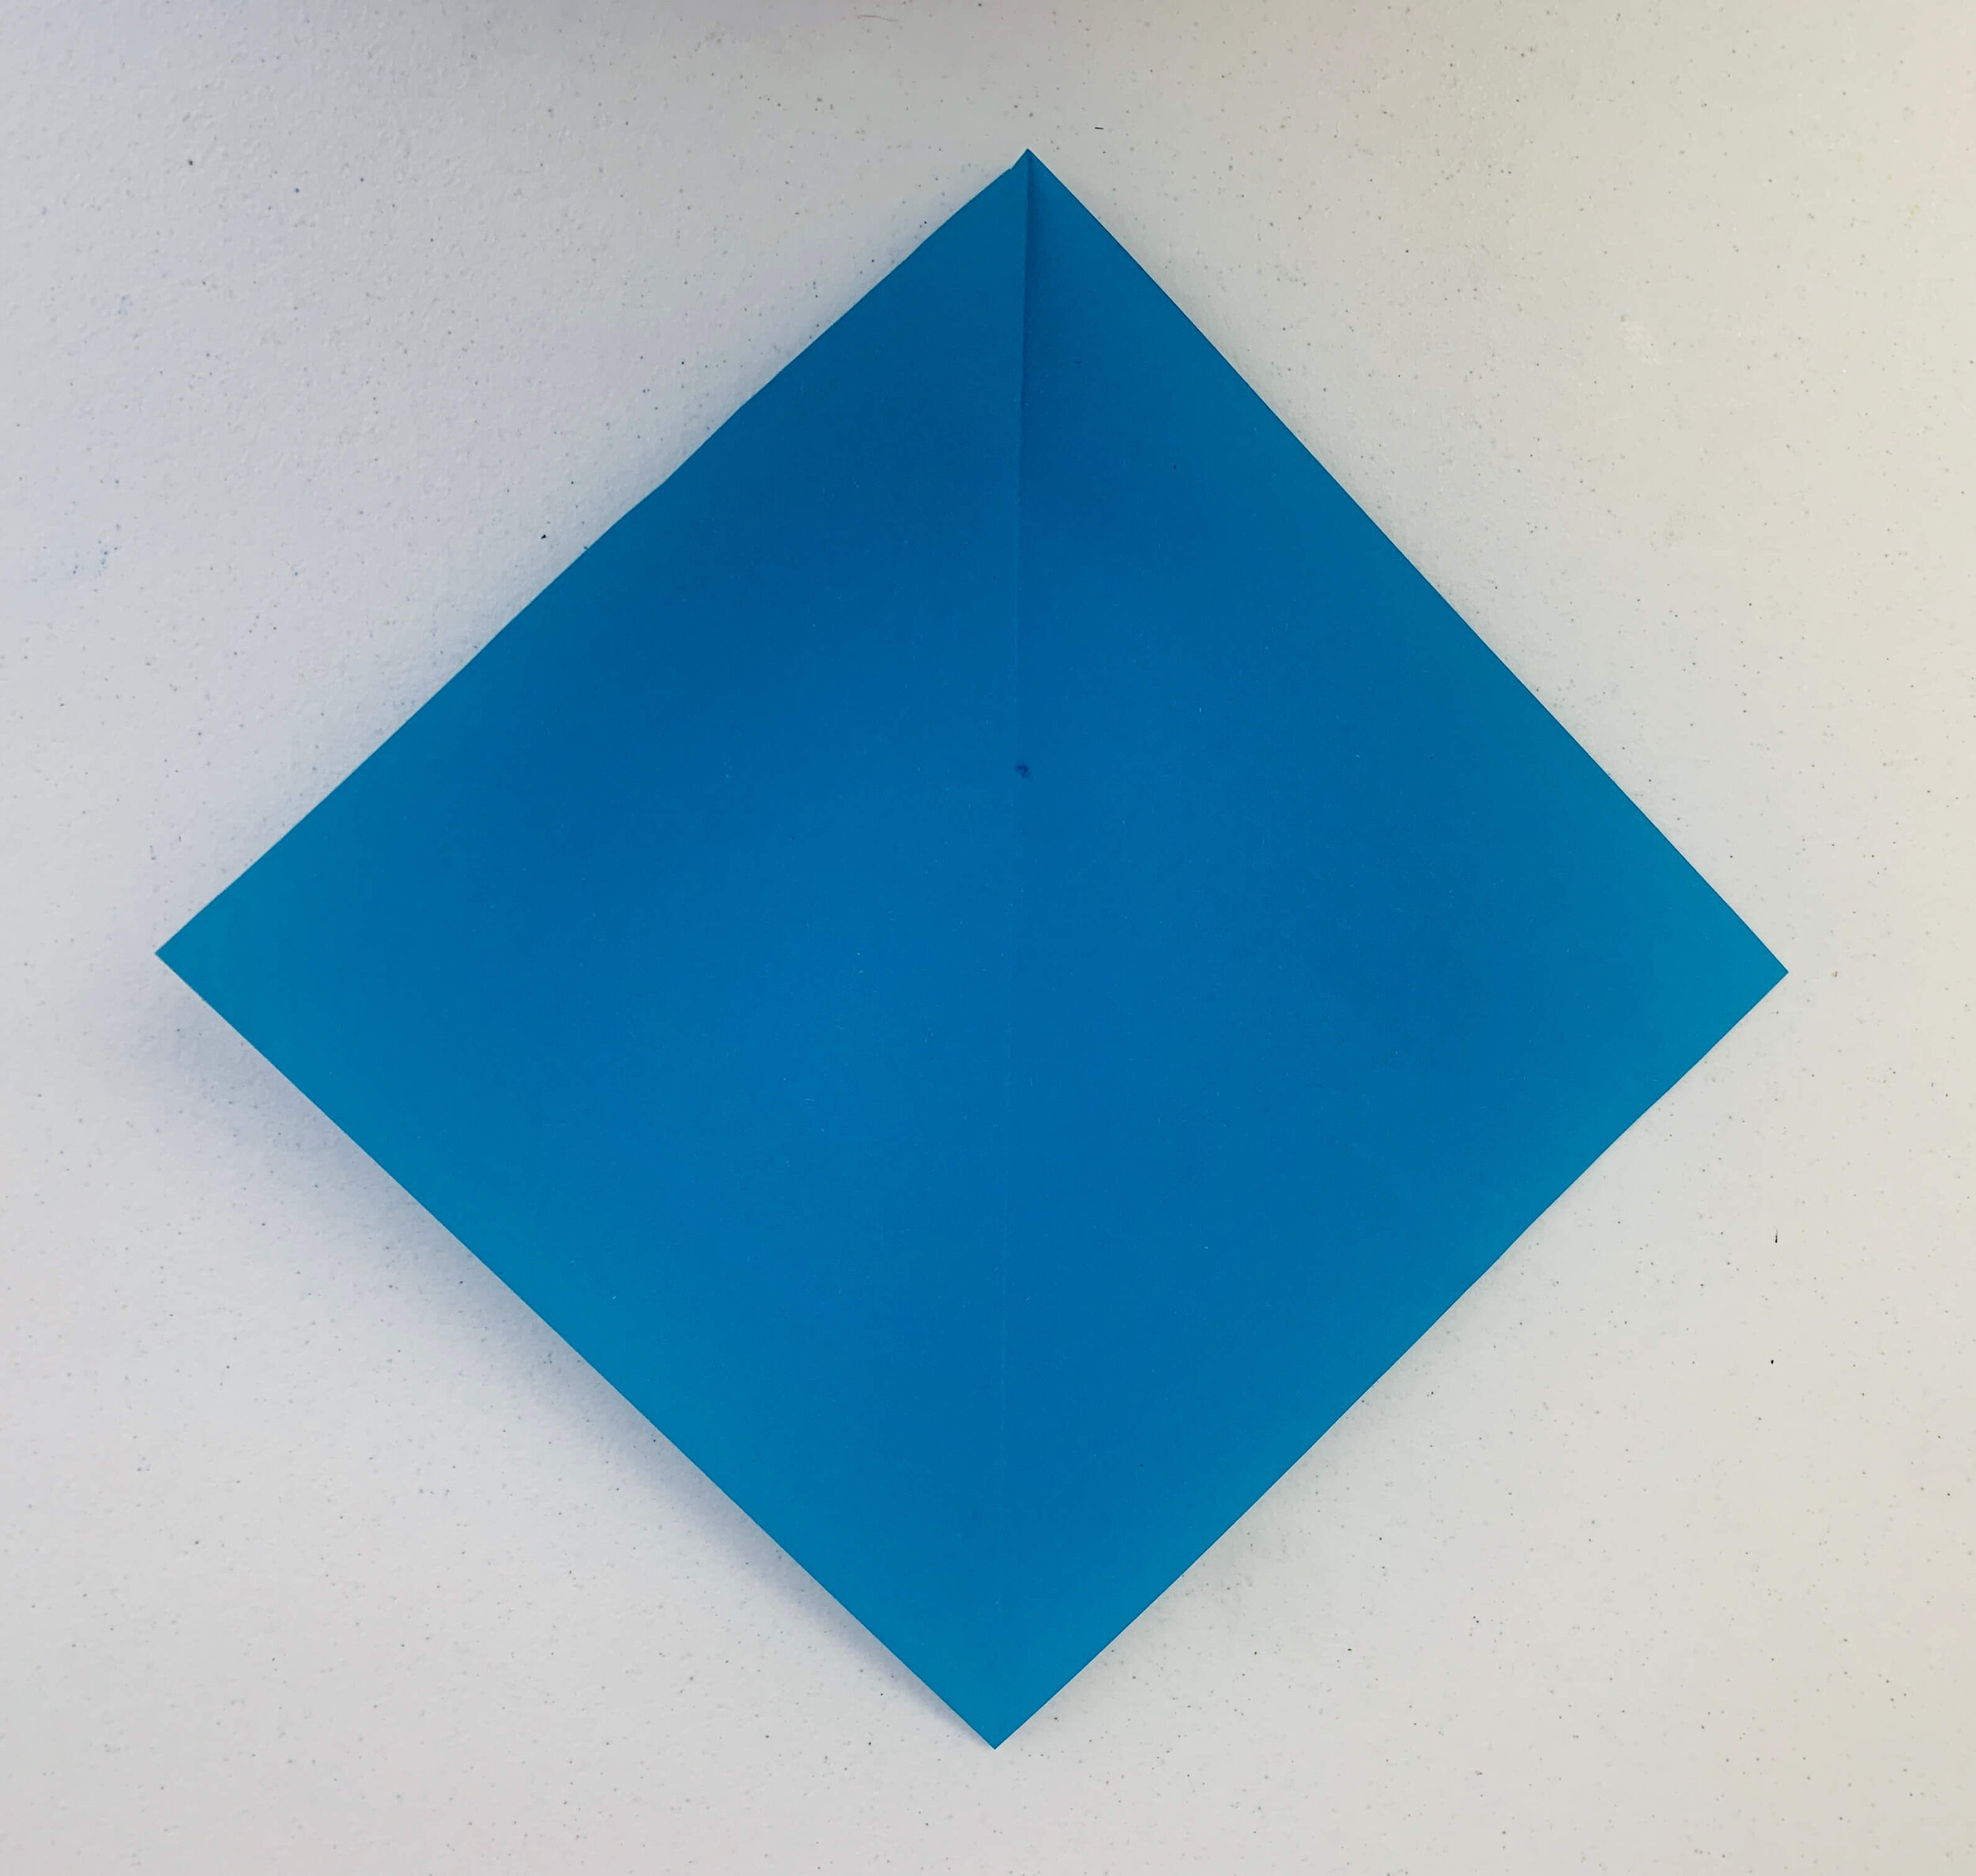
Open It Up
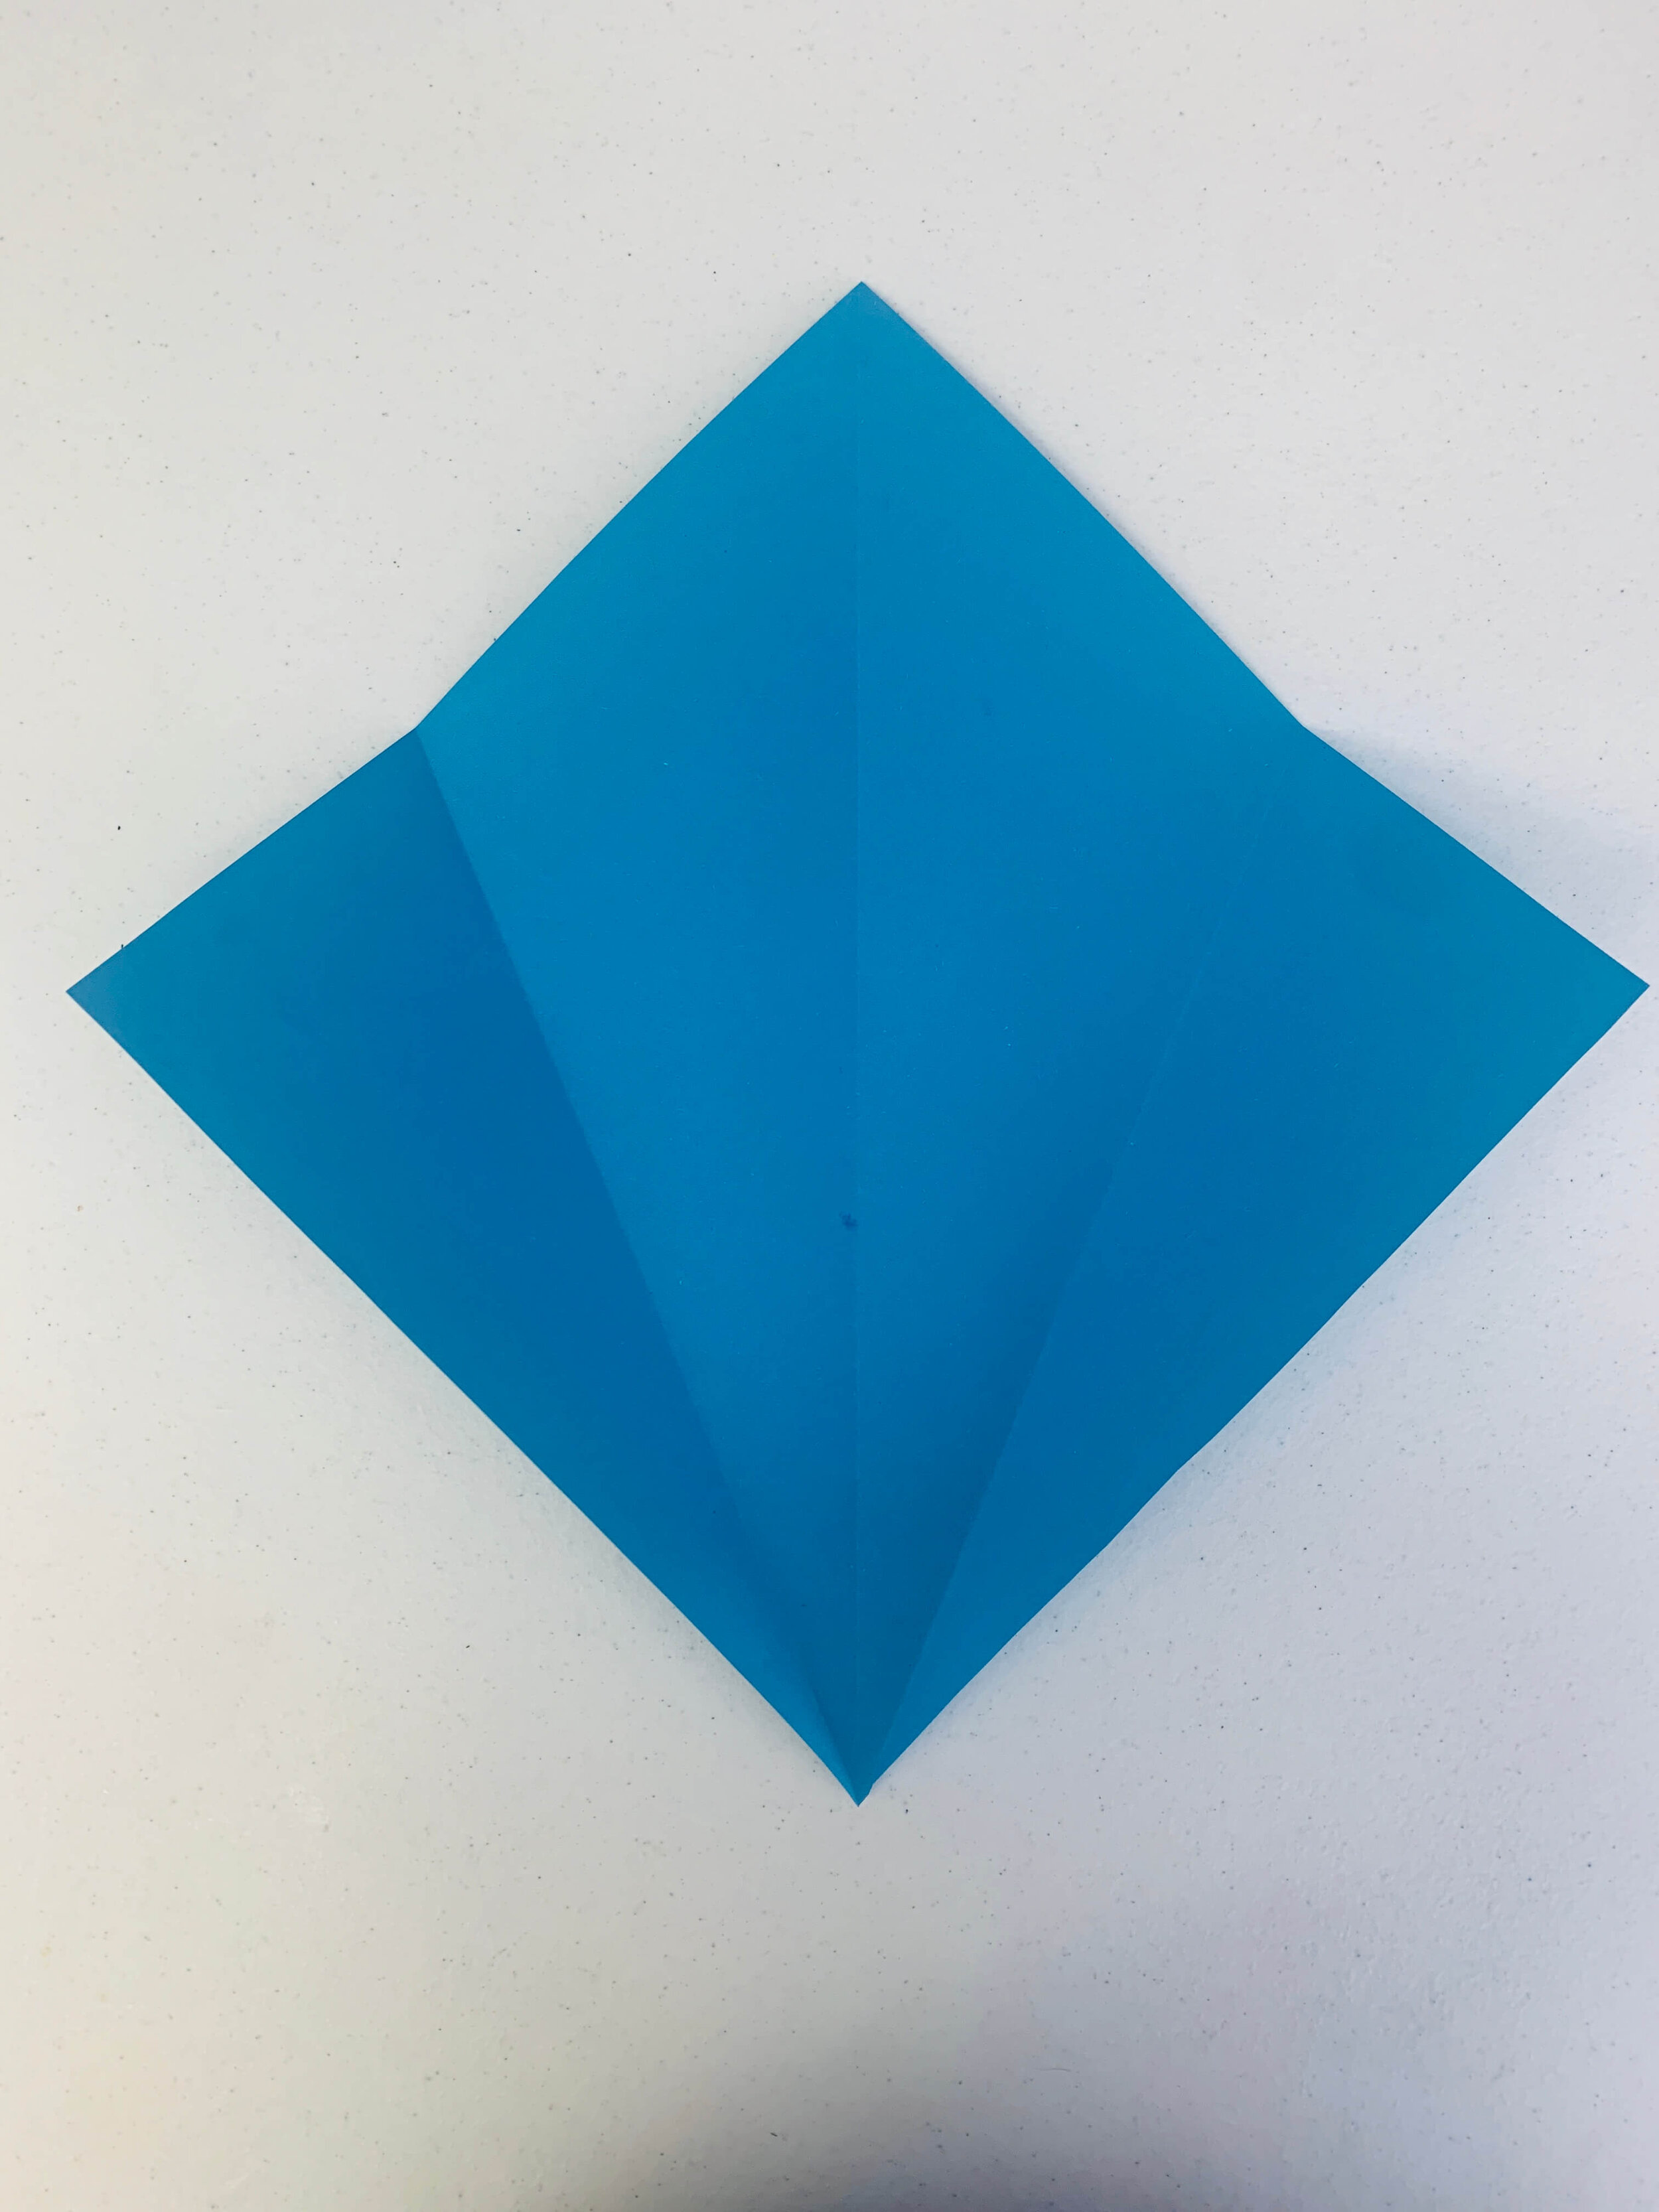
When we open up our triangle we will see that we have one crease line. Our next fold is the hardest fold of the project. There are two corners not touching that crease line. They need to fold in and touch that crease line.
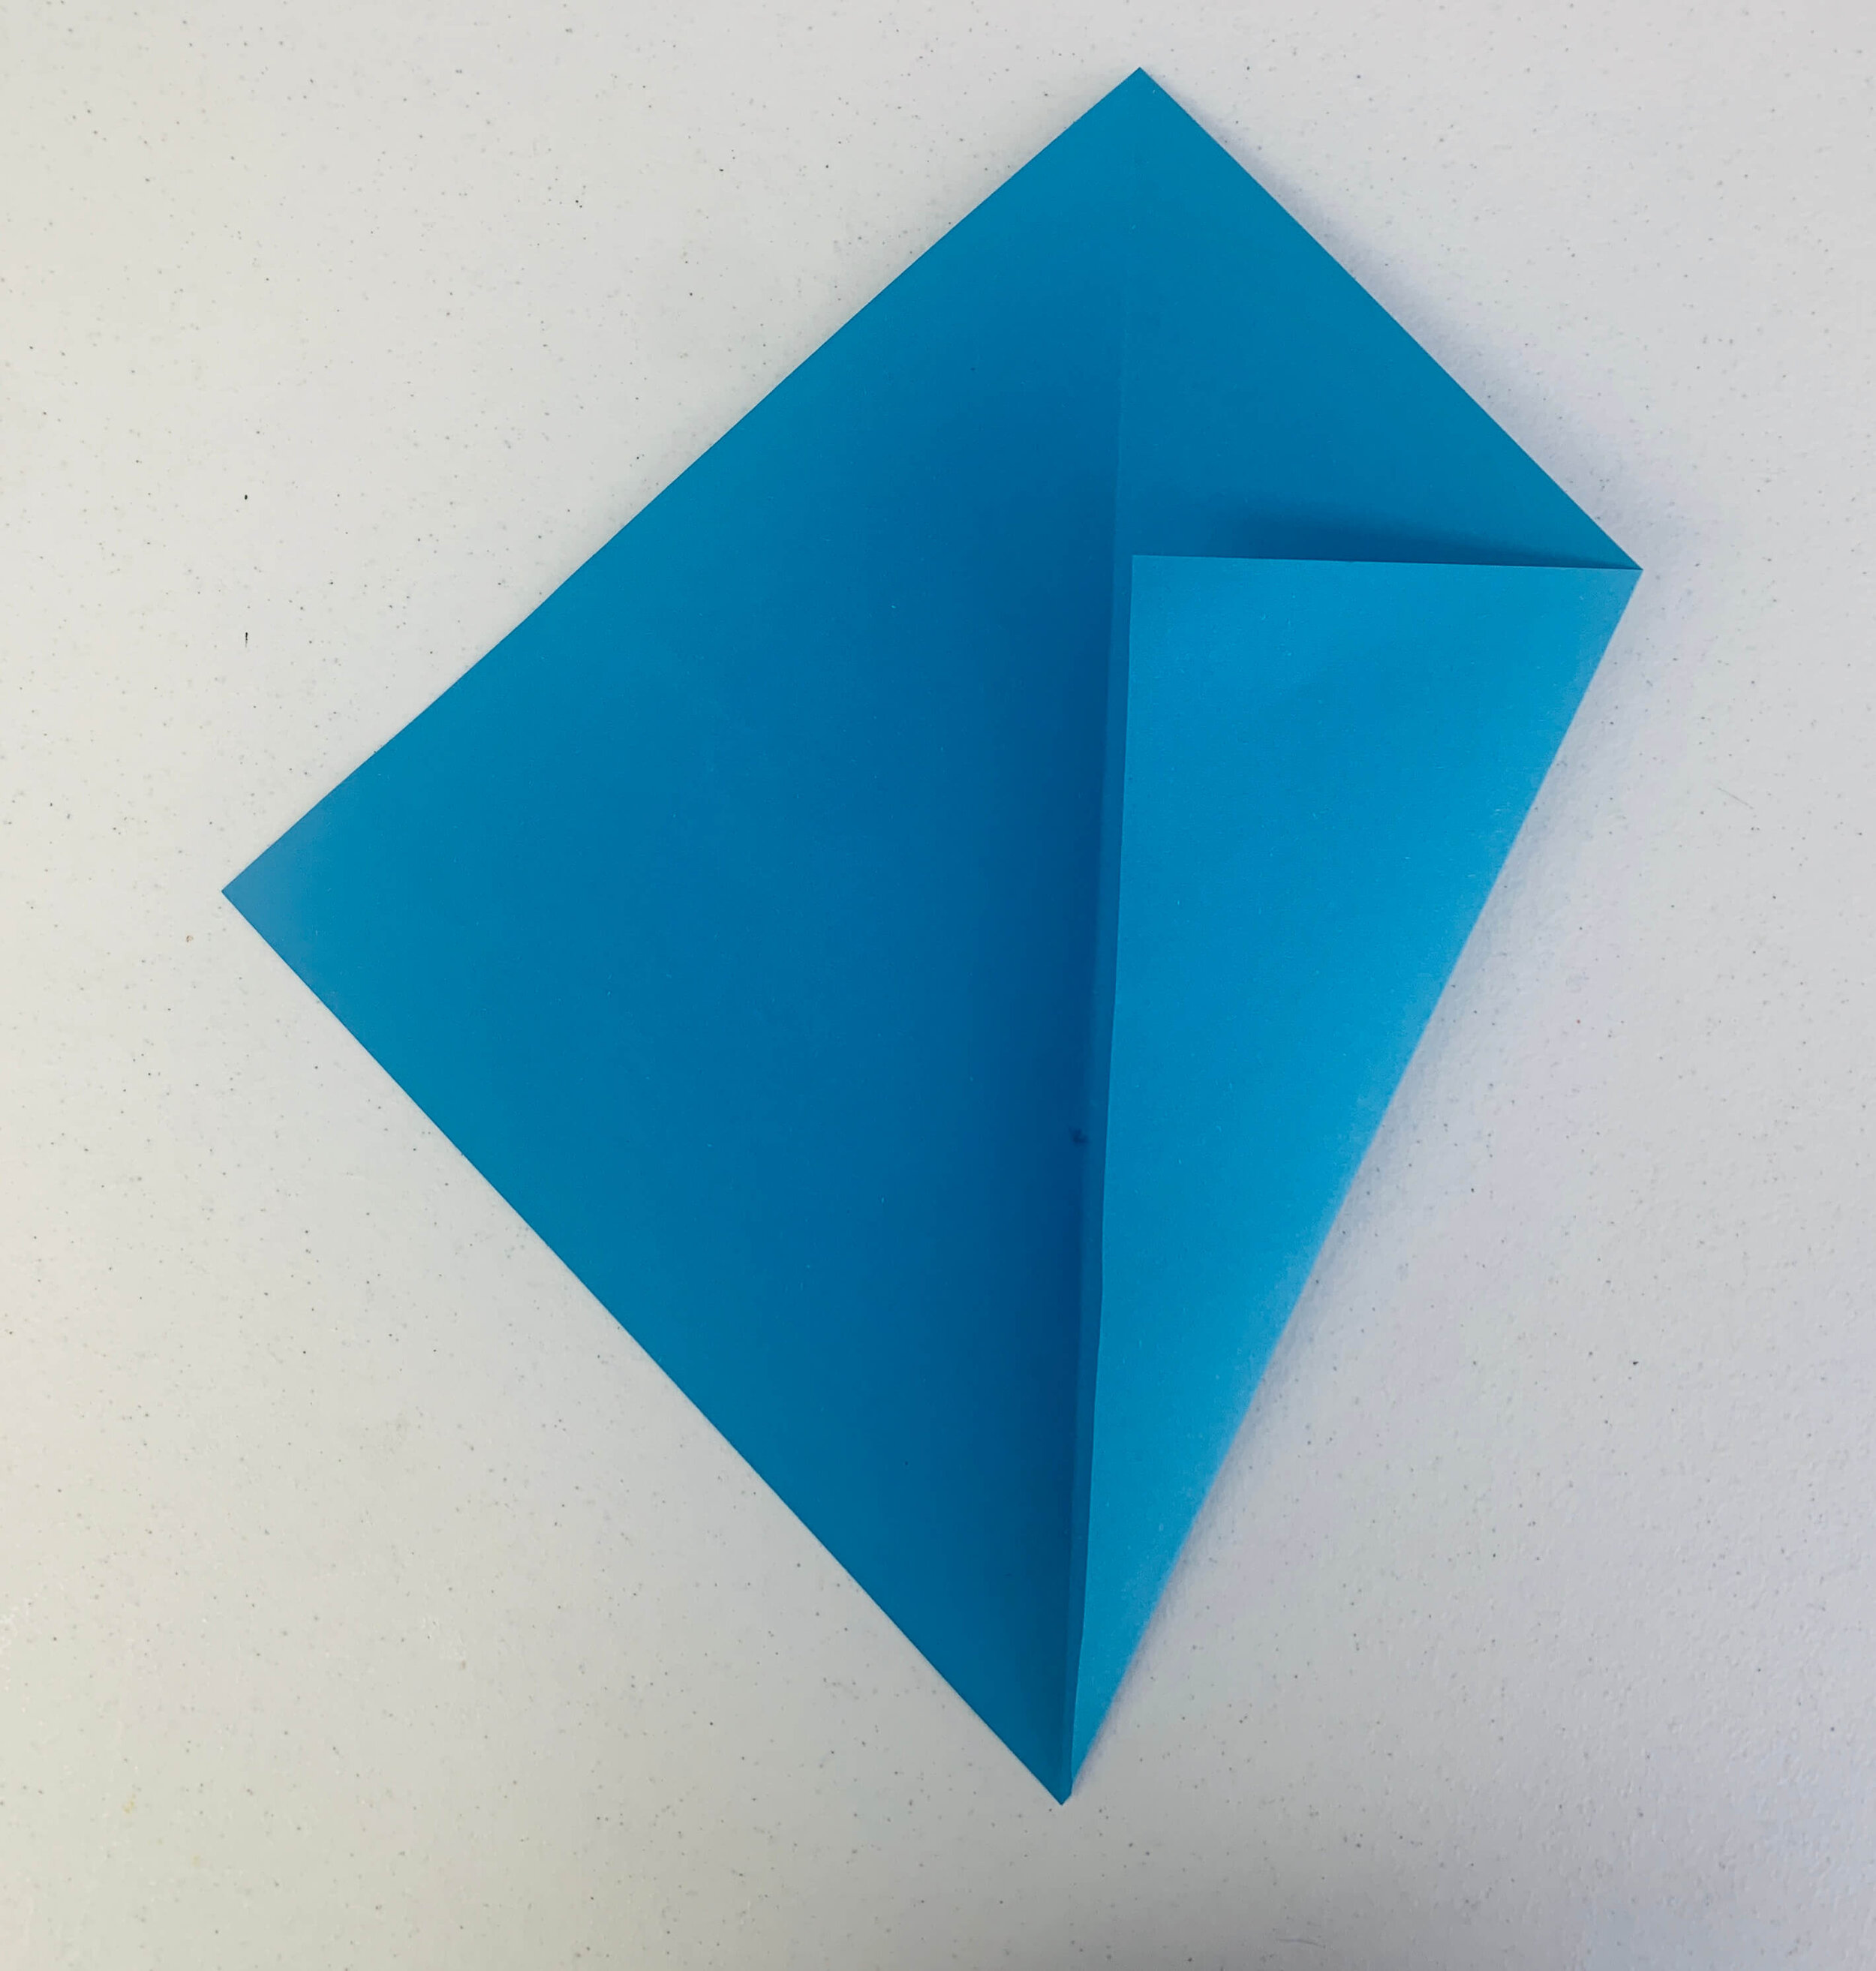
Line It Up
Make sure when you fold the line in that it lines up with the crease line. After you do one side do the other.
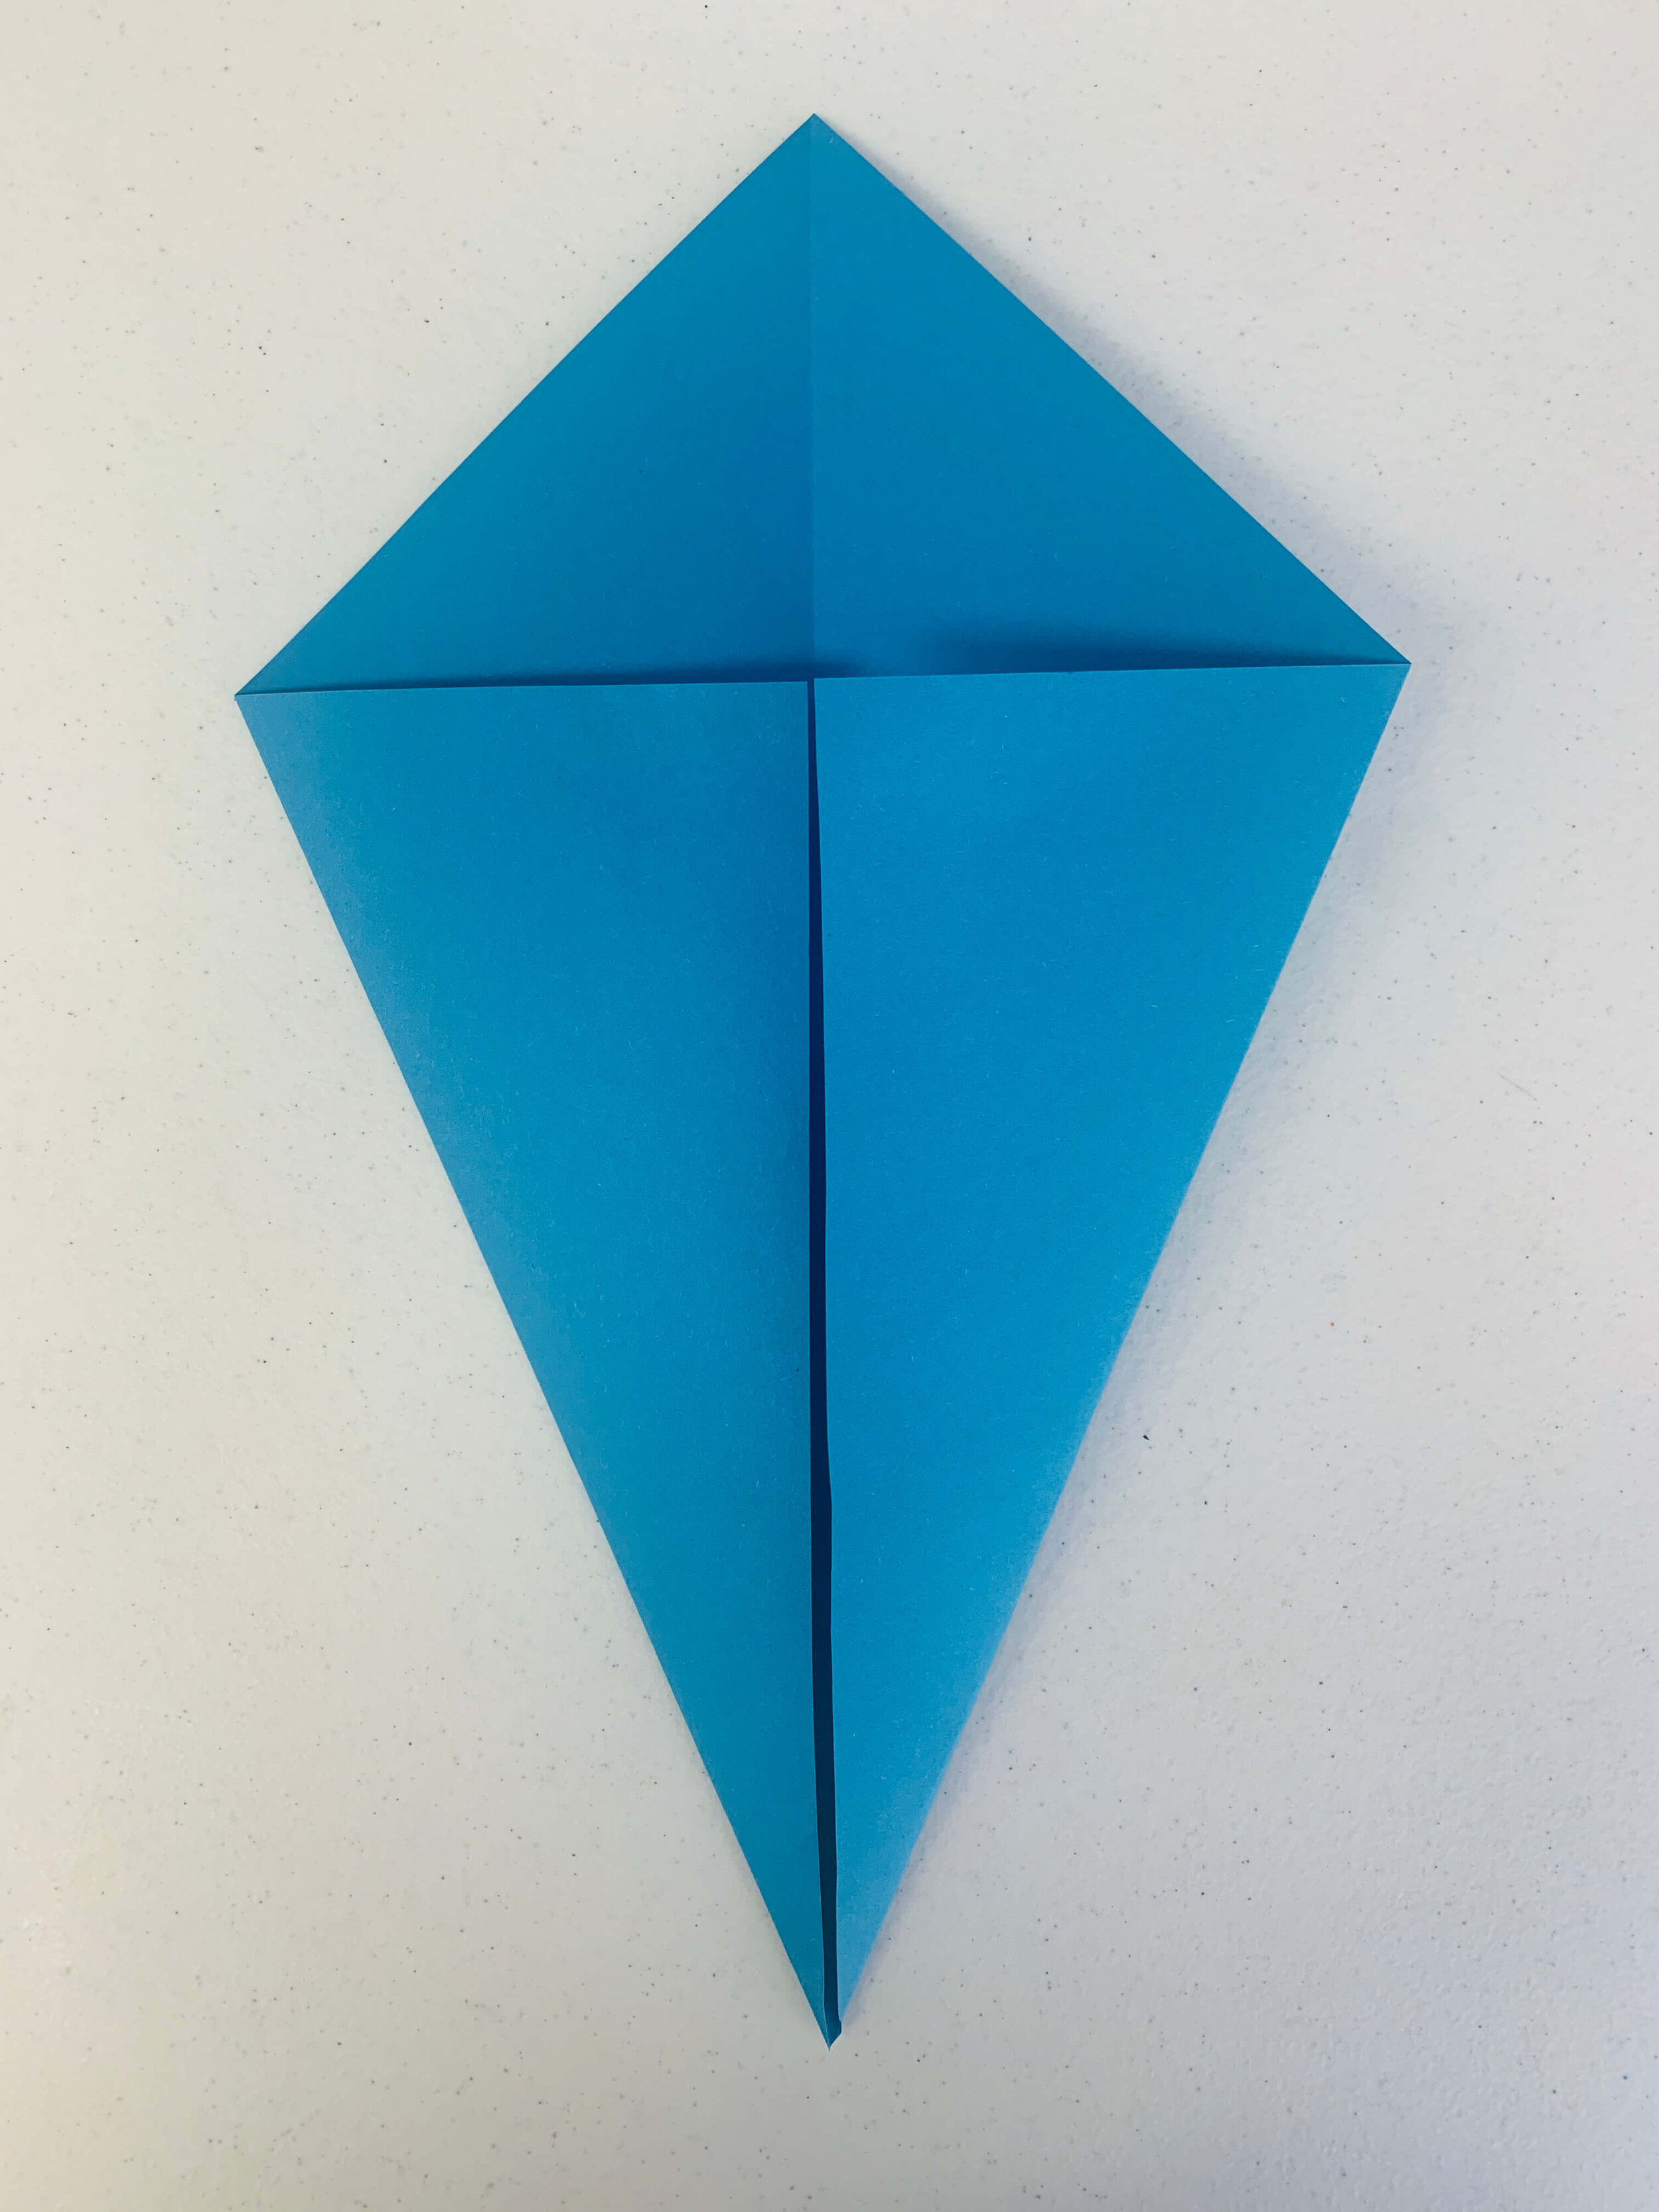
Correct!
It should look like this.
Open It Back Up
After we did that fold we have to open it back up. Now we have three crease lines! At the middle crease, fold it in half.
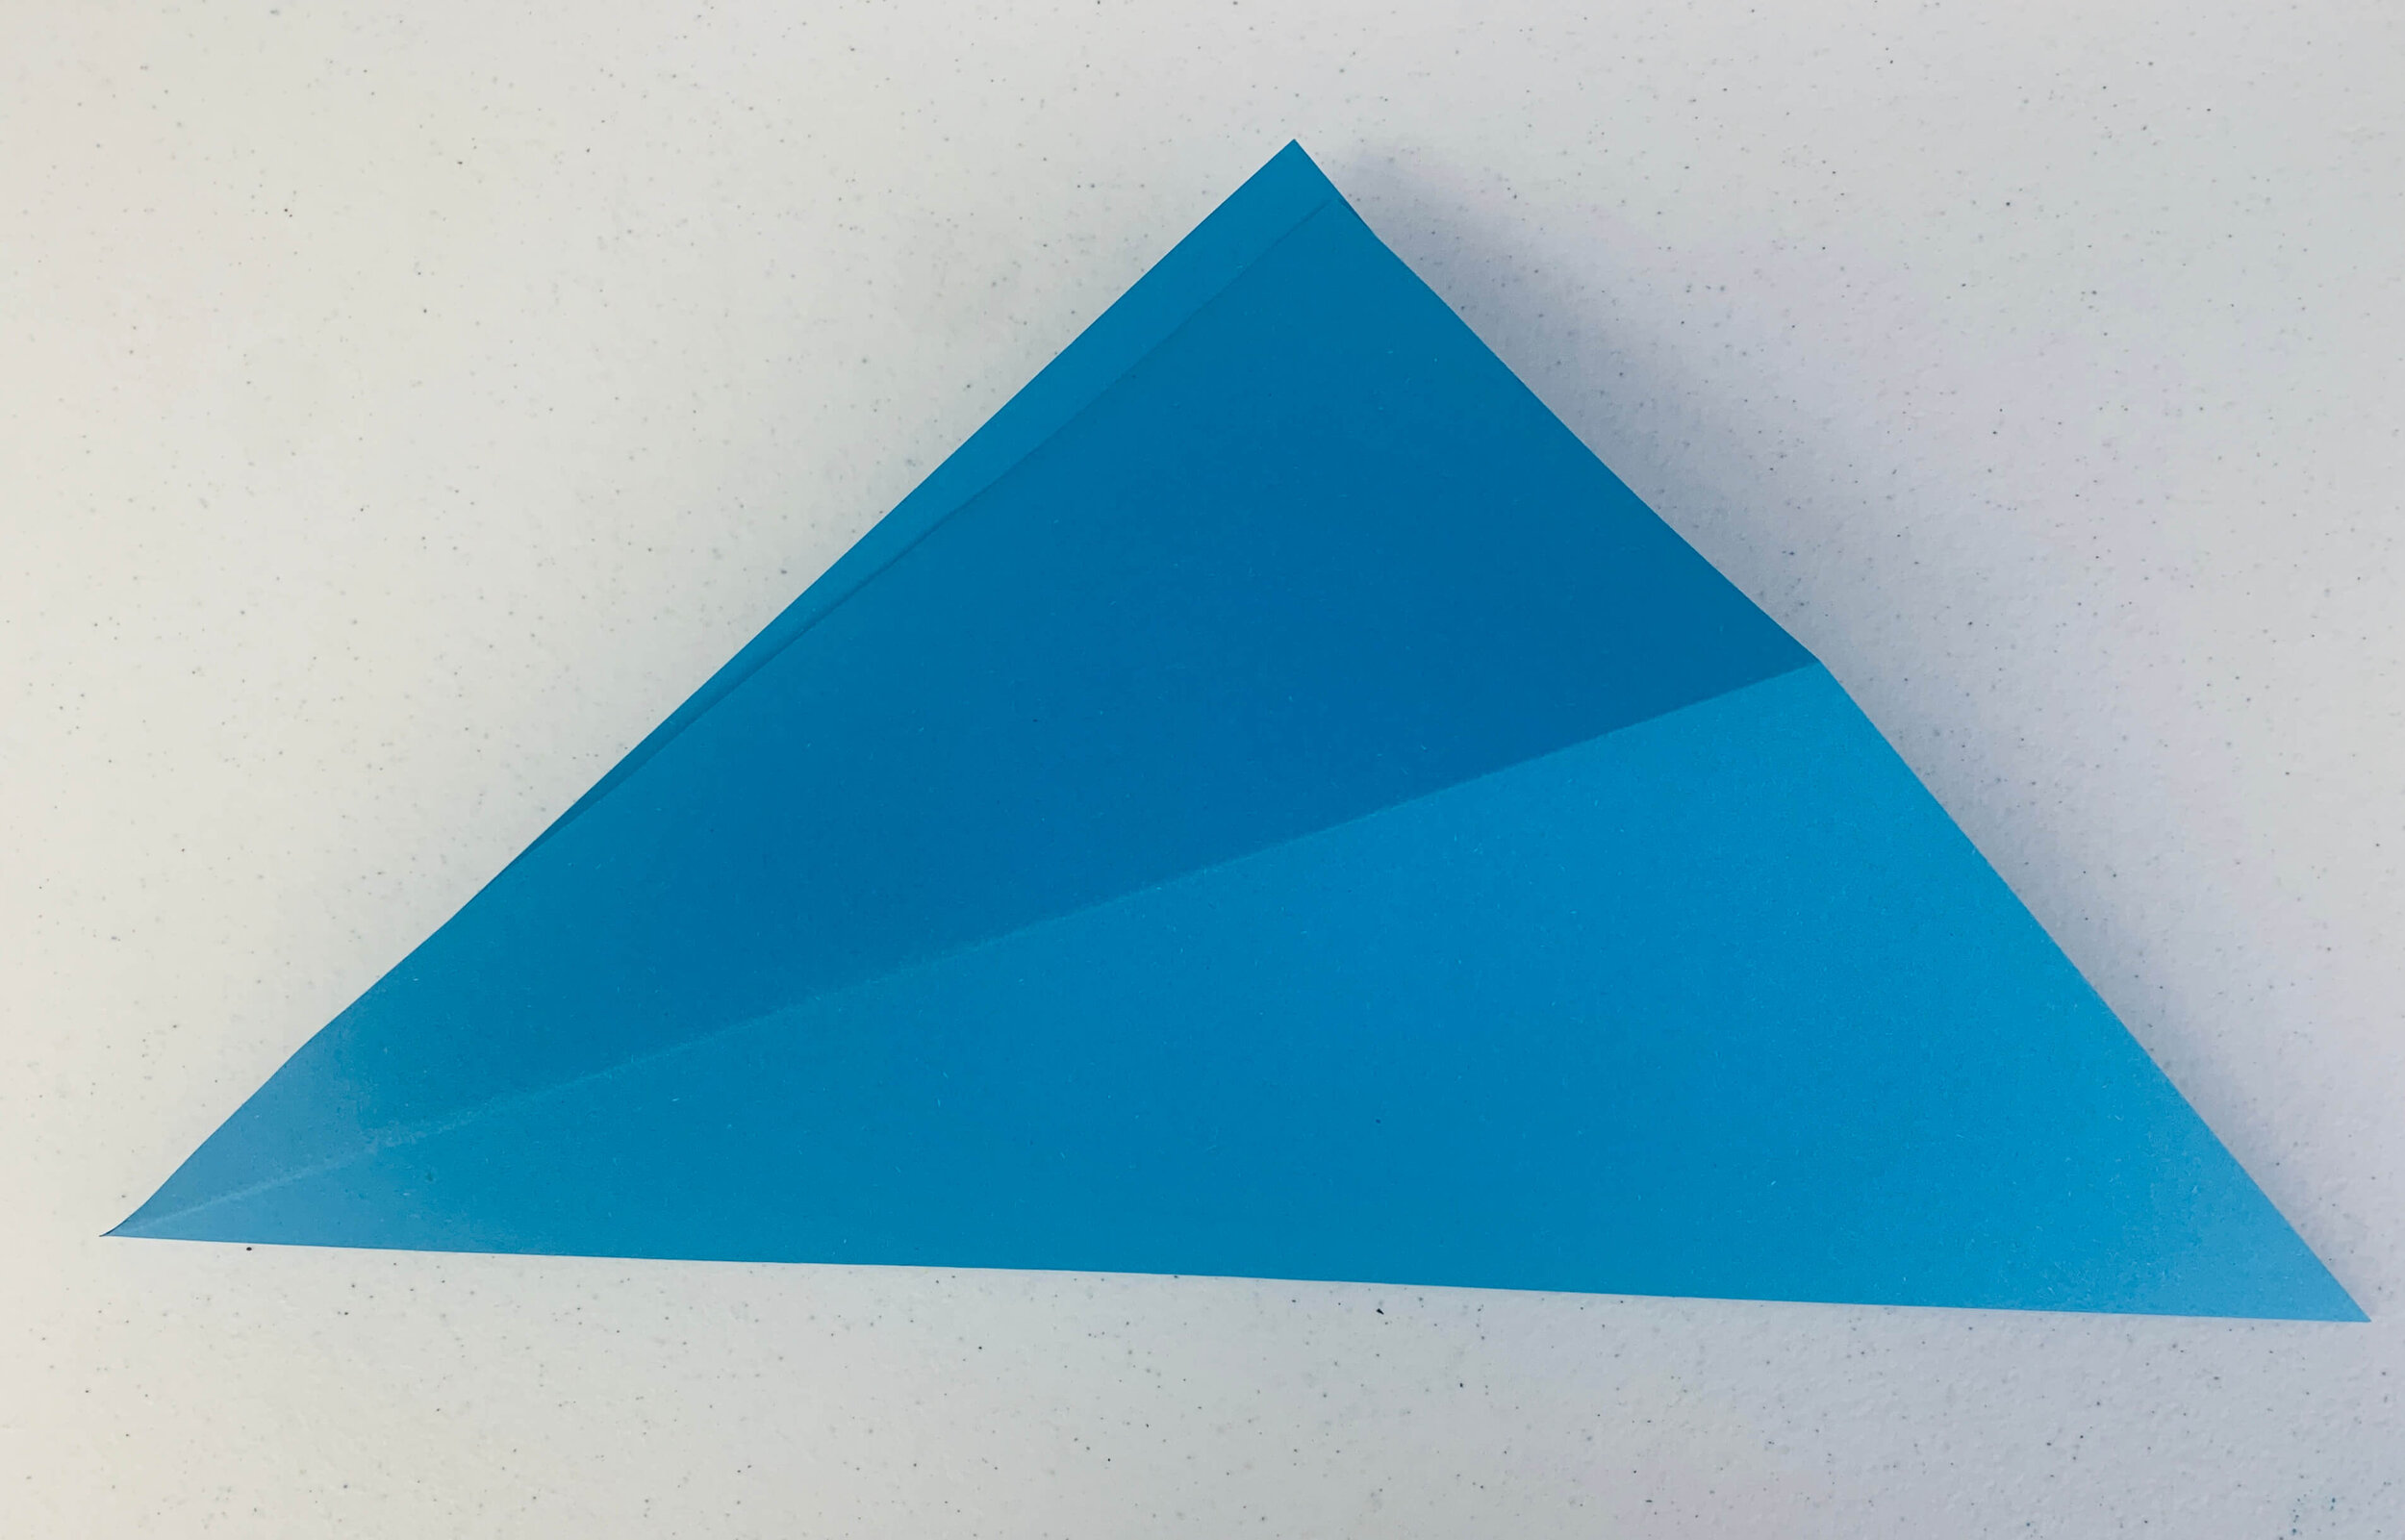
See the triangle?
Put it in front of you like so. Make sure the folded side is facing towards you.
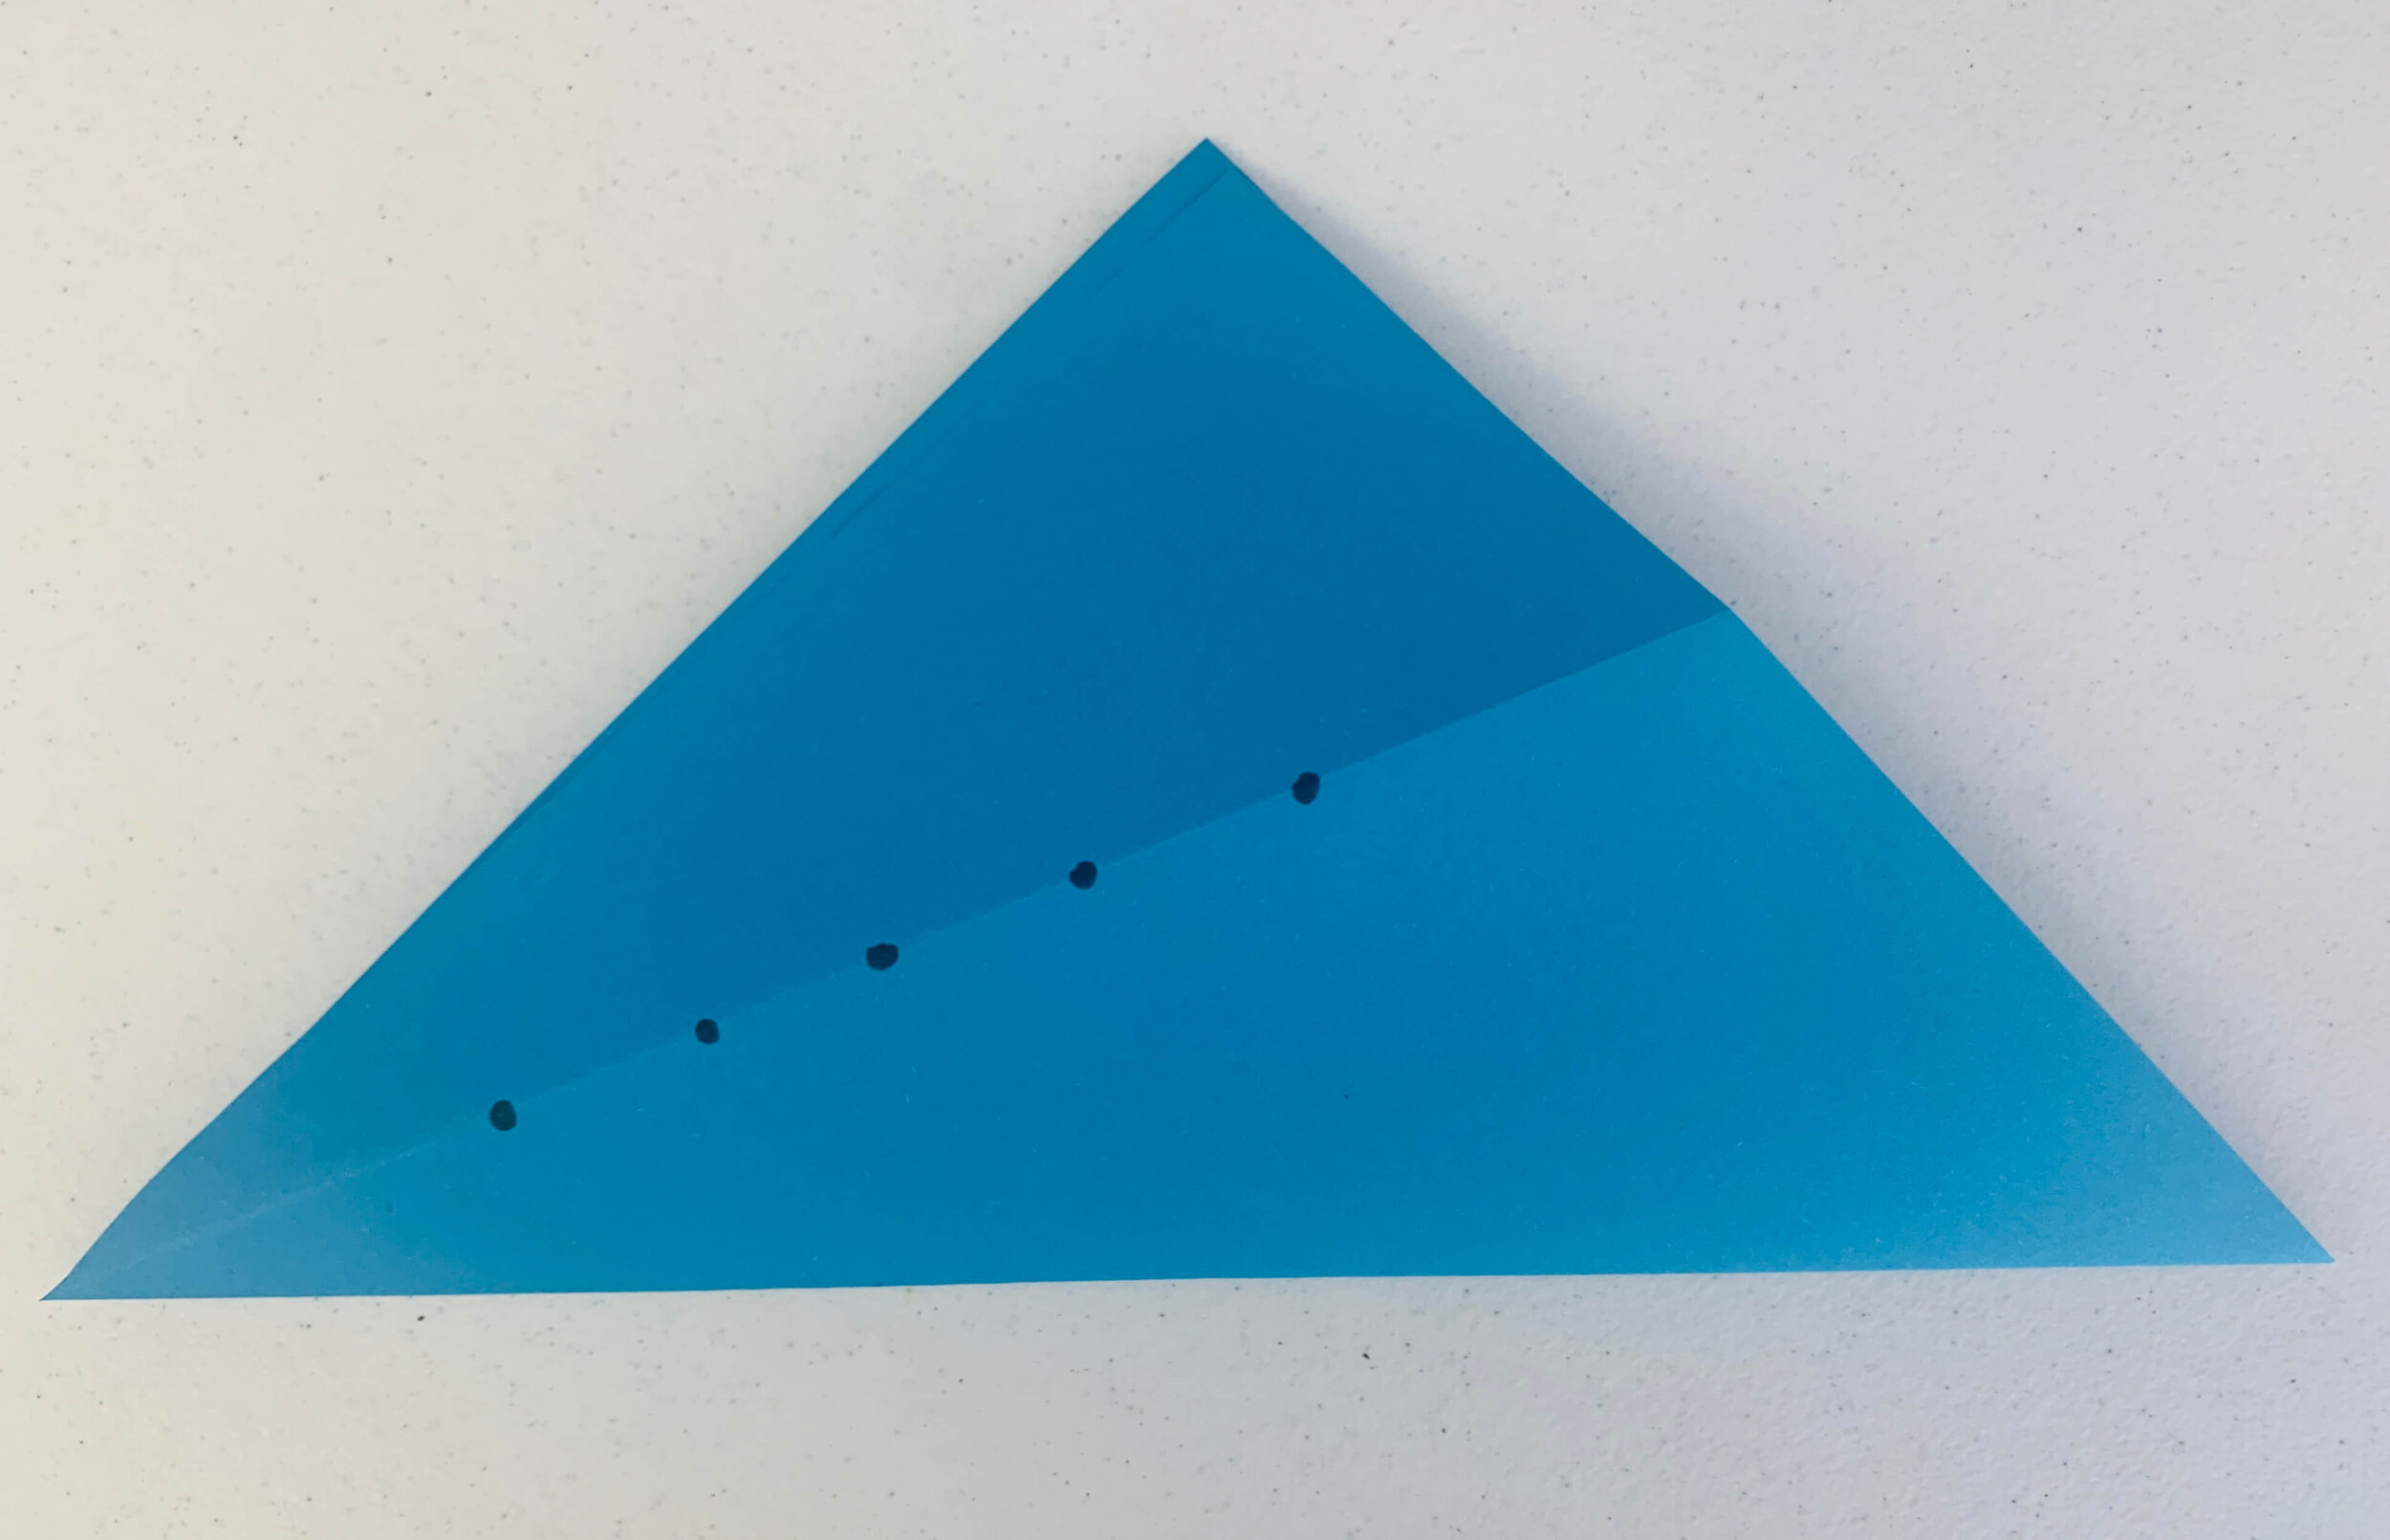
Dots!
This part is really important. We want to make 5 dots along the crease line. These dots should be in the middle of the crease line. We don’t want to go too close to either end of it.
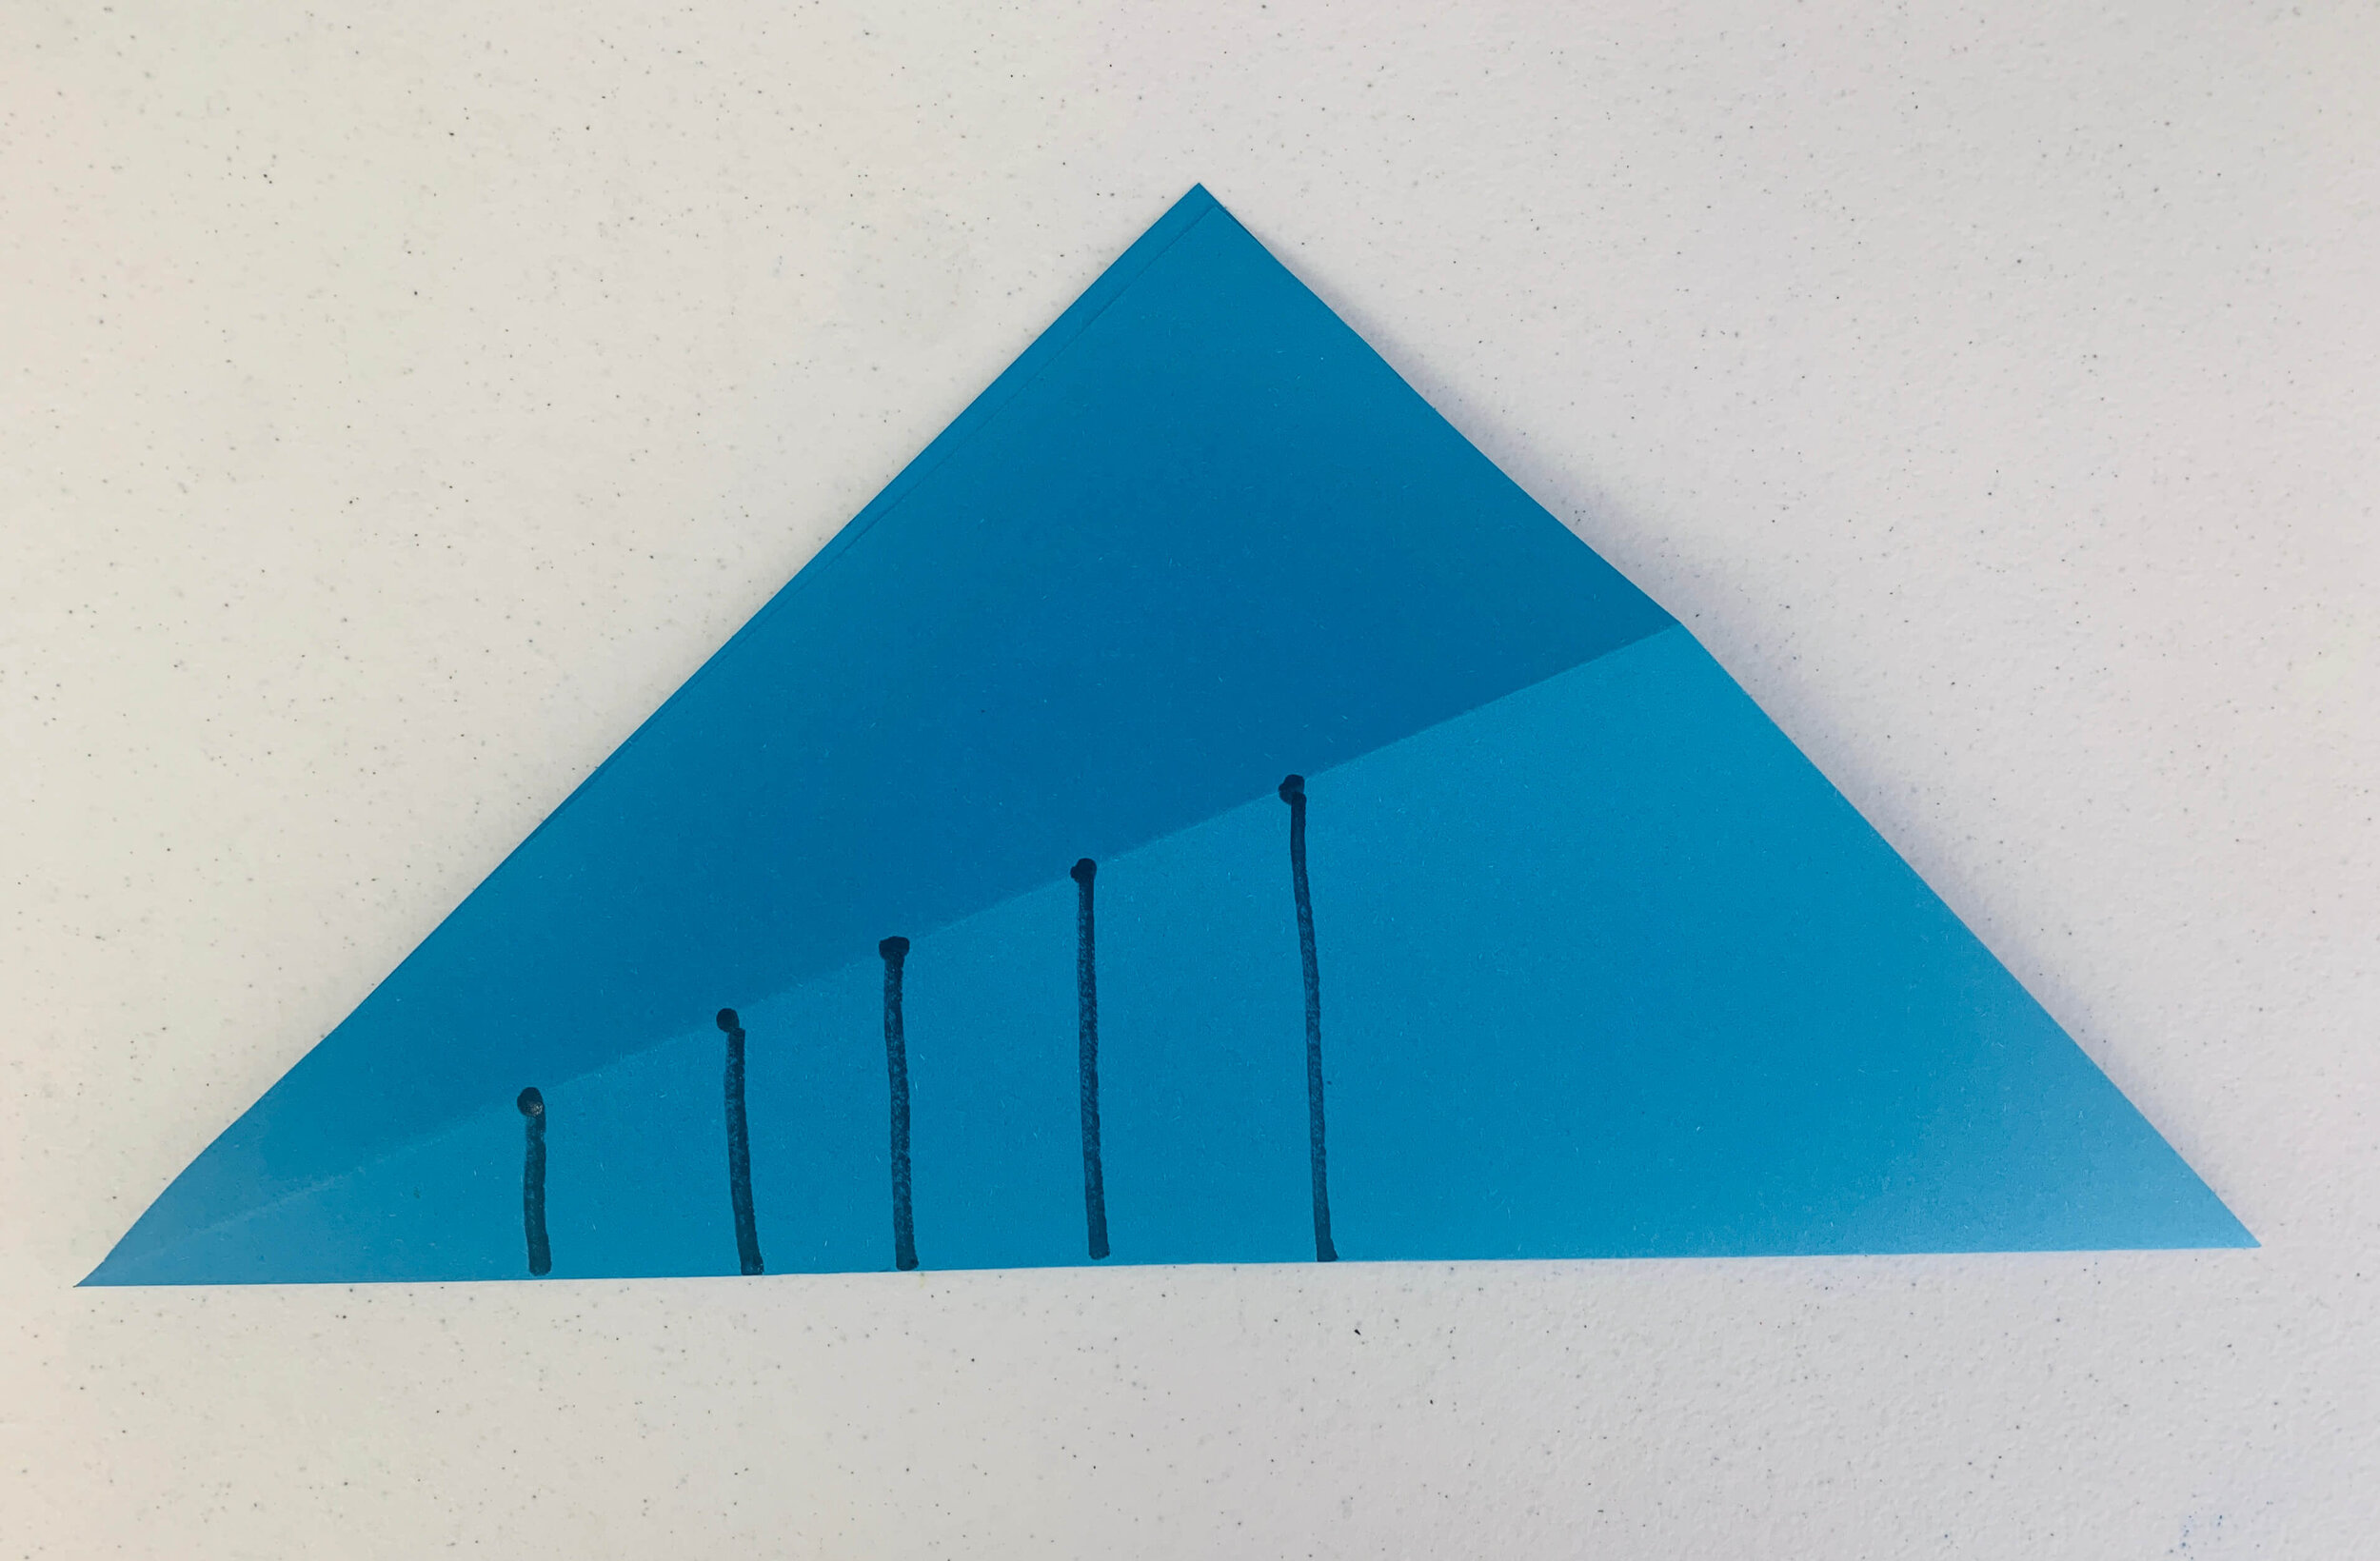
Draw Lines
From those dots draw lines down towards you.
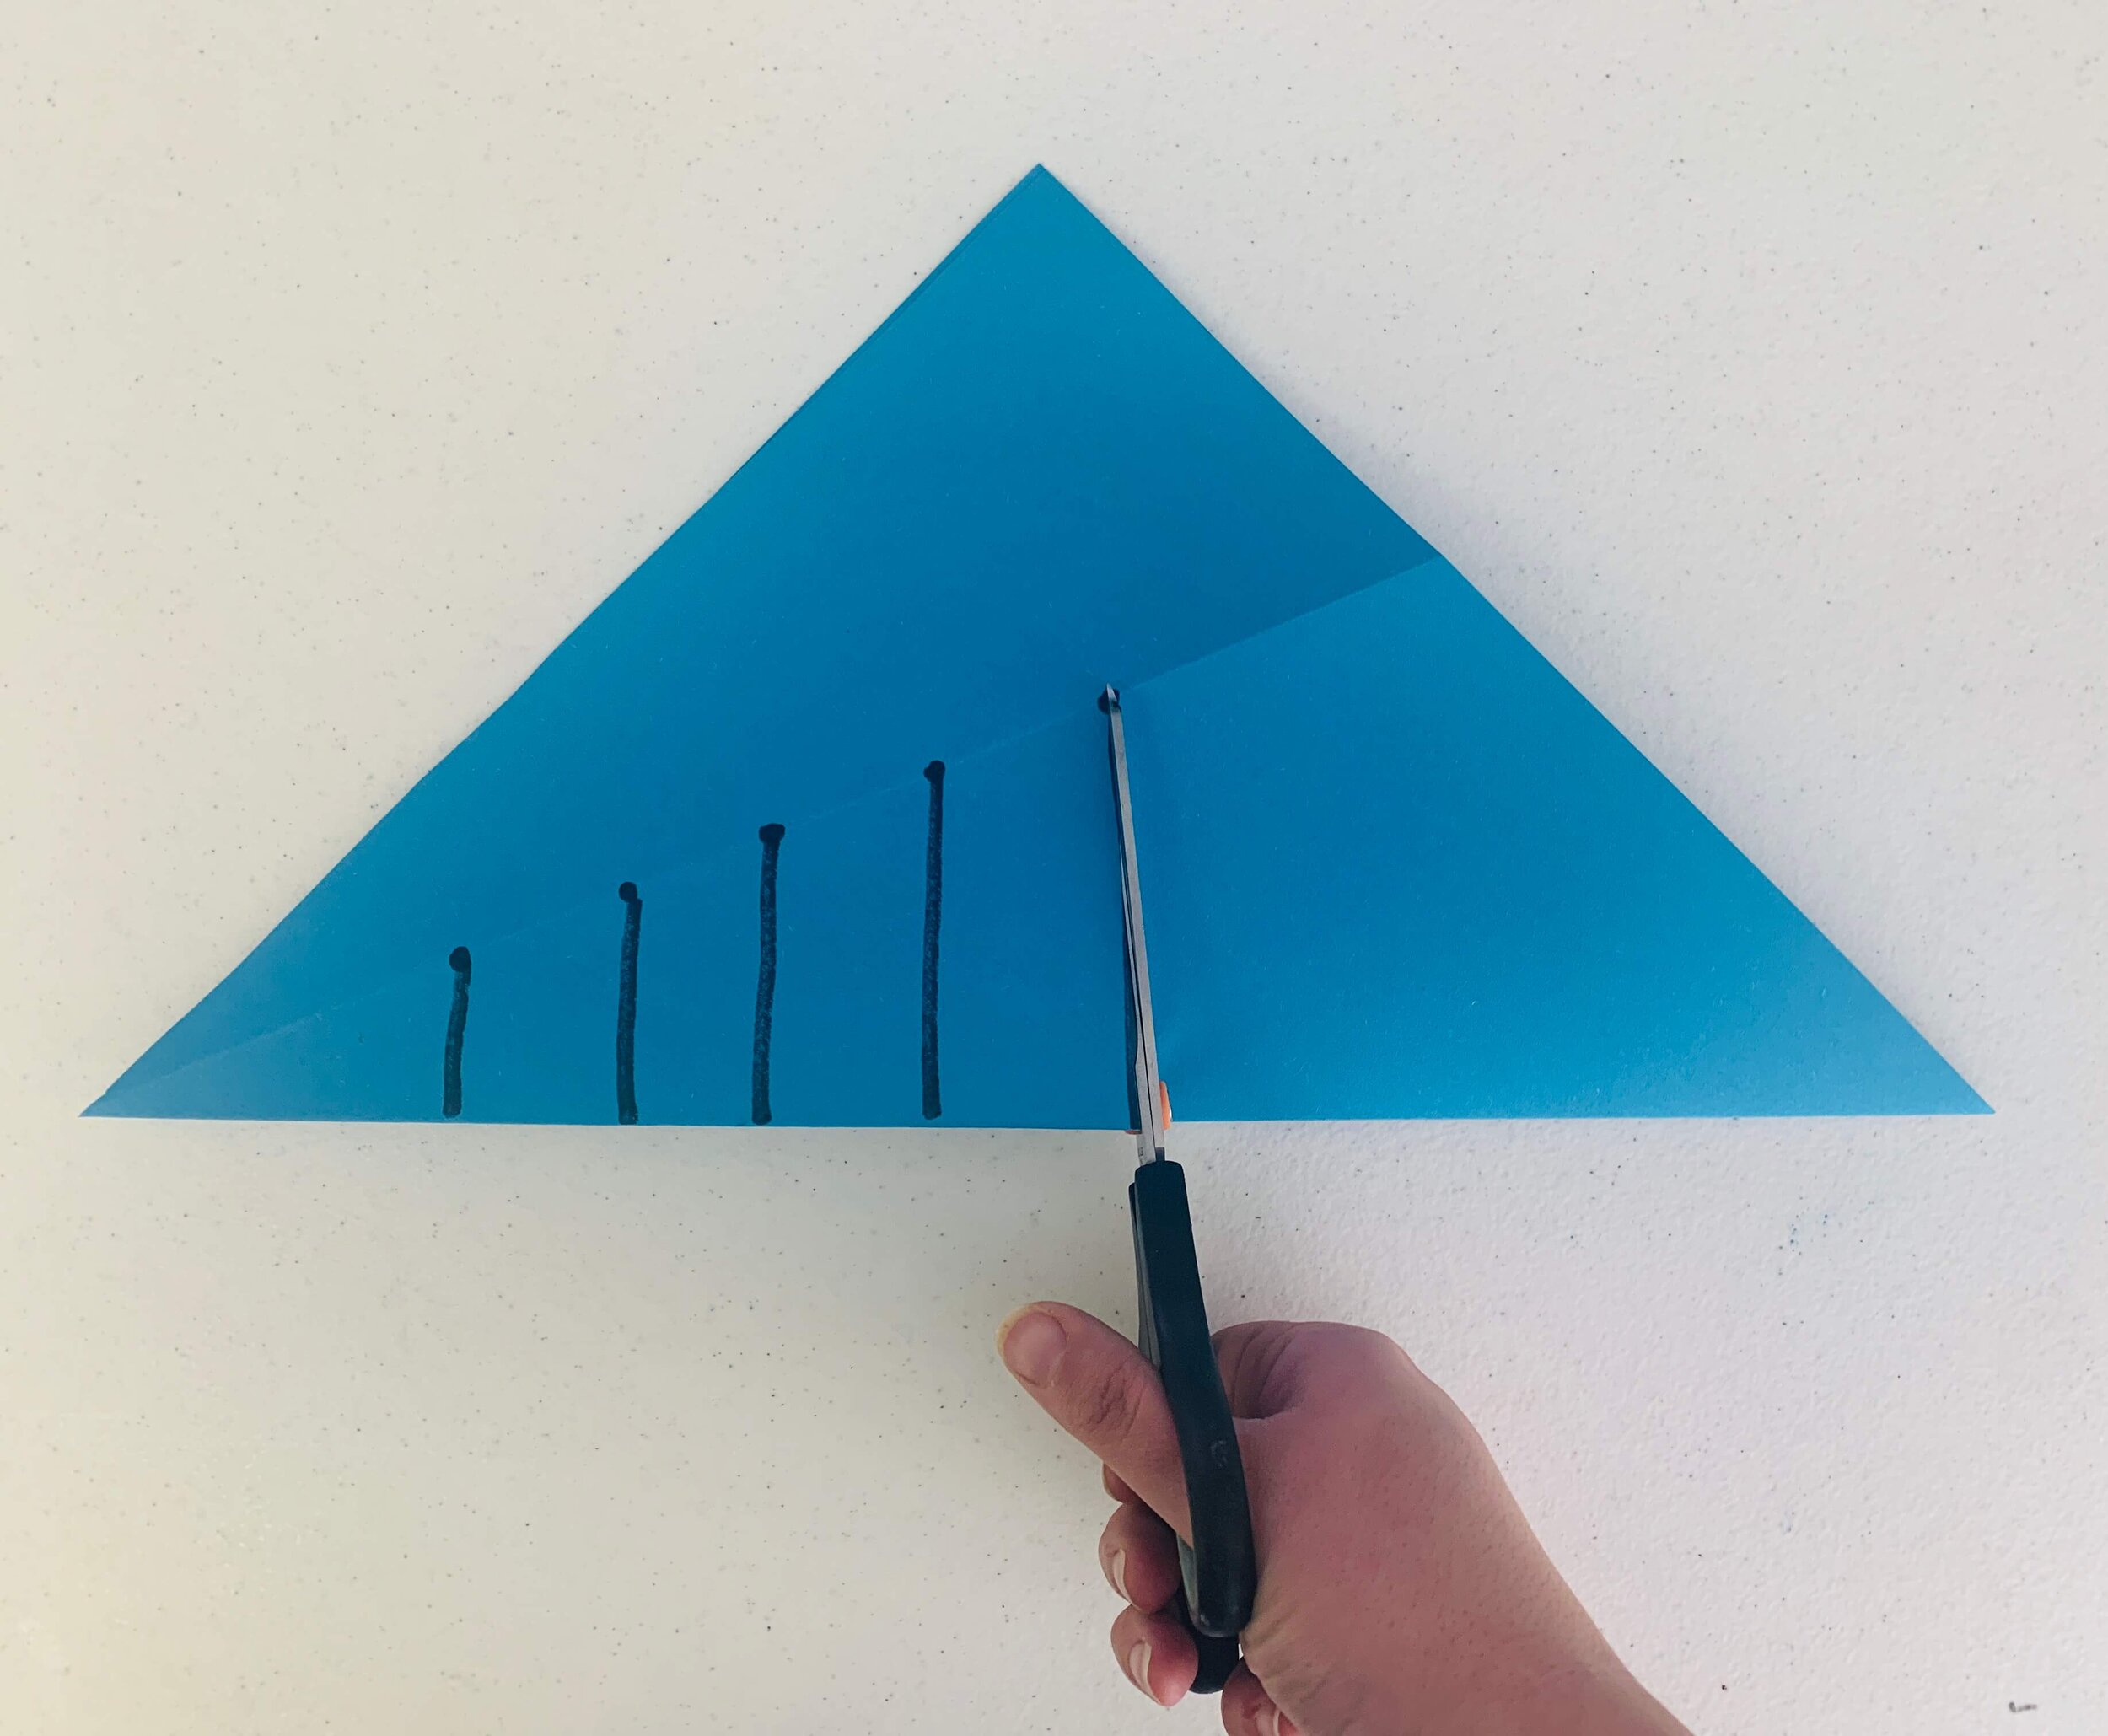
Cut The Lines
You need to cut all 5 lines. While cutting it is important to remember you don’t want to cut past the crease line. We only want to cut the lines we drew.
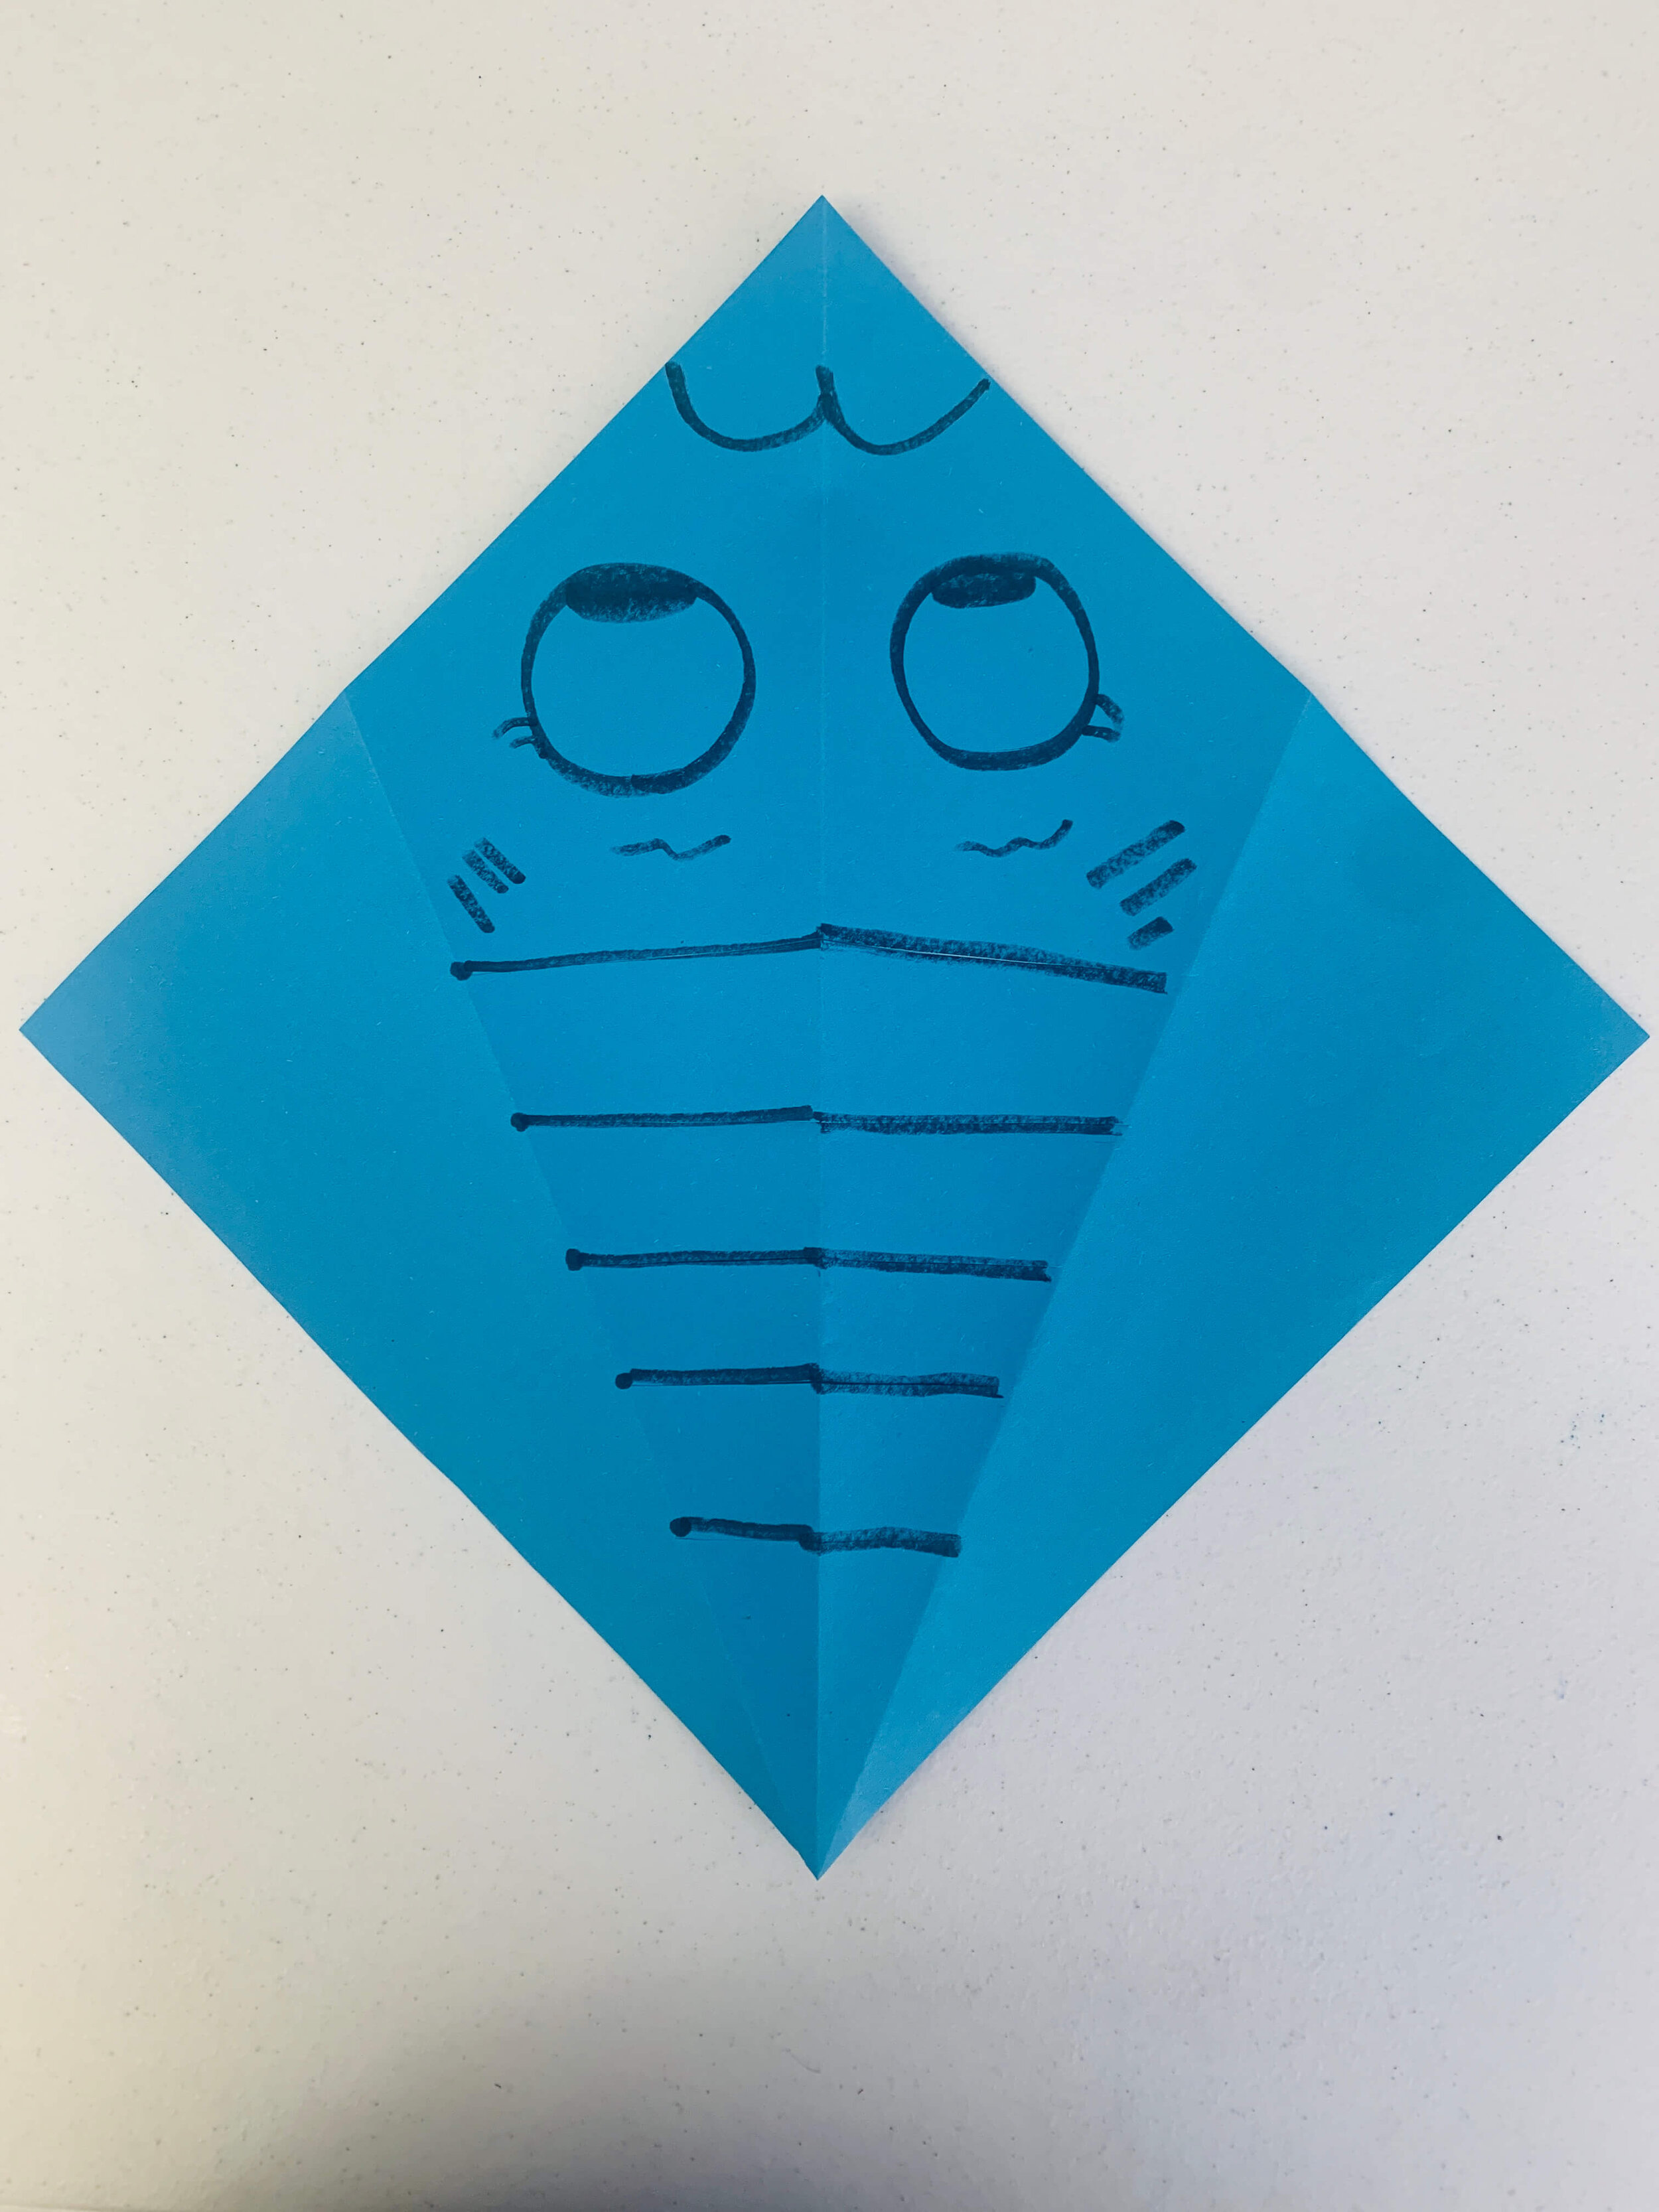
Open Up..
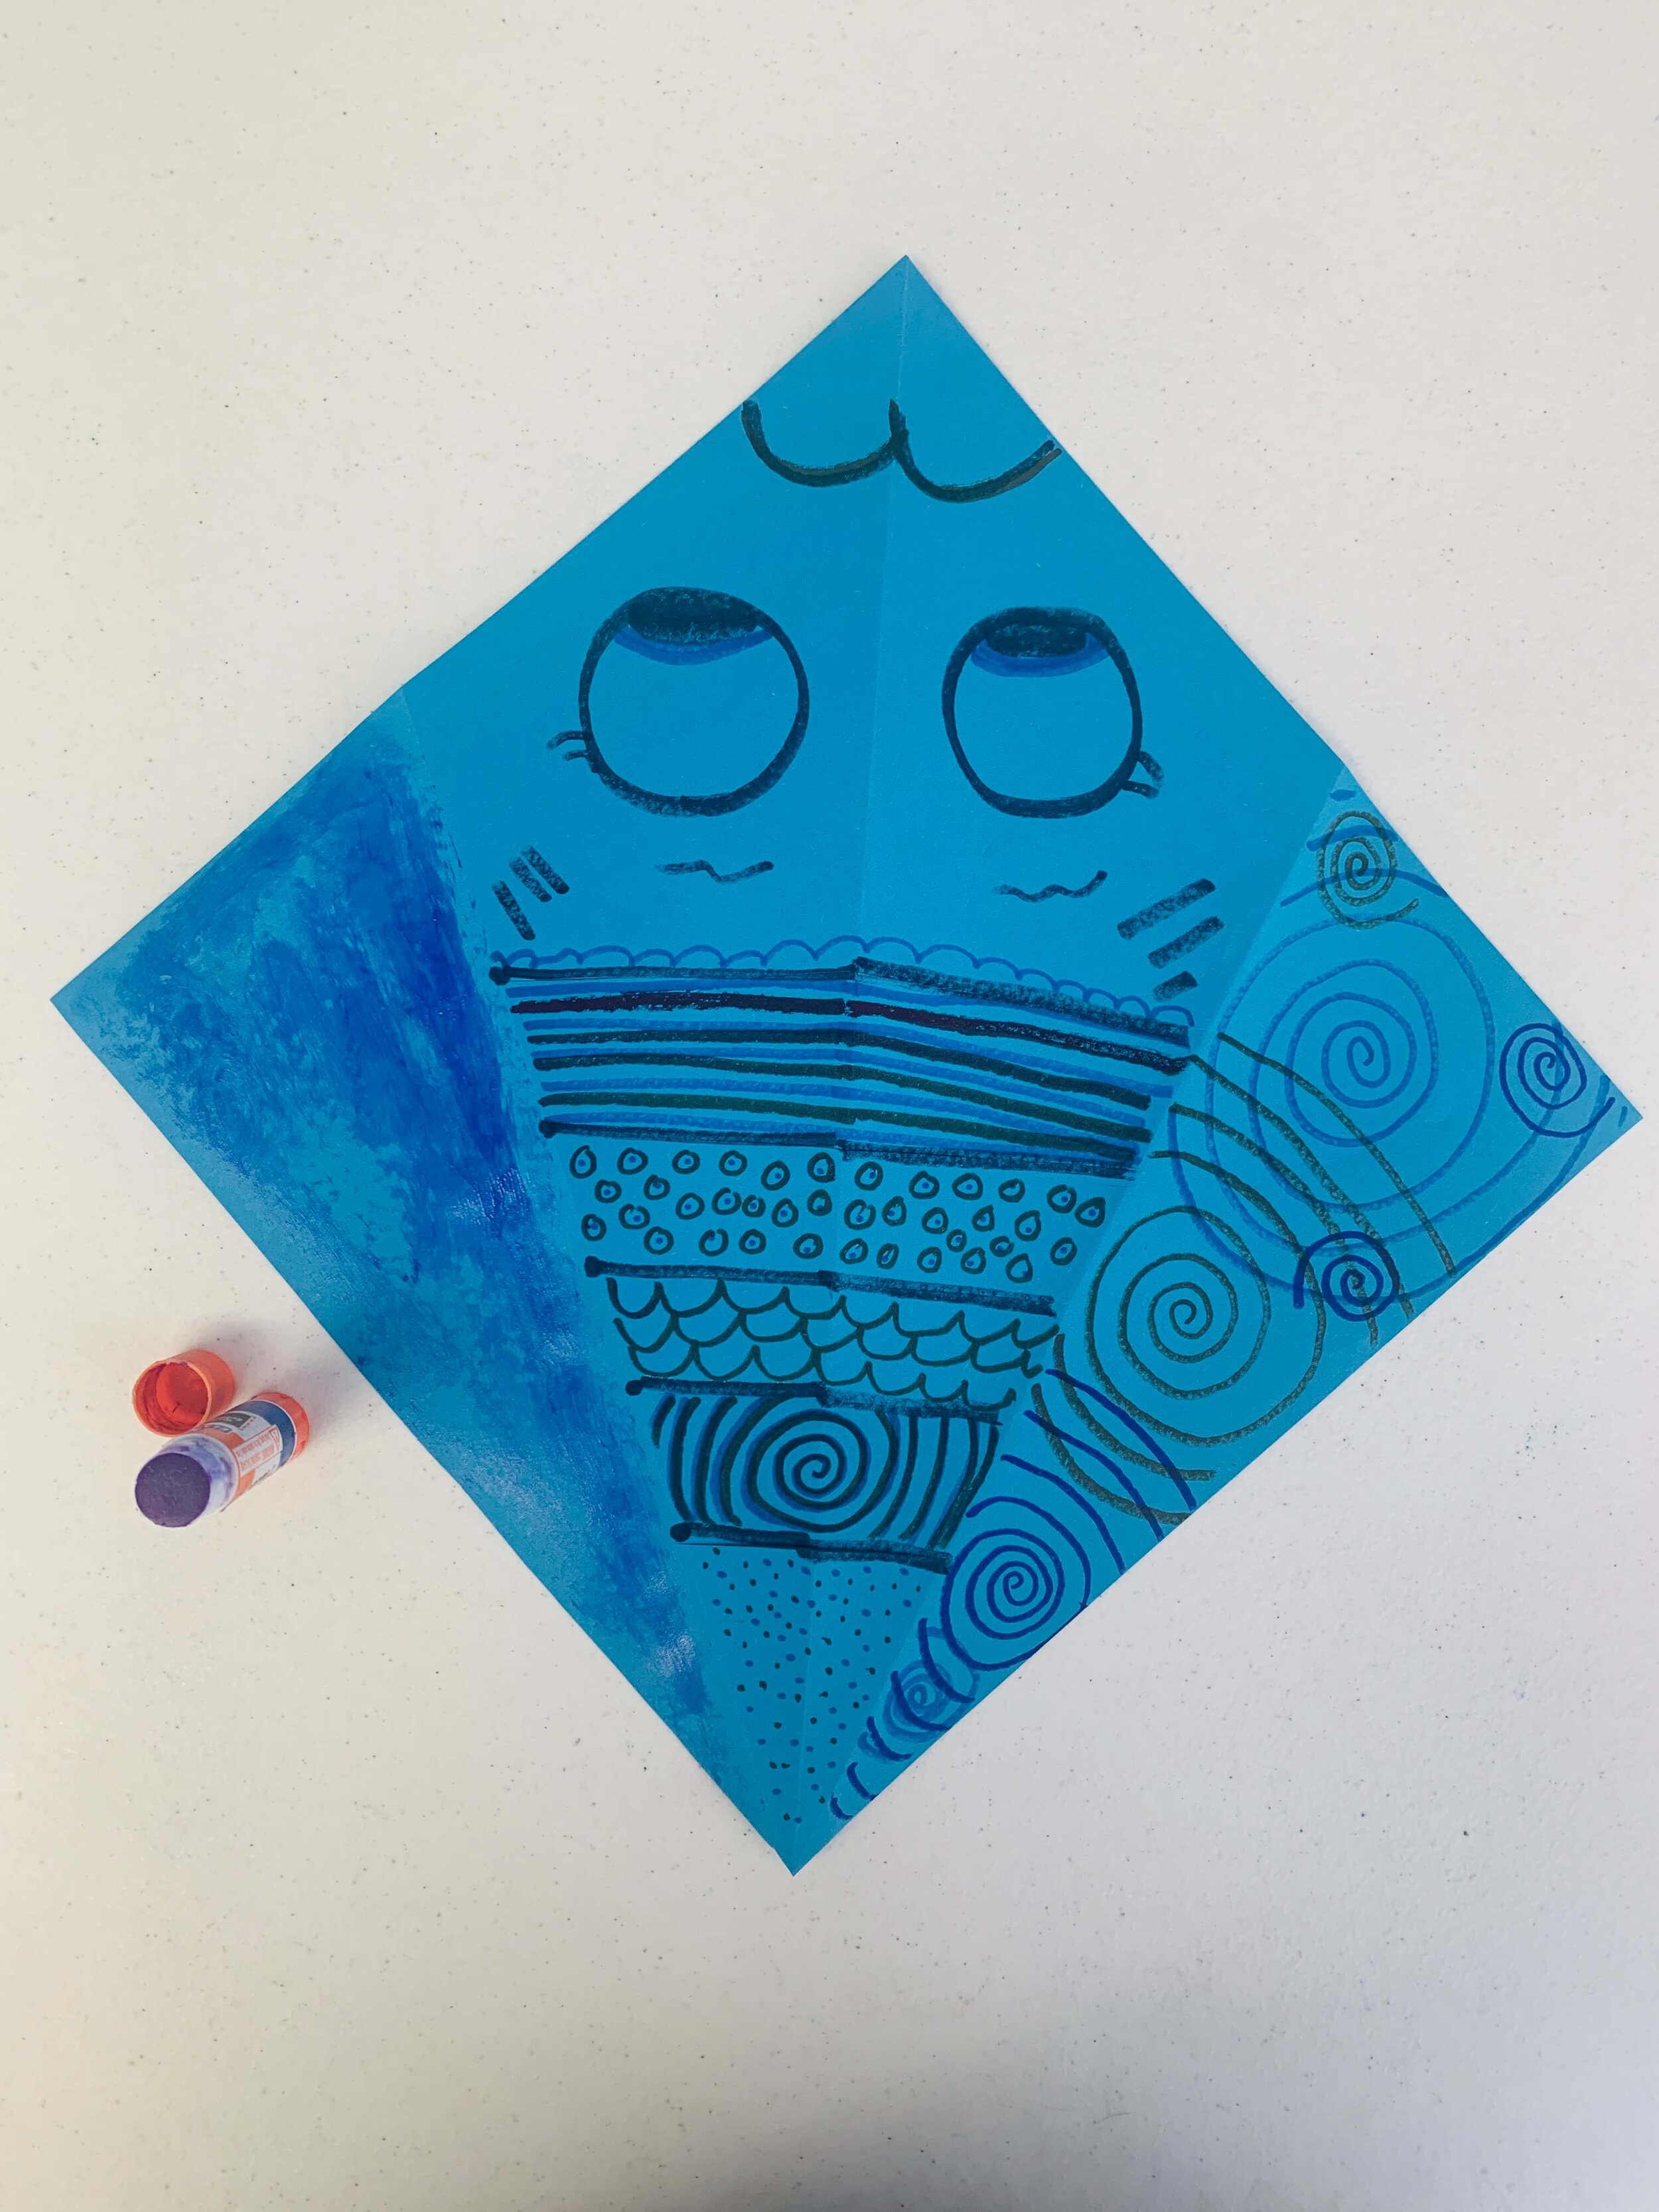
When we open the triangle up again we should have something that looks like this. There is a middle part and two flaps on each side. The middle part has a big side and goes down to a smaller side. The big side is the head of your fish. You want to draw eyes first so you can turn around the first if you need to while decorating the other side. This is where the creativity happens. If they want to make eye lashes or eyebrows, go for it! Maybe fish don’t have them but it is their fish. You can even tell them about scales (the skin of a fish). They can draw scales if they would like.
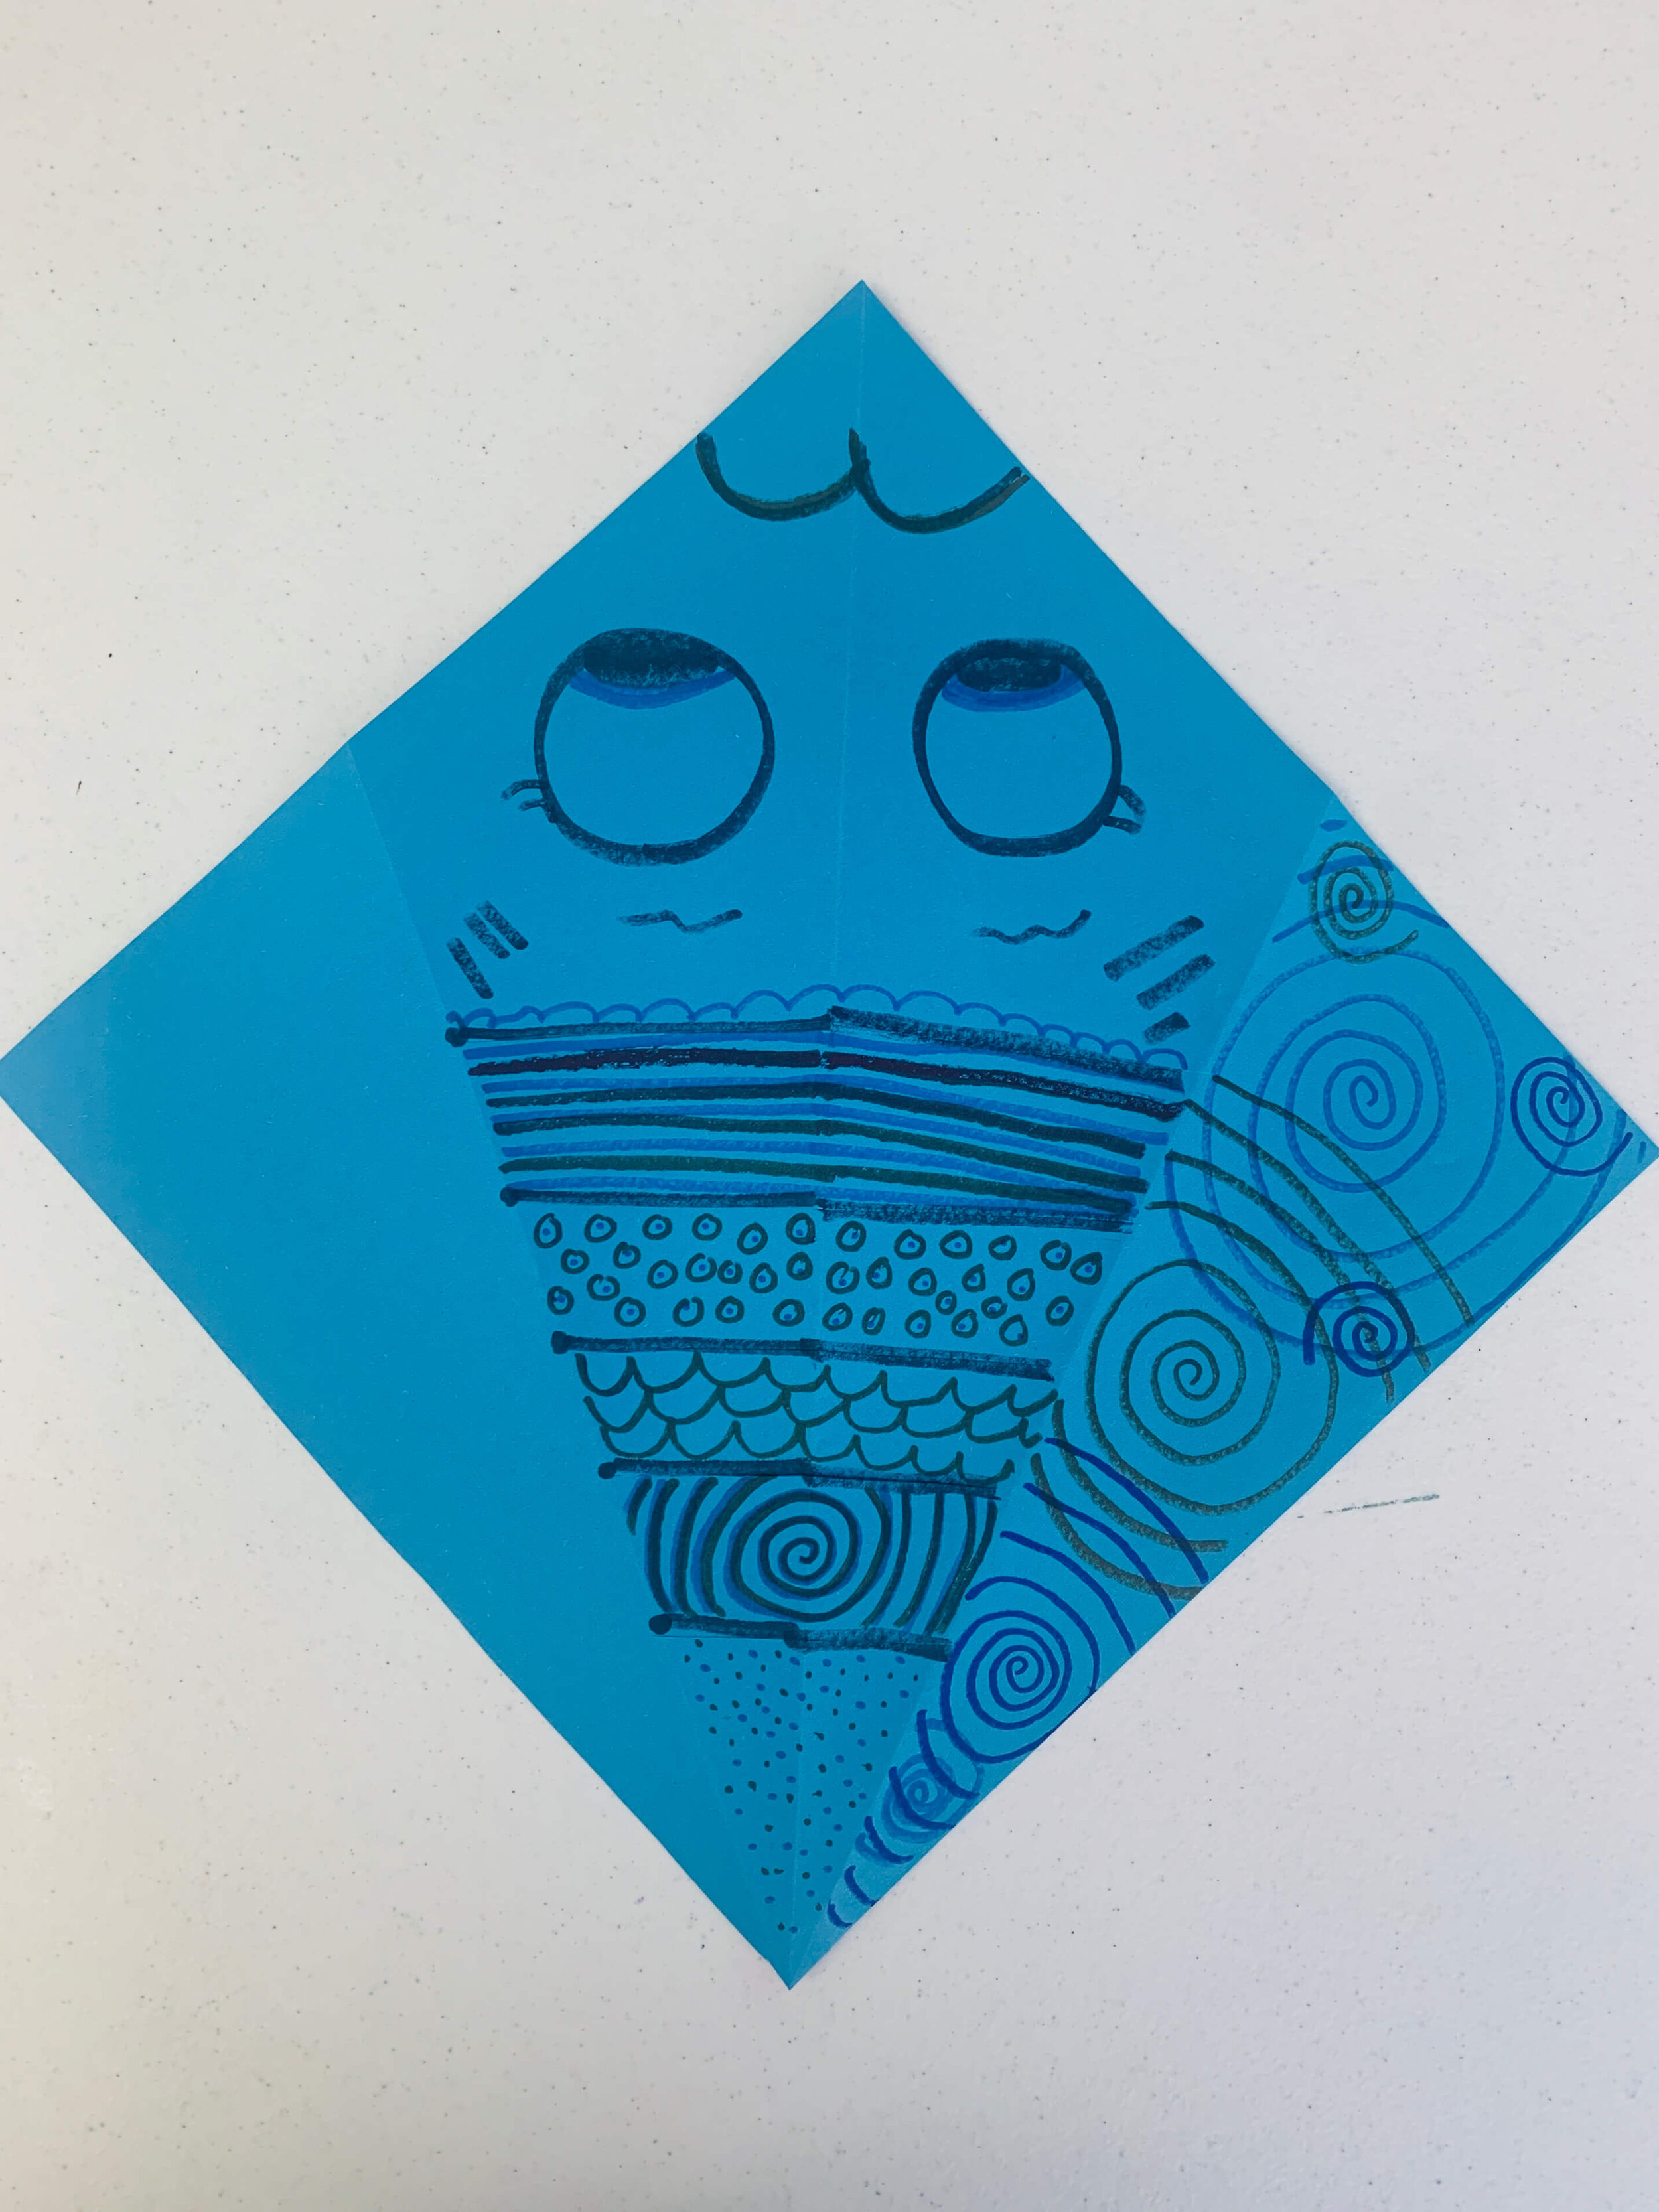
What can you decorate?
Notice I made patterns. Patterns are things that repeat over and over again. Ask your kid for an example of a pattern. It could be shapes, lines, colors, or even dance moves. As long as it repeats. They can decorate that entire middle section. If we look at the sides, there are two flaps. Decorate one flap but leave the other blank.
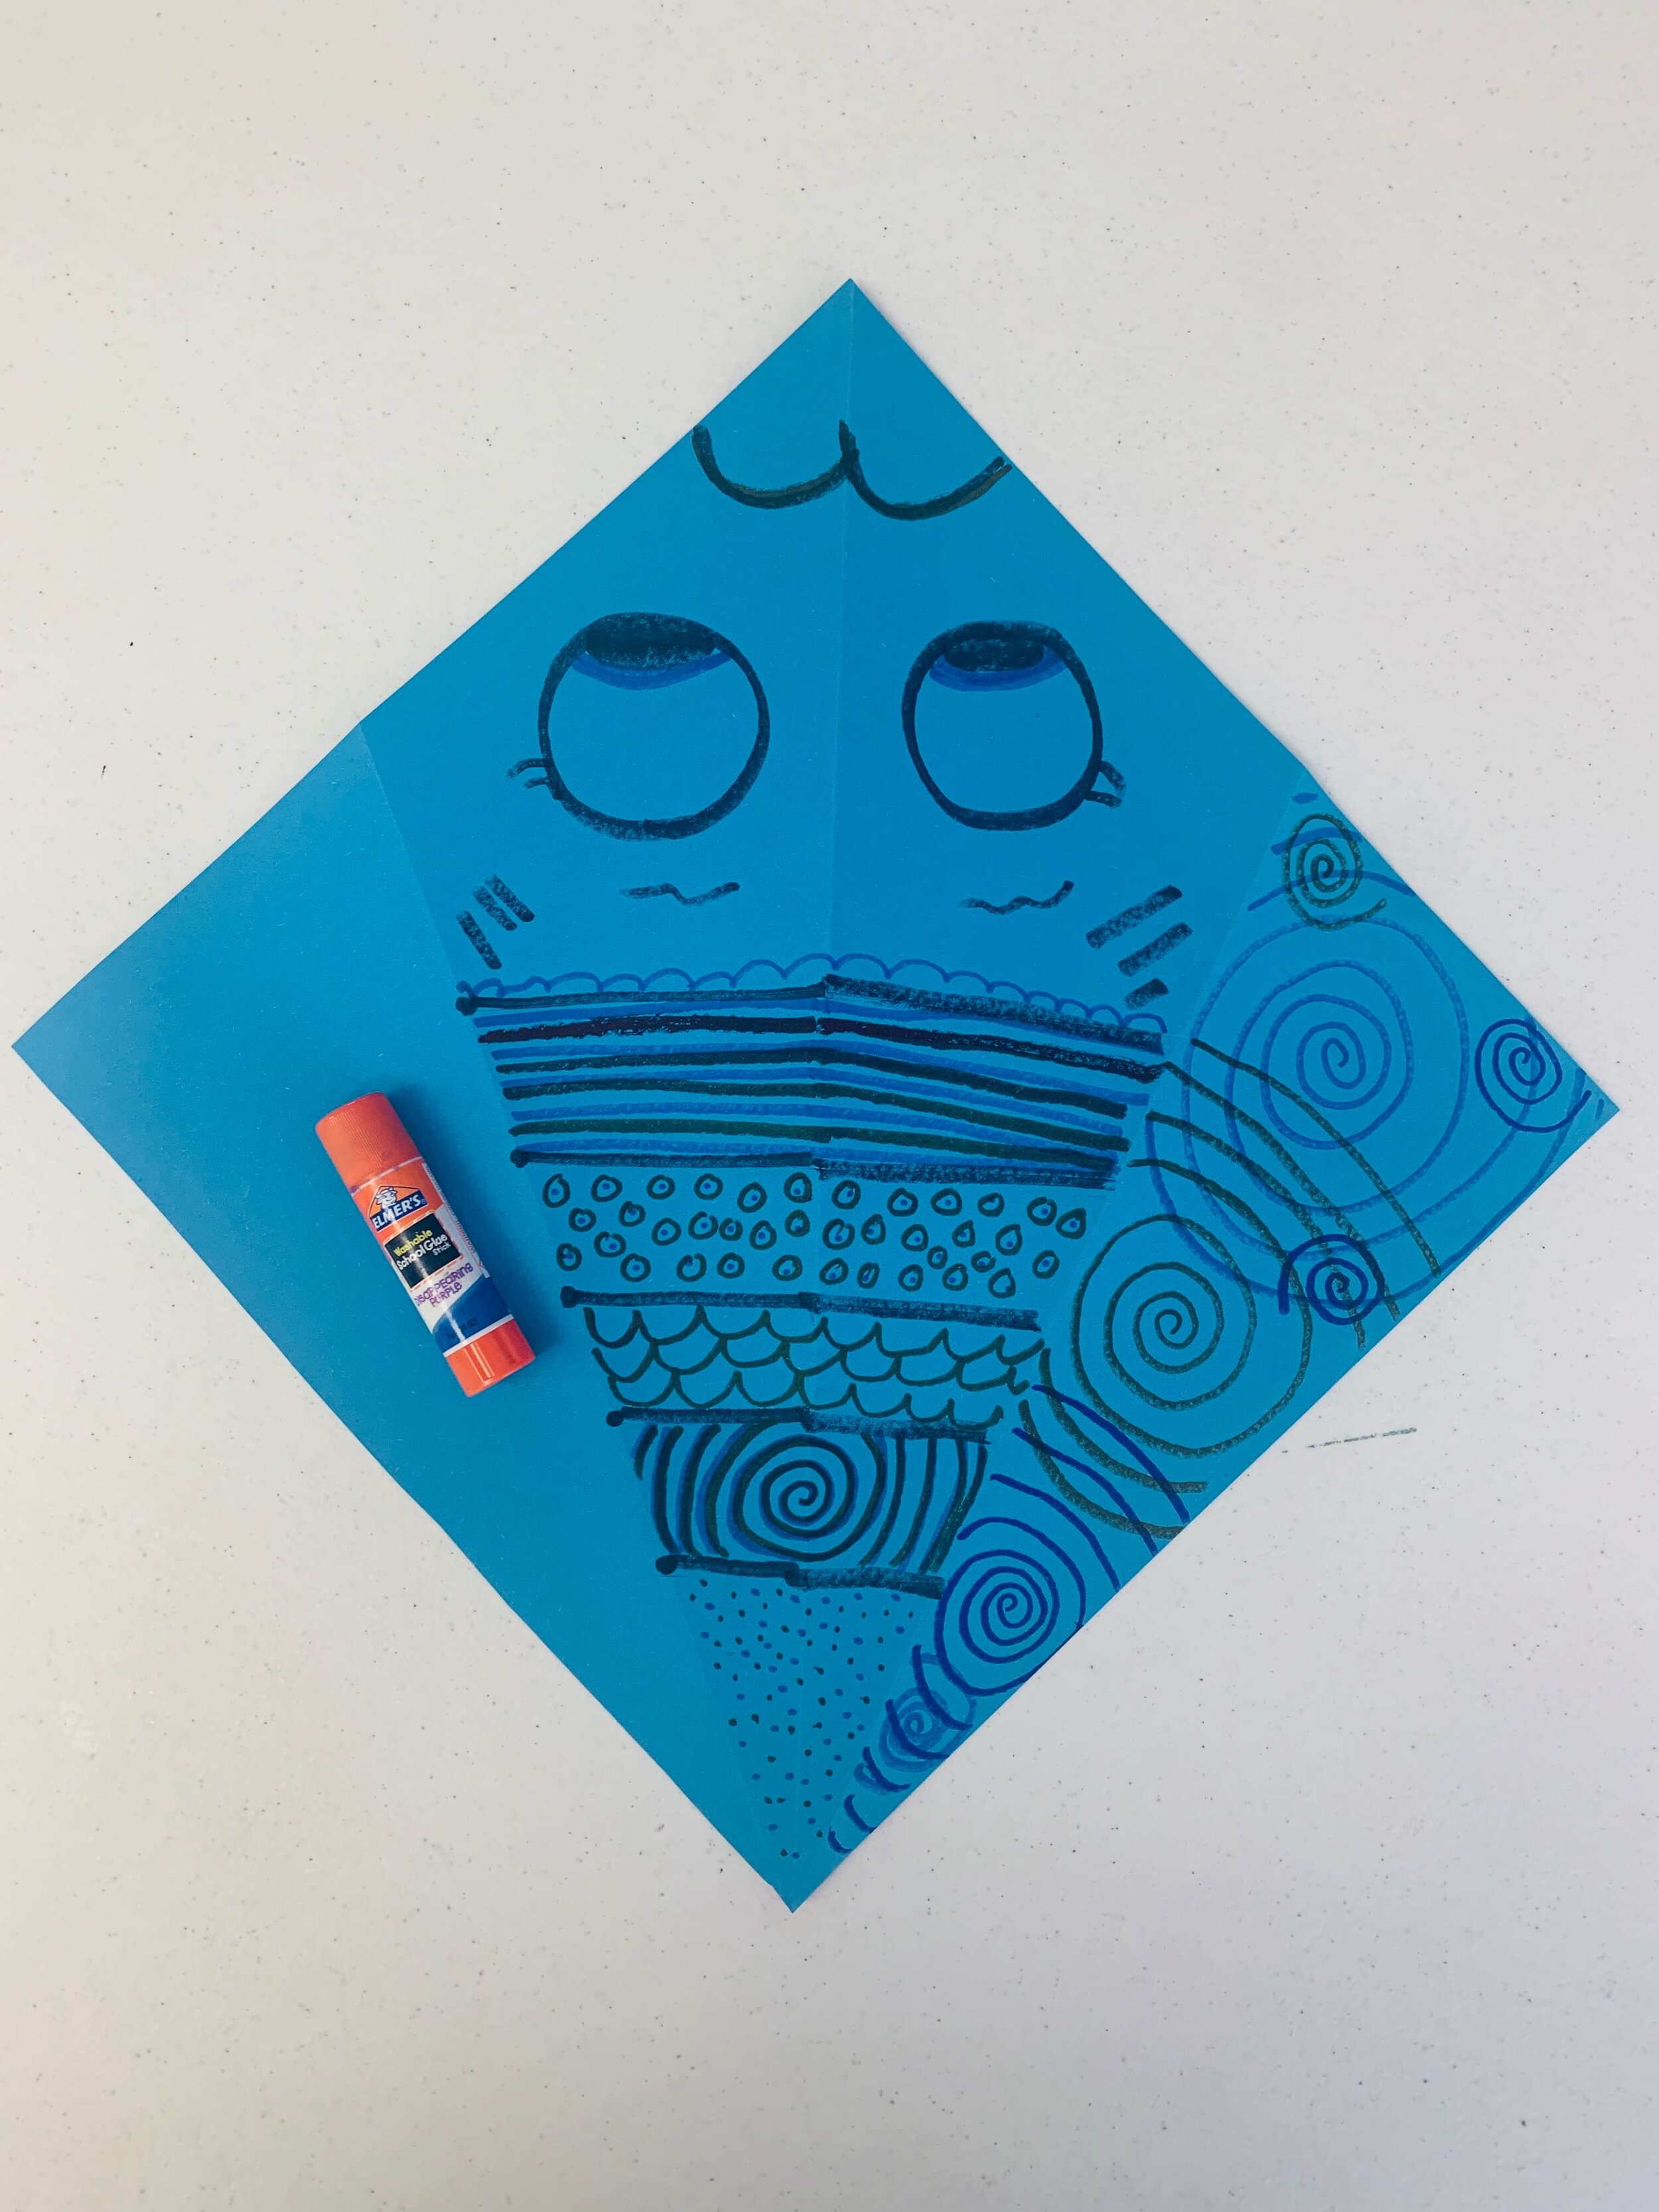
Glue!
Here is where we start to glue. That flap that we didn’t decorate is where you want to apply your glue.
Dont be afraid.
Put glue all over that triangle flap. We want this to stick together well.

The Last Fold
This is the last fold of our project. After we glue the flap we want to flip it around and put the other flap directly on top of it. You will have to line it up all the way down to the tip of the tail.
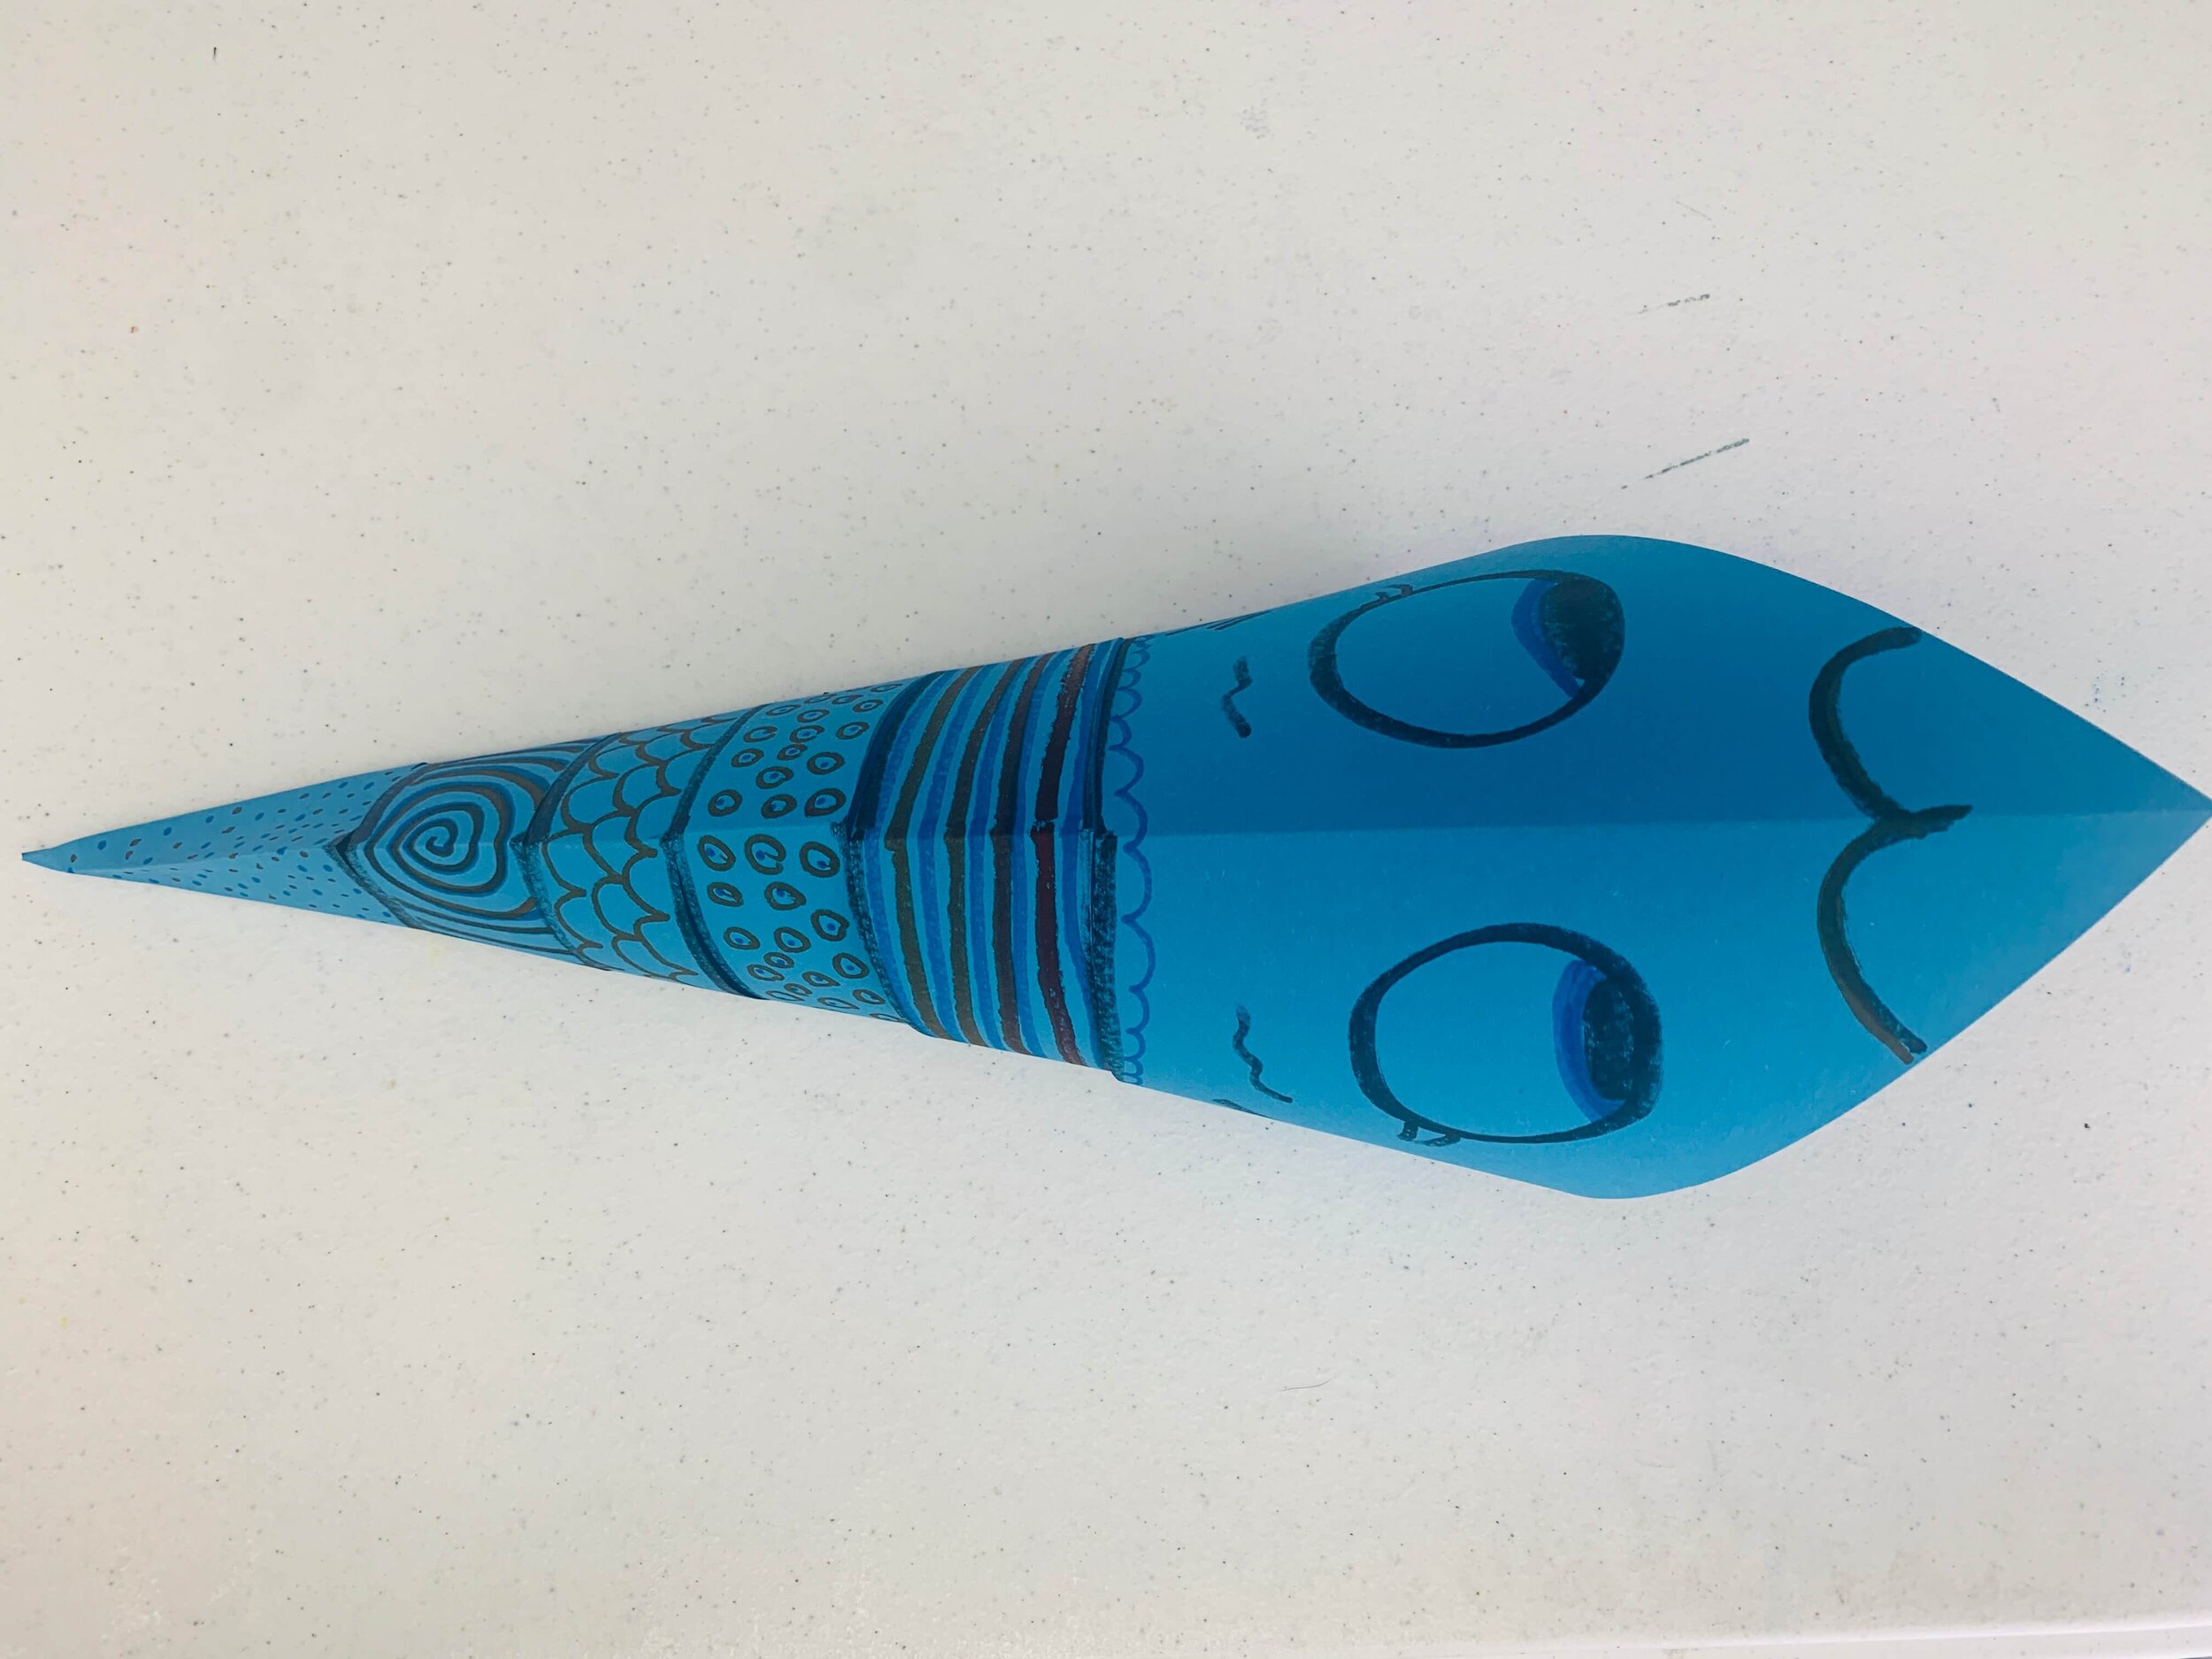
The Fish Body
You successfully have the fish body!
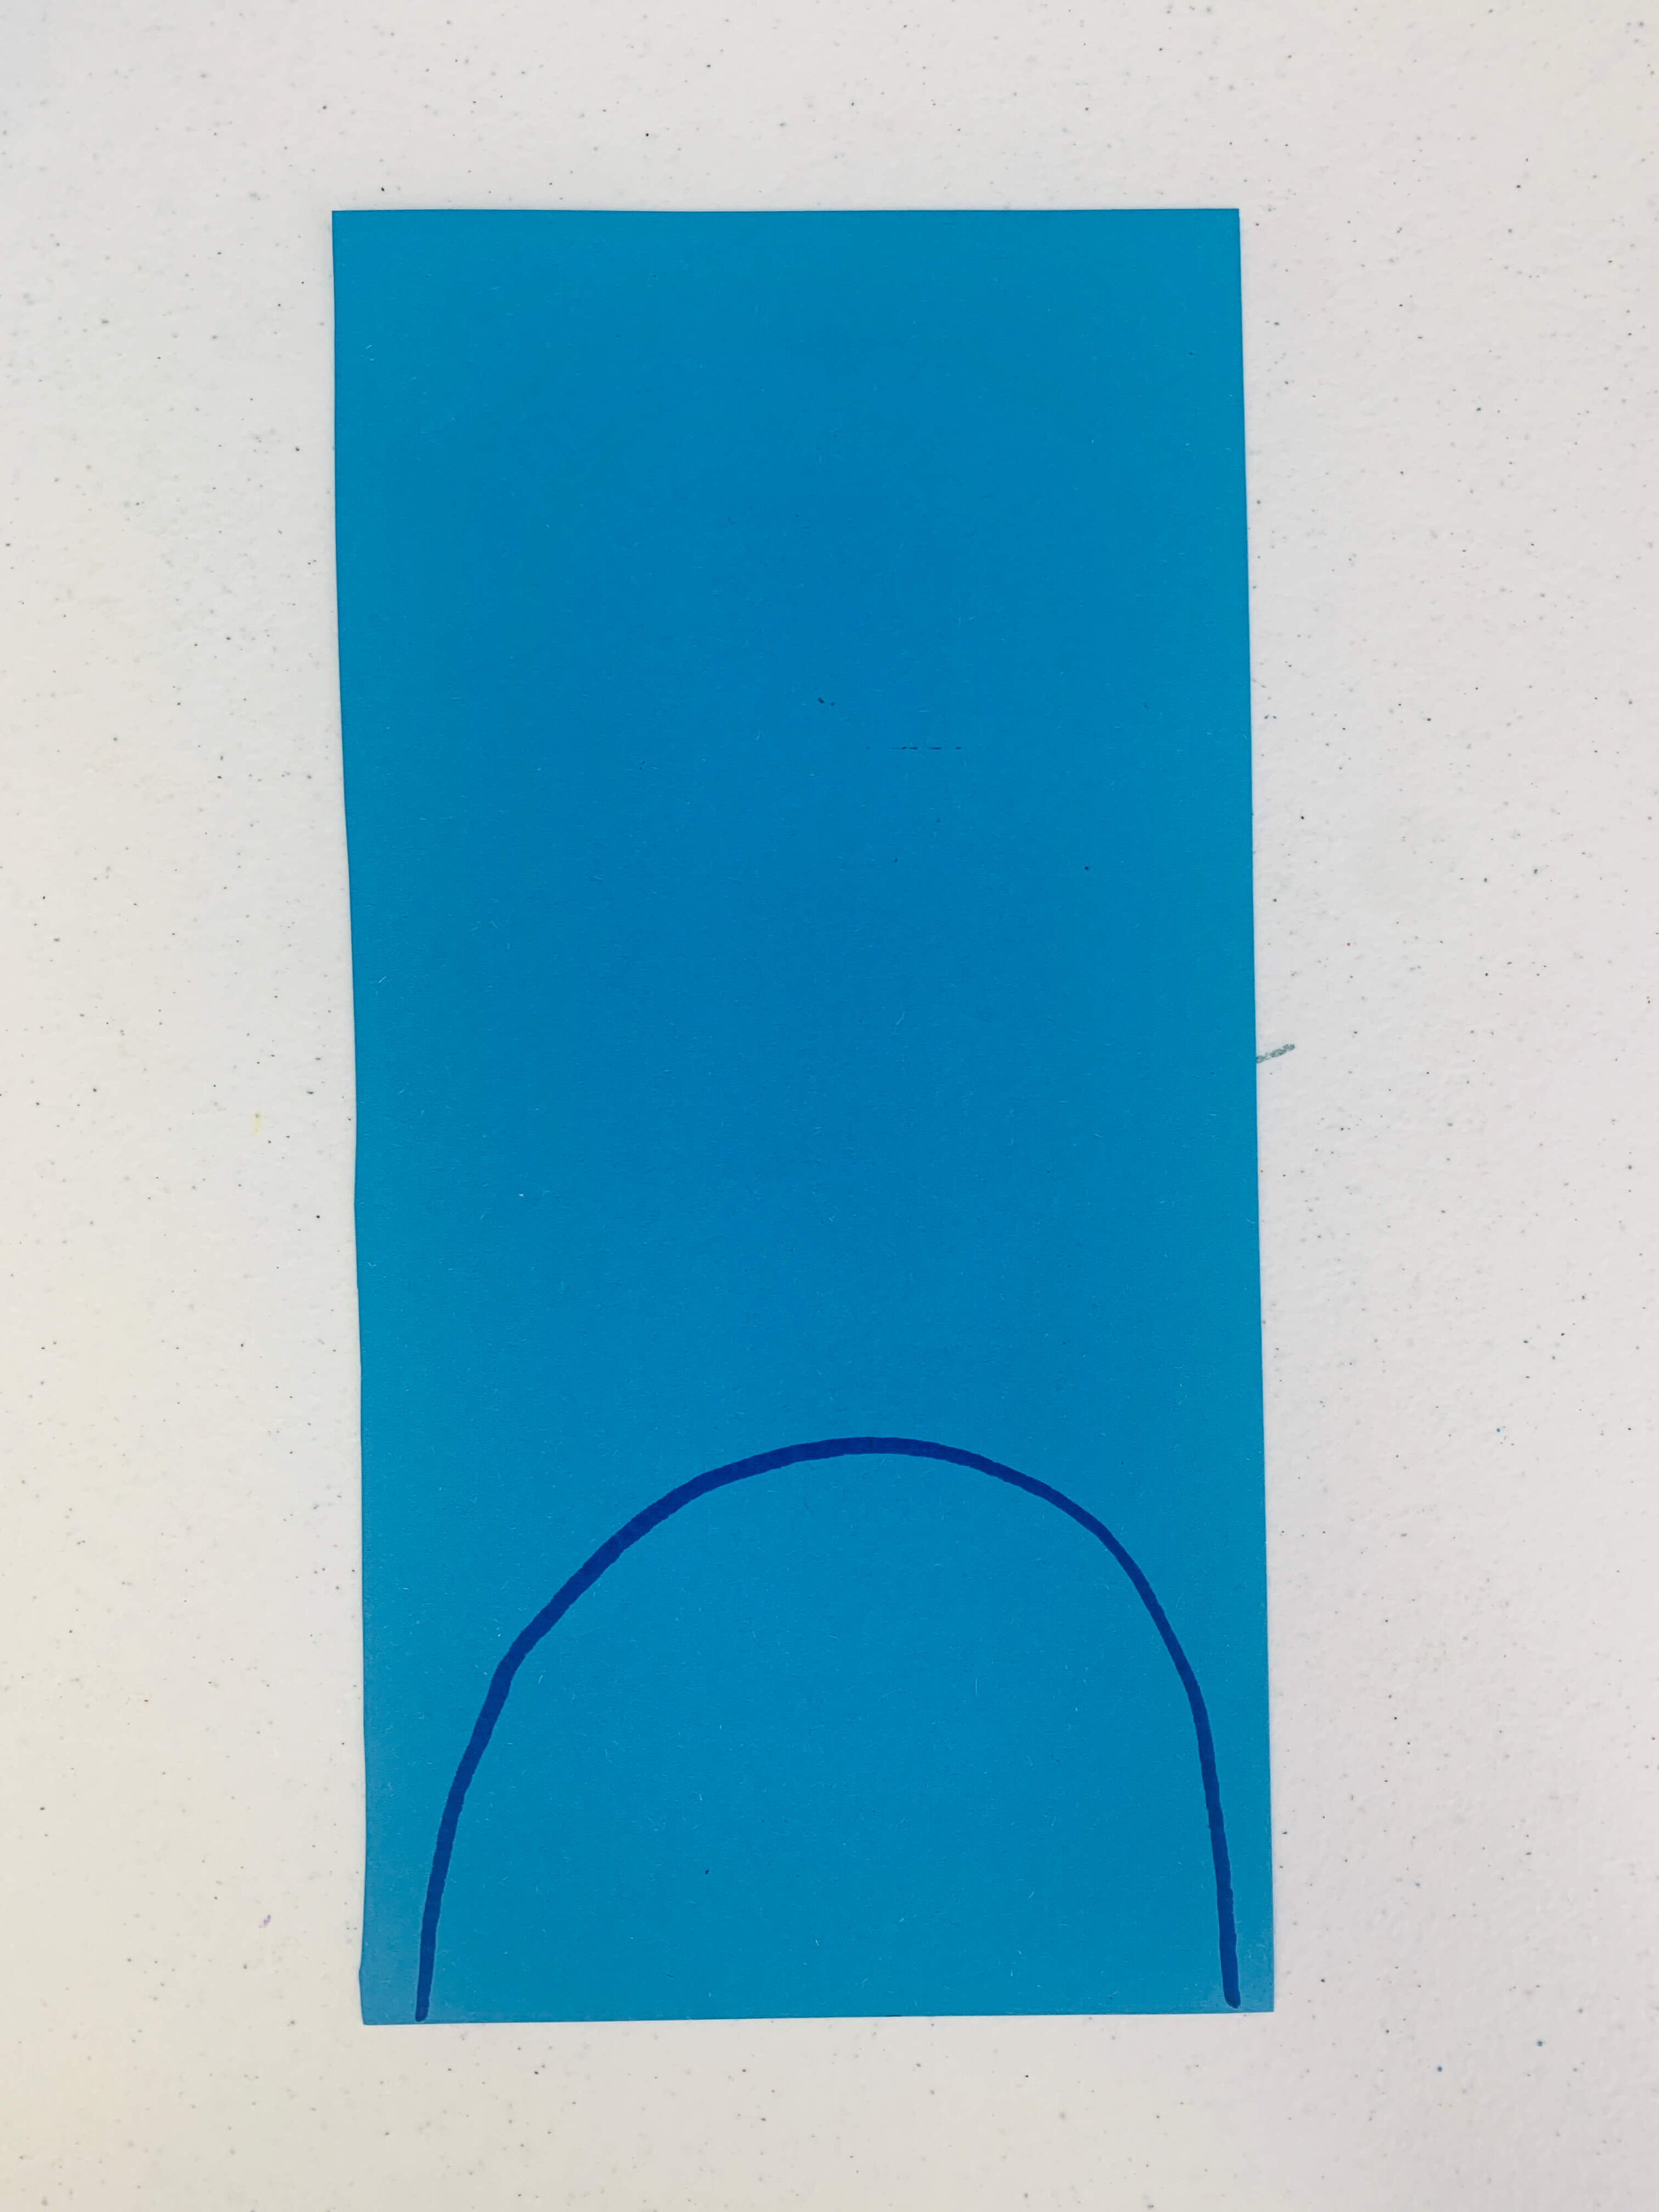
Rectangle
Find your rectangle shape from the beginning. On one side of the rectangle draw this shape. The shape looks like a rainbow or maybe a big N.
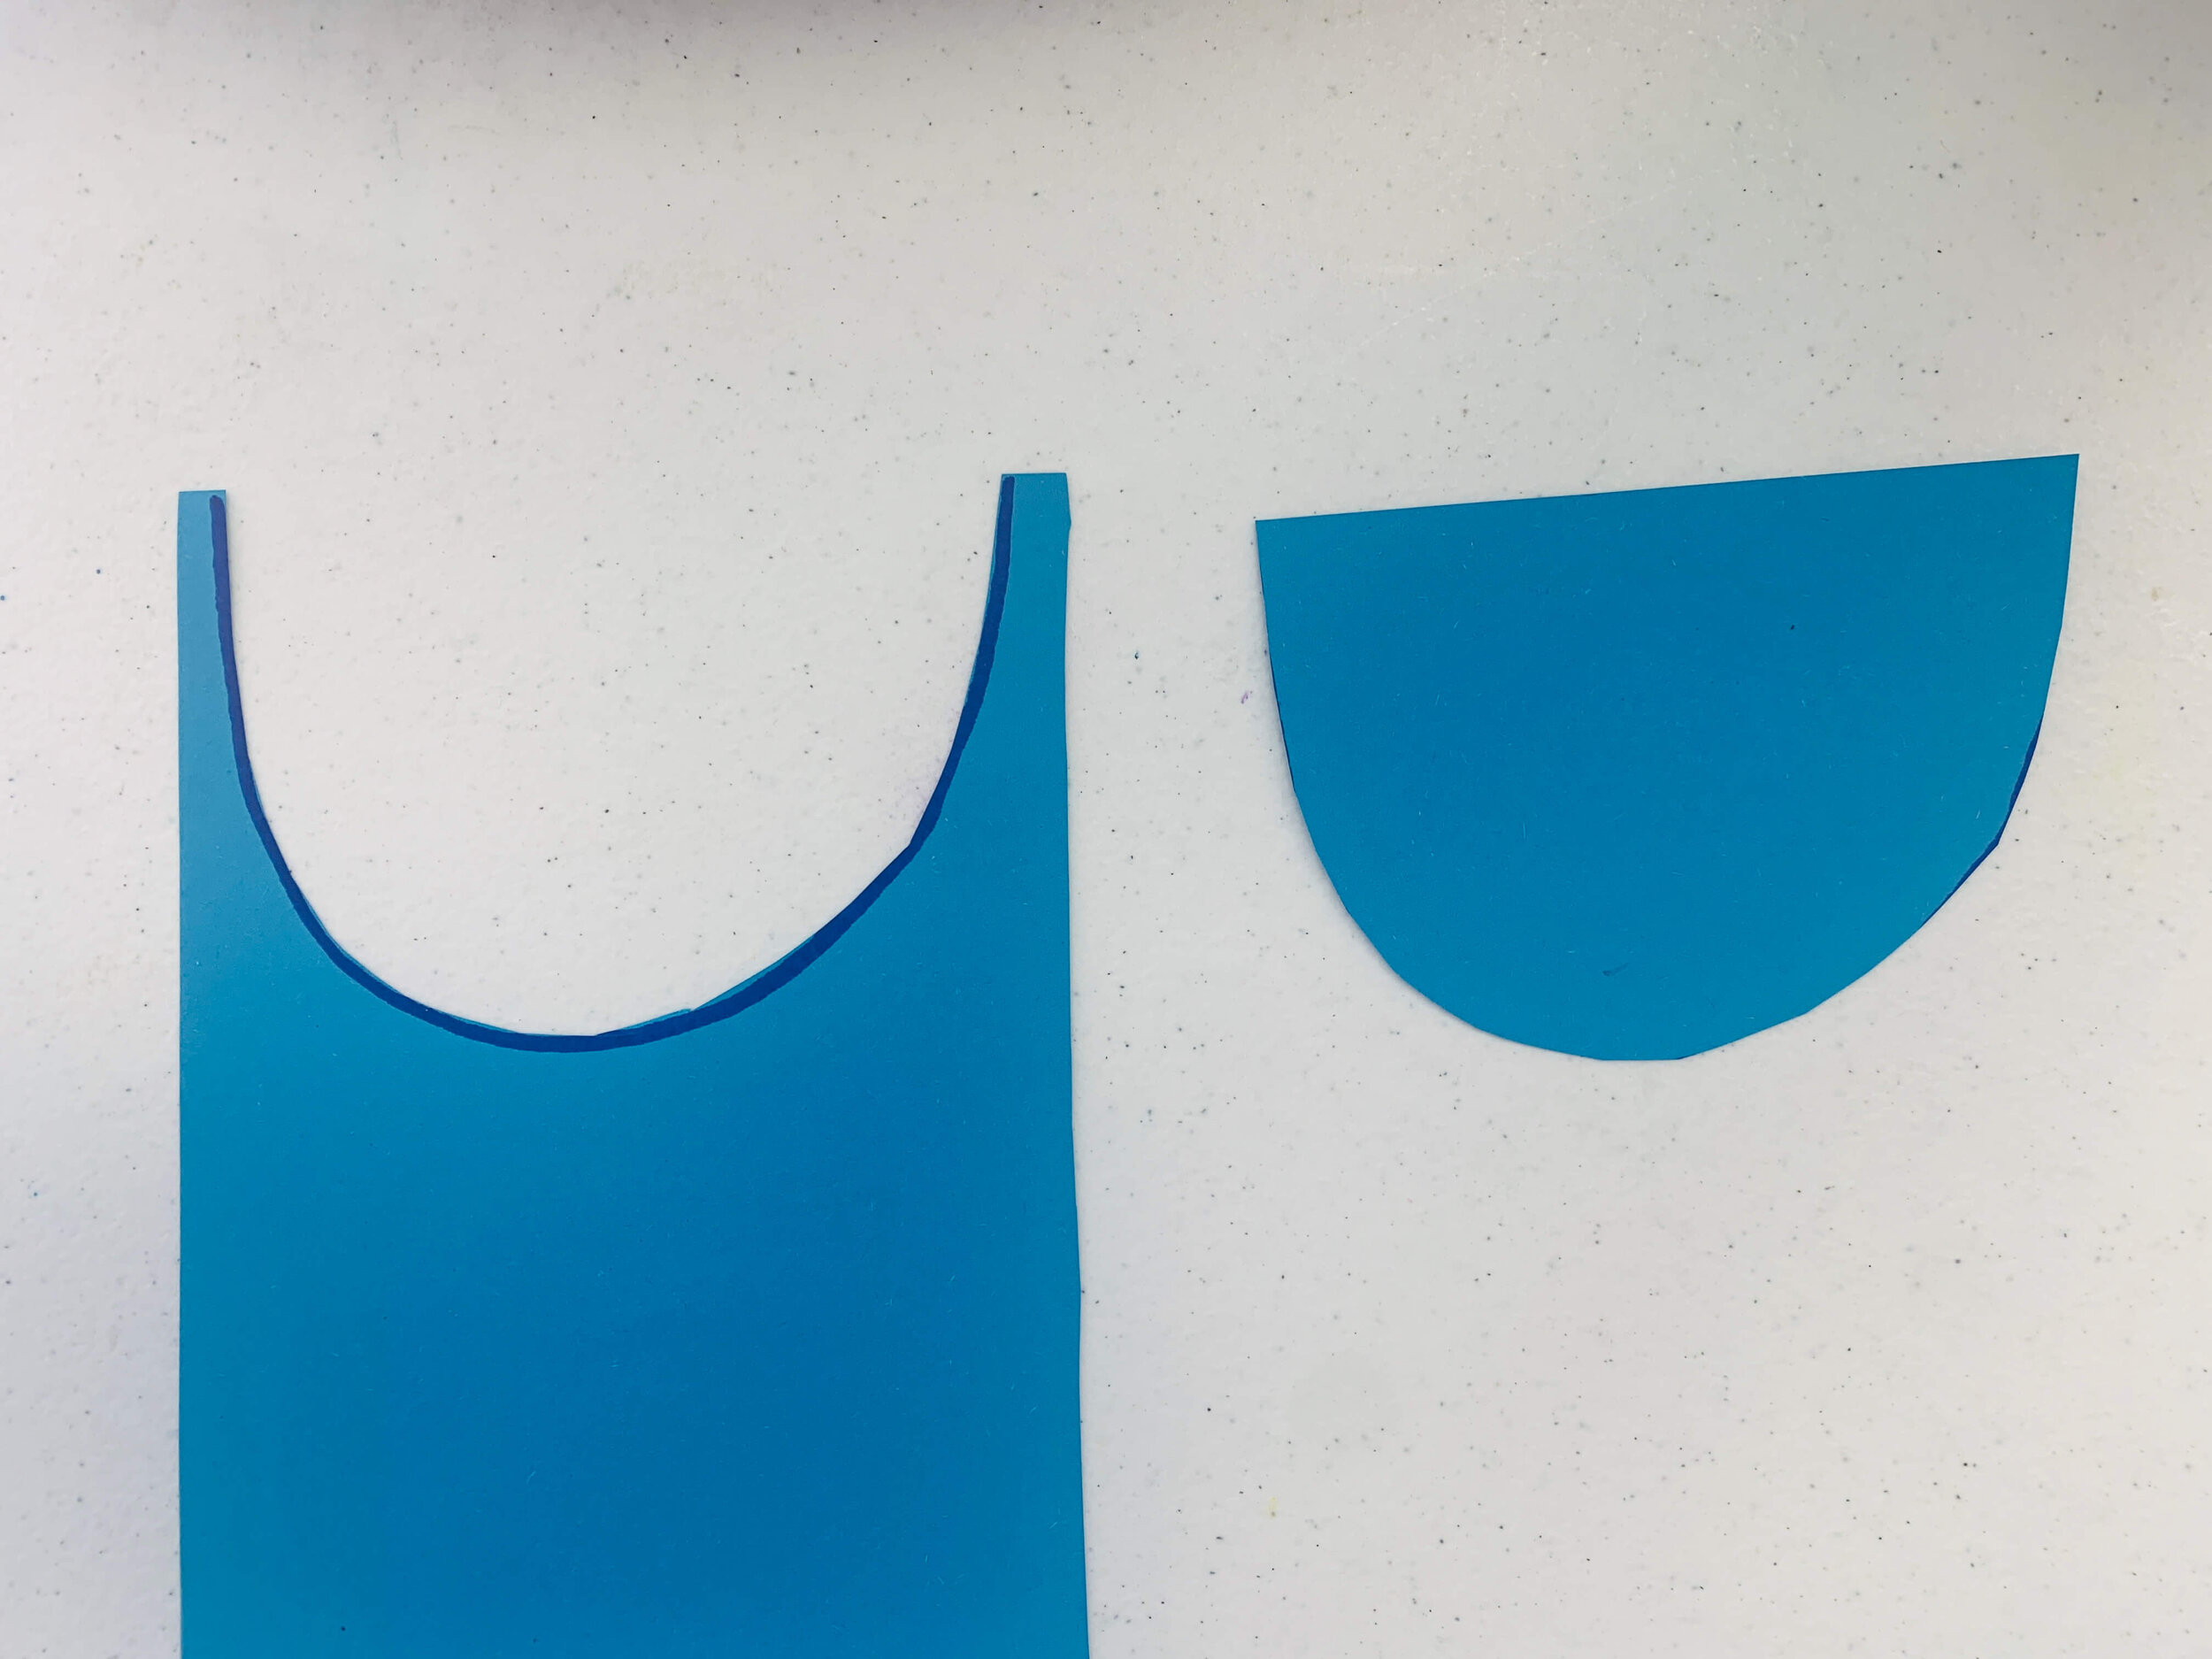
Cut It Out
We want to cut that rainbow shape out. This shape is actually the bottom lip.
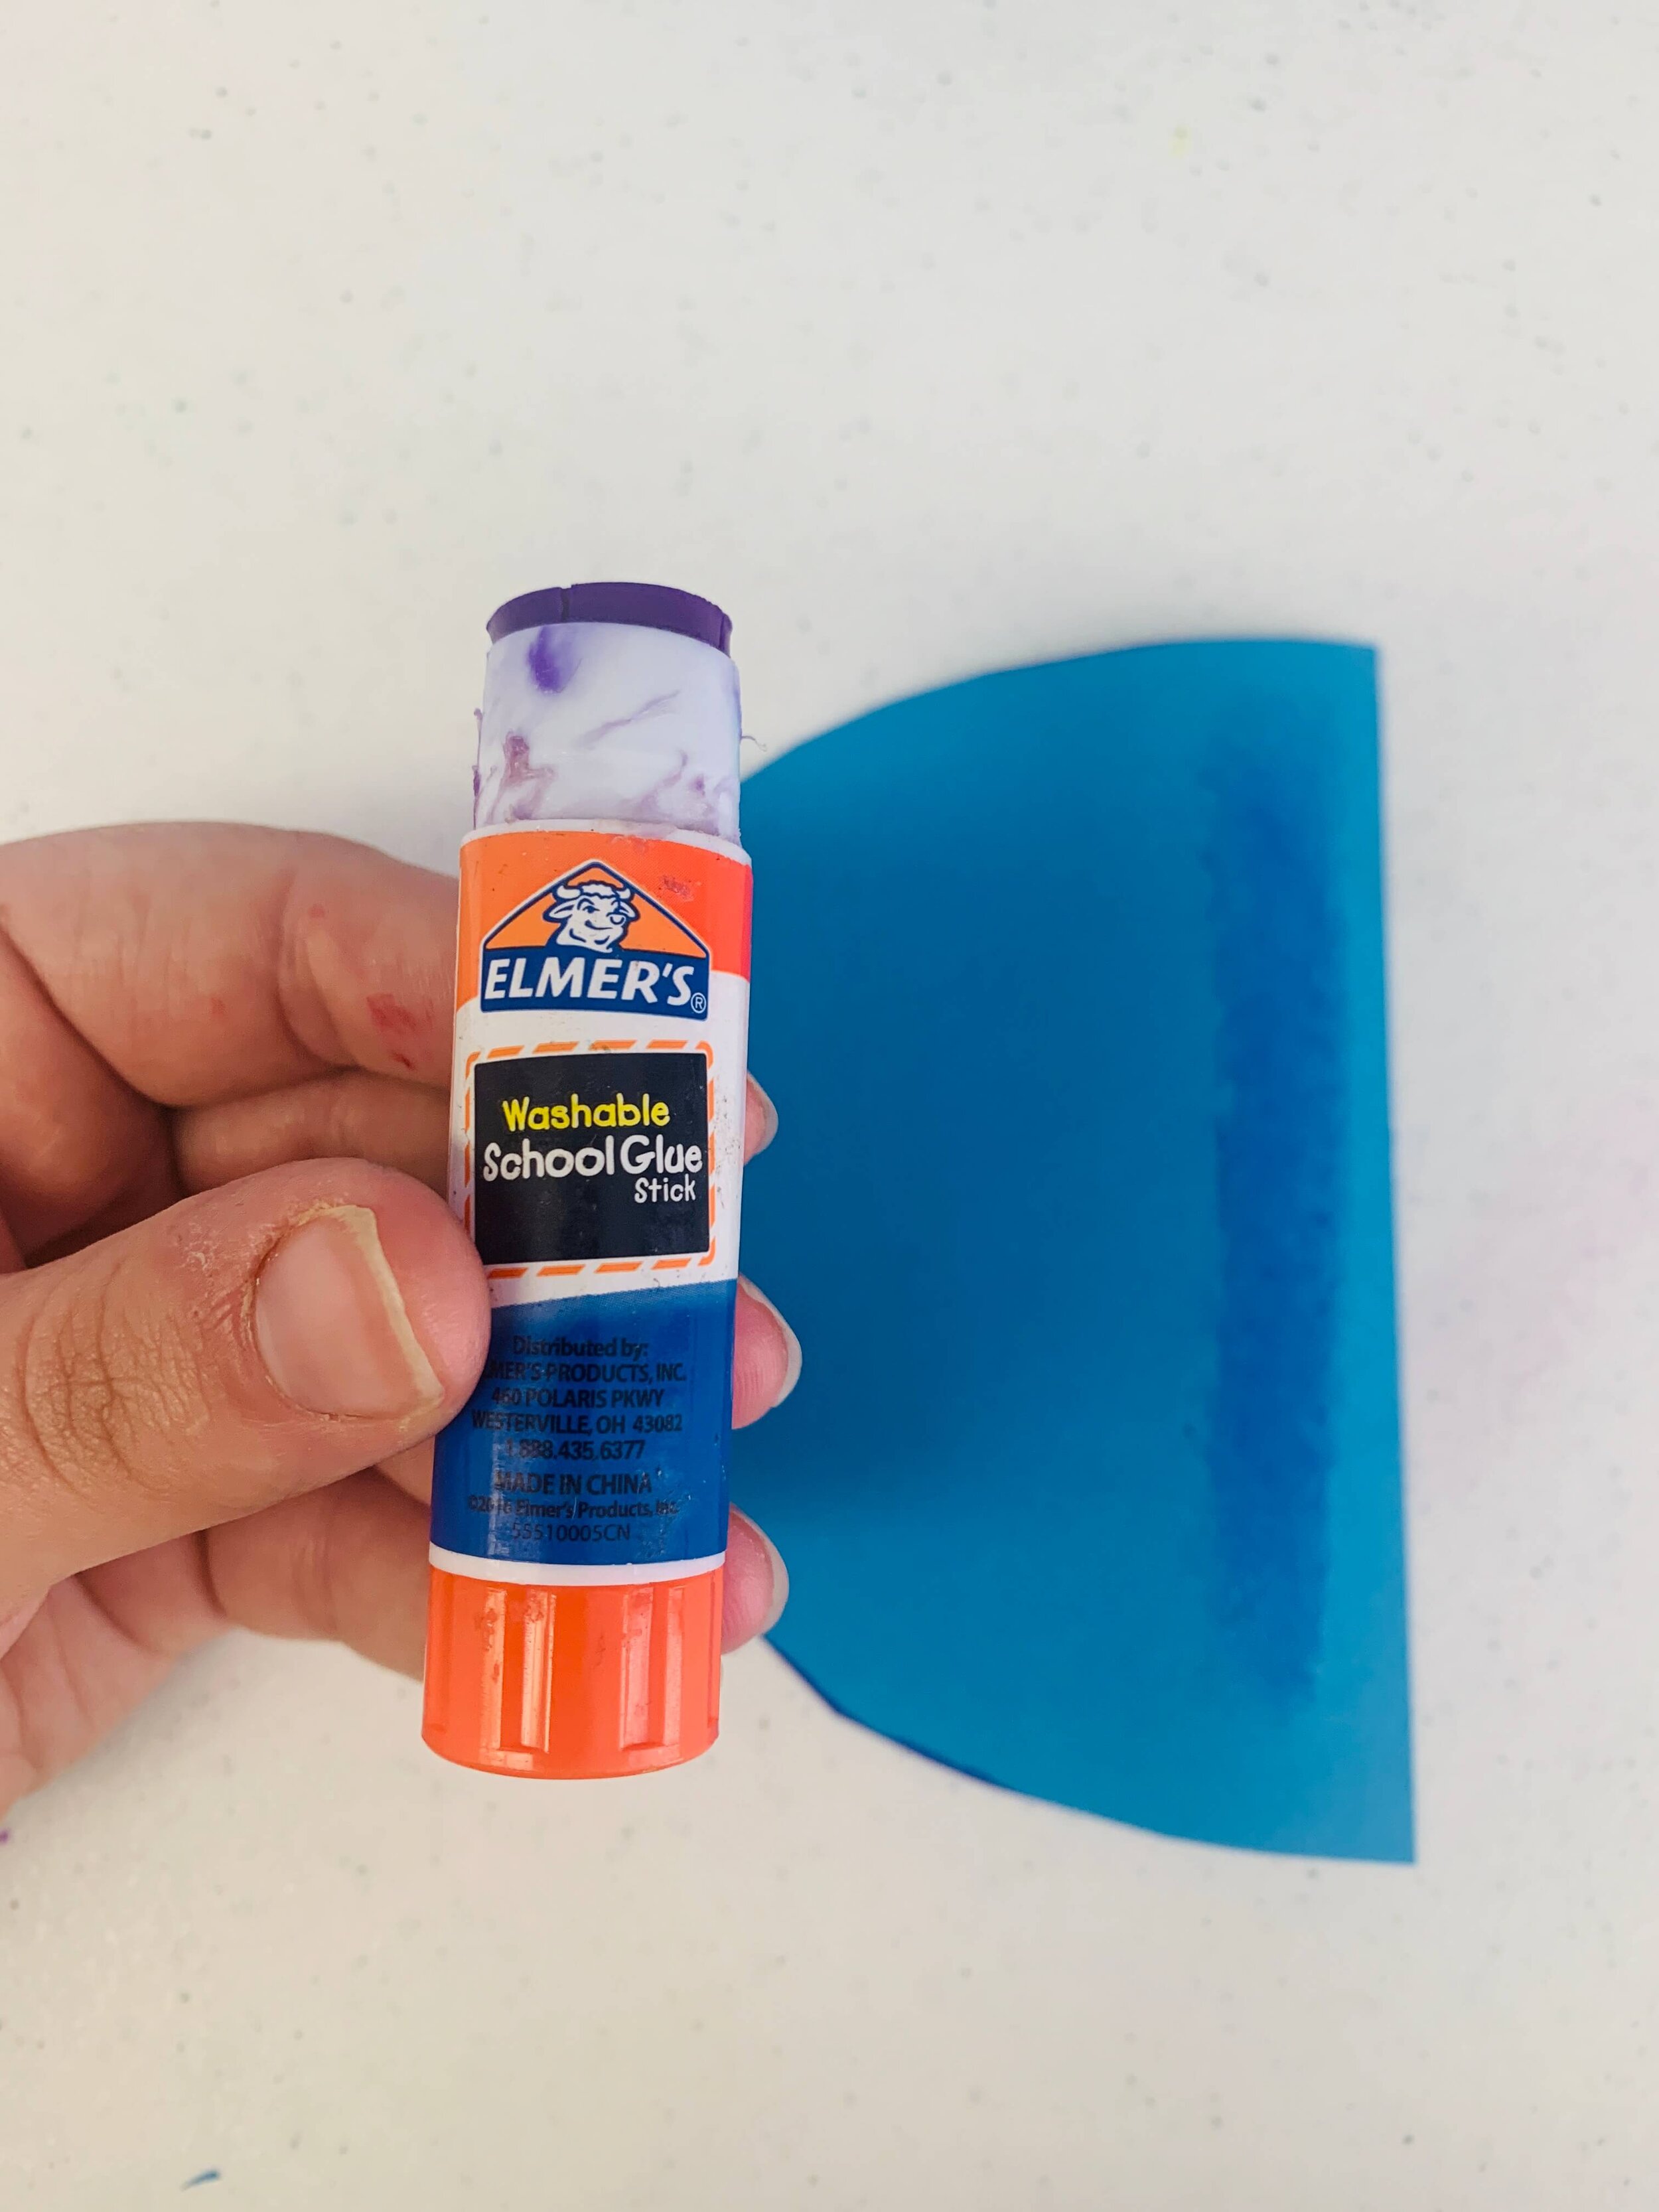
Glue One Line
We don’t want to put glue all over the shape because a little should be sticking out of the mouth. All we need is one line on the straight part of the shape.
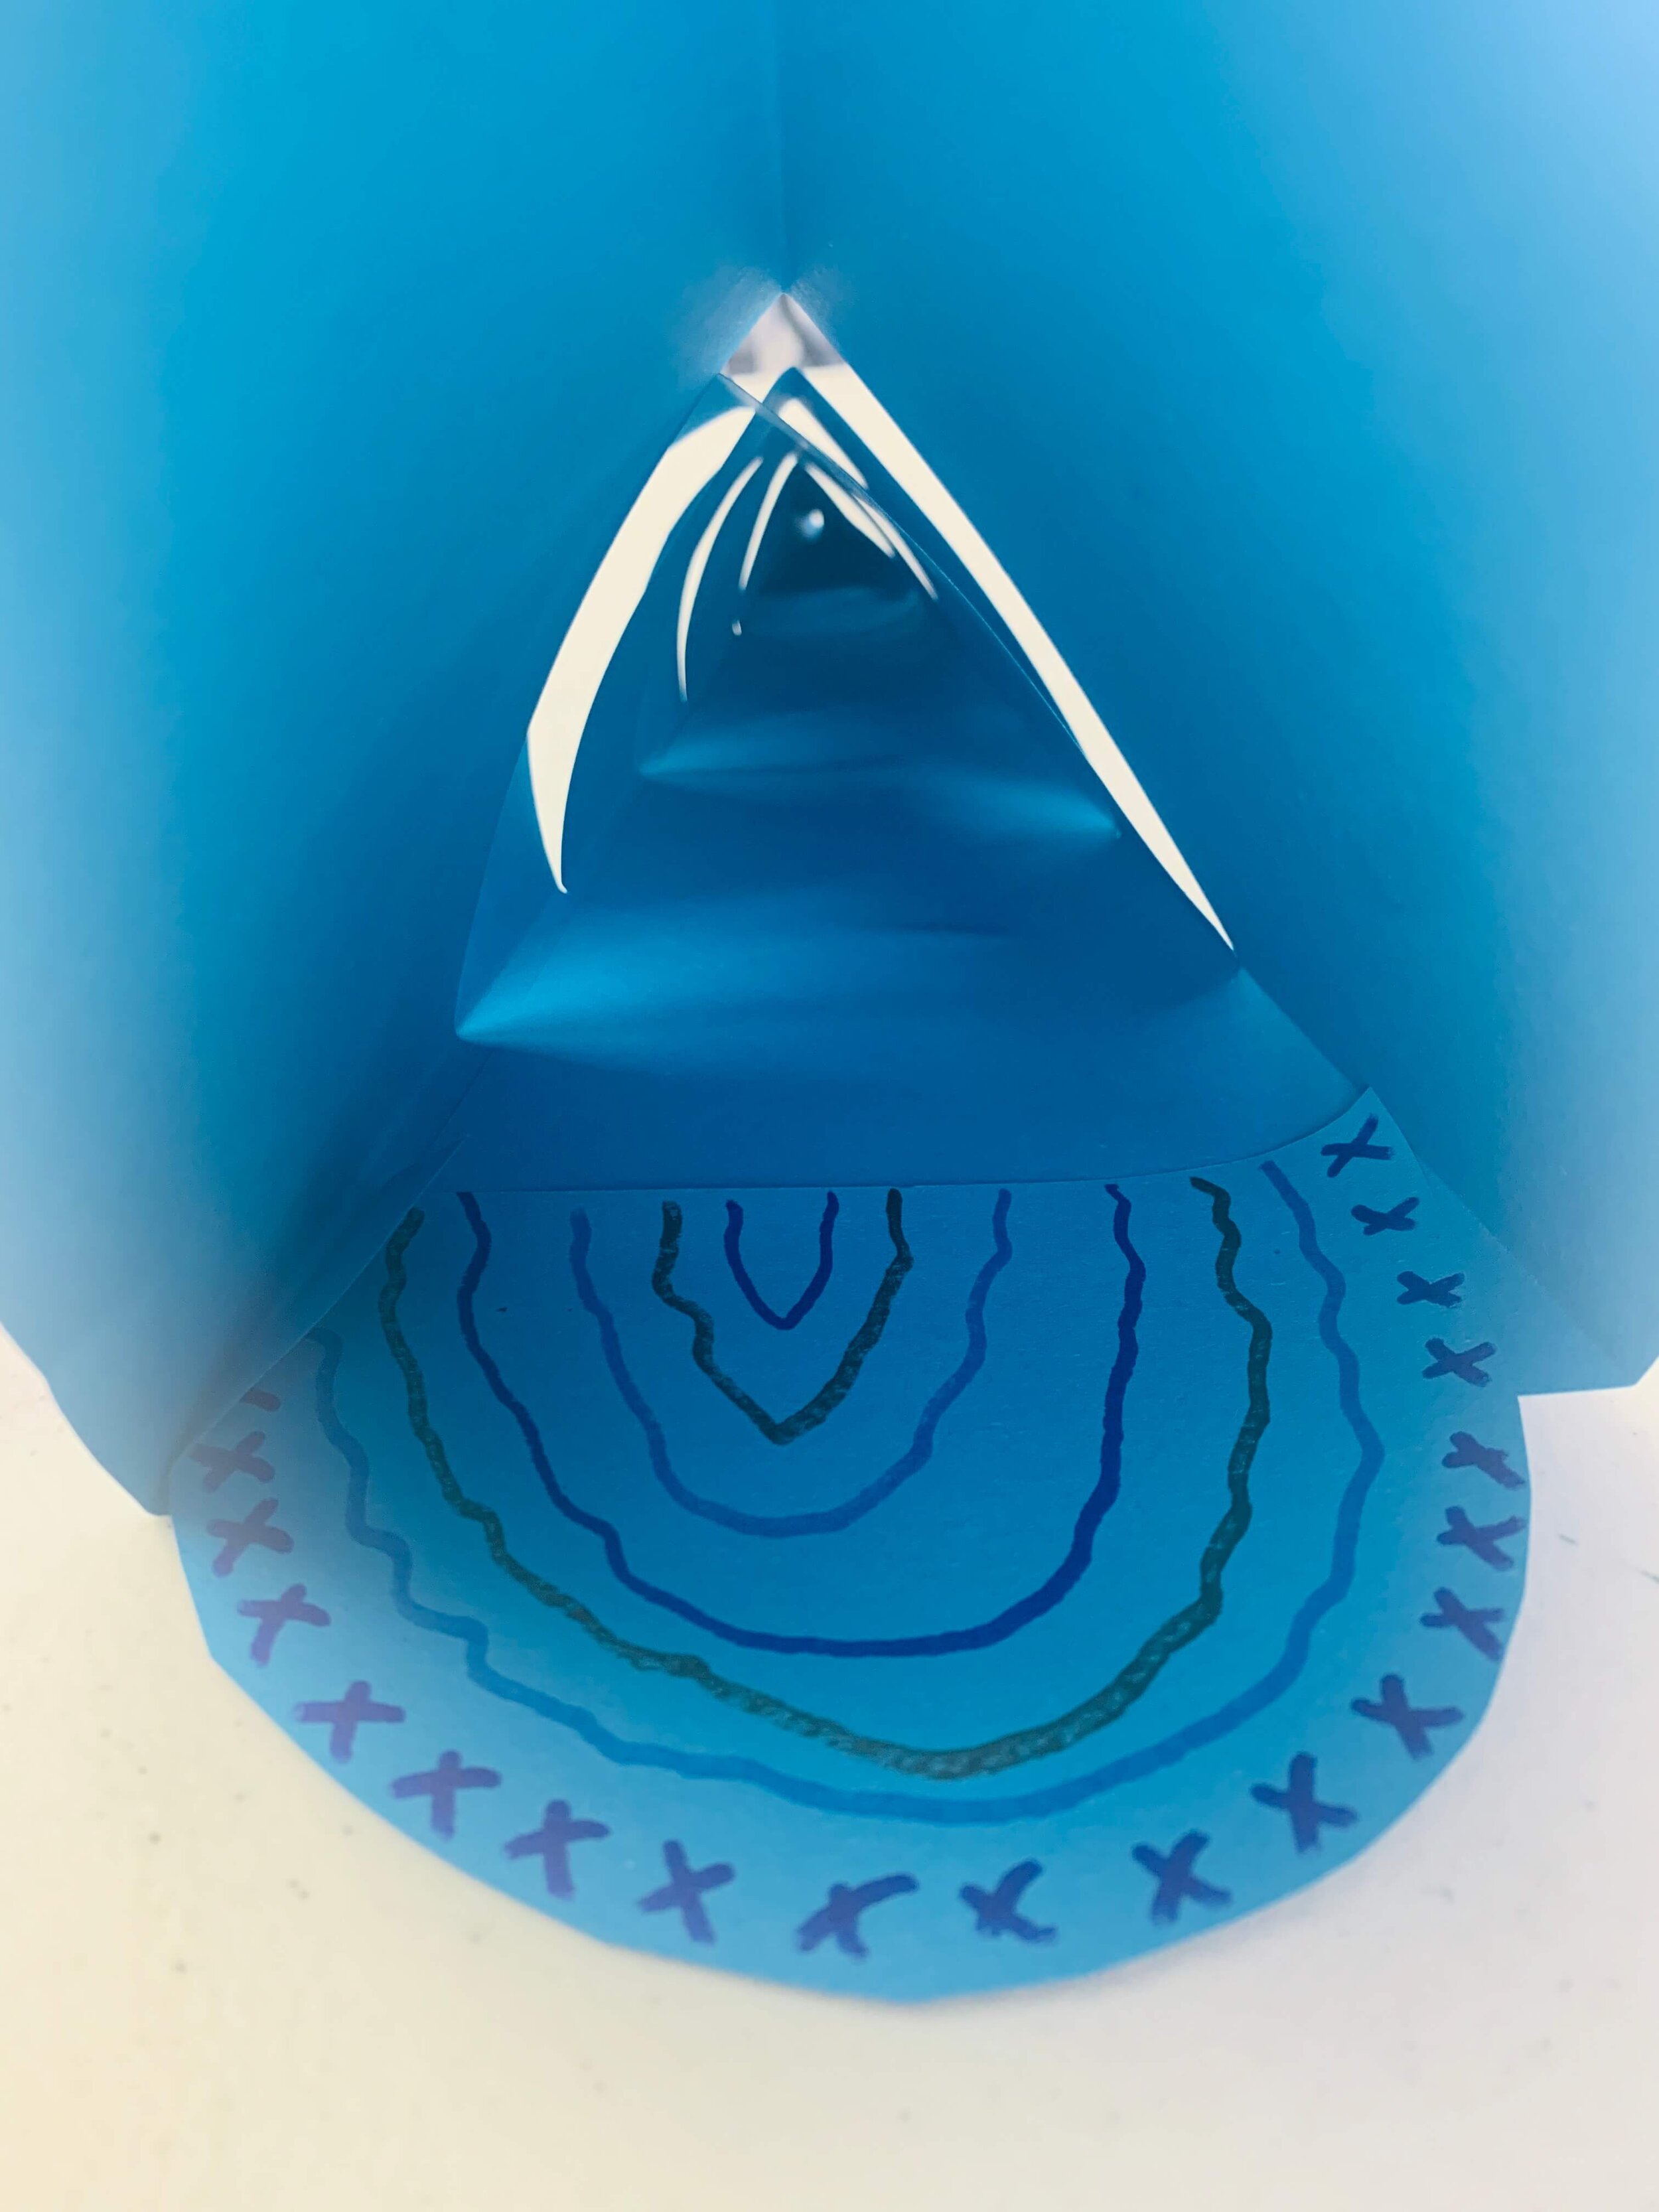
Stick It In
Stick it in the mouth and press down. Give it a wiggle test to make sure it stays in. If it falls out, apply more glue. You can even decorate the bottom lip if you want. Most kids will say they want to draw a tongue or that they would like to add teeth.
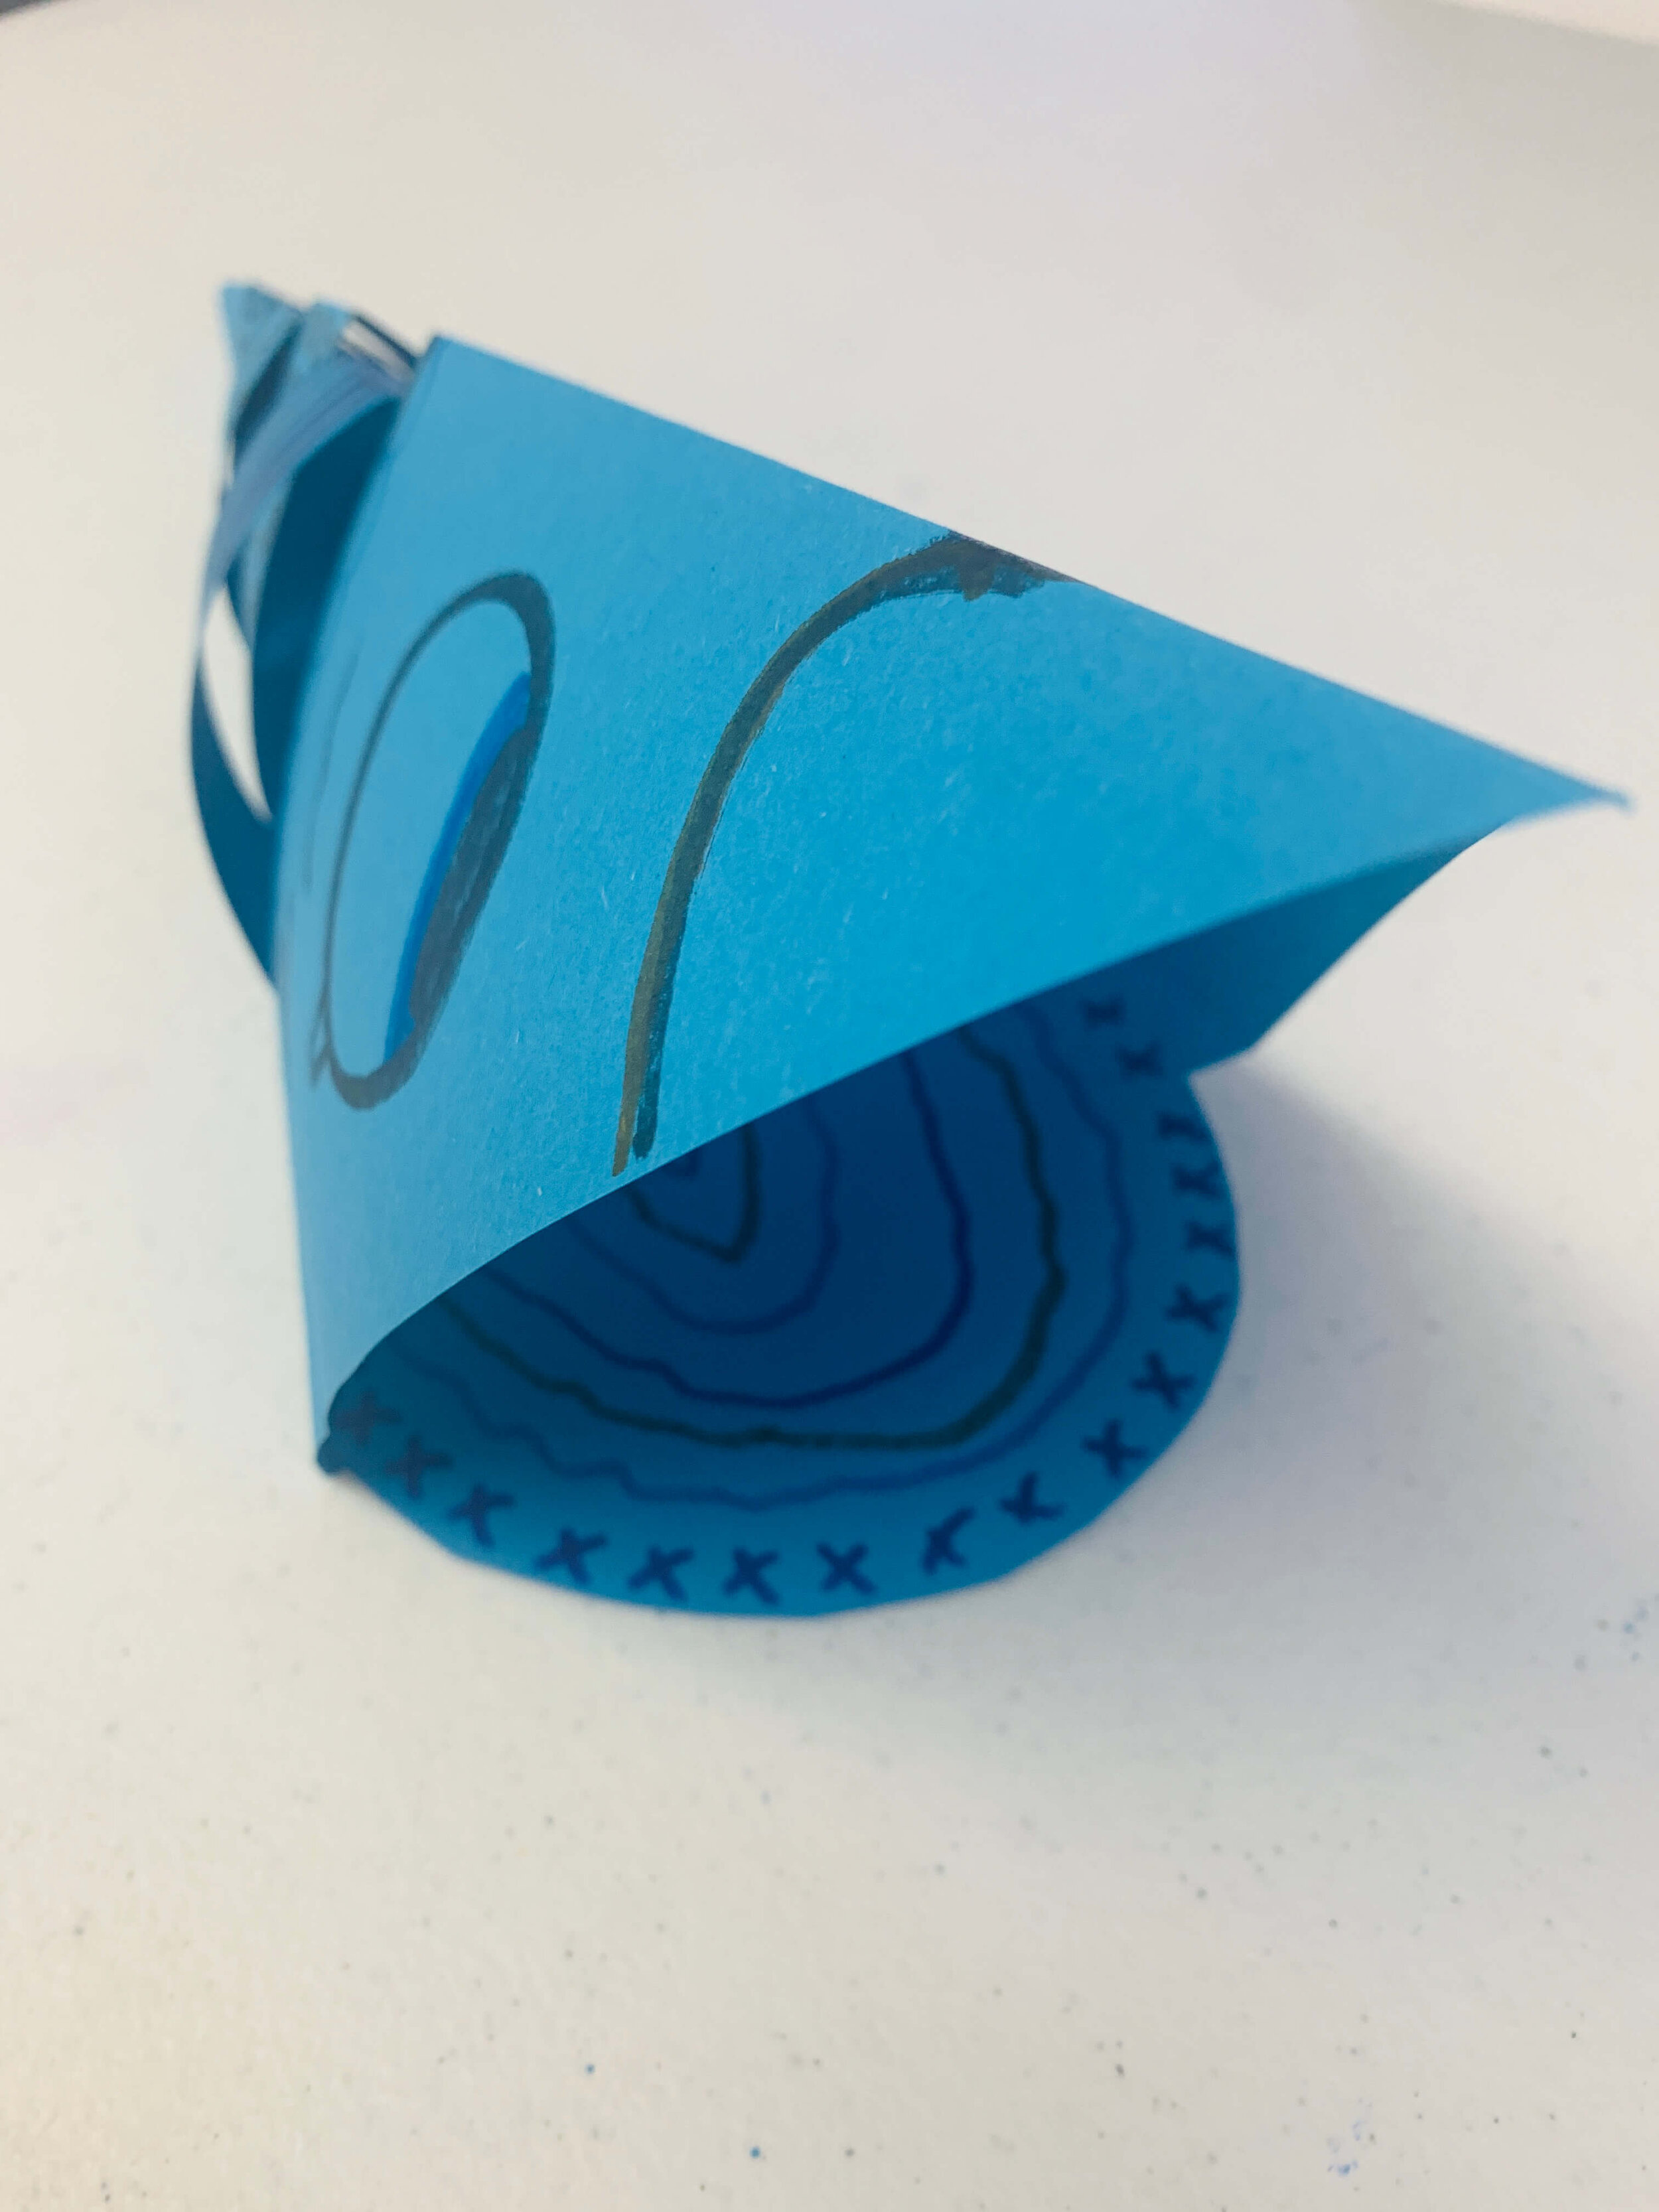
Almost there..
Now we have the body and the lip but we are missing one important thing that all fish need. FINS! The fins are essential to how a fish moves. The back fin helps with speed, the dorsal fin (up top) helps keep the balance, and the pectoral fins on the sides help with the directions.
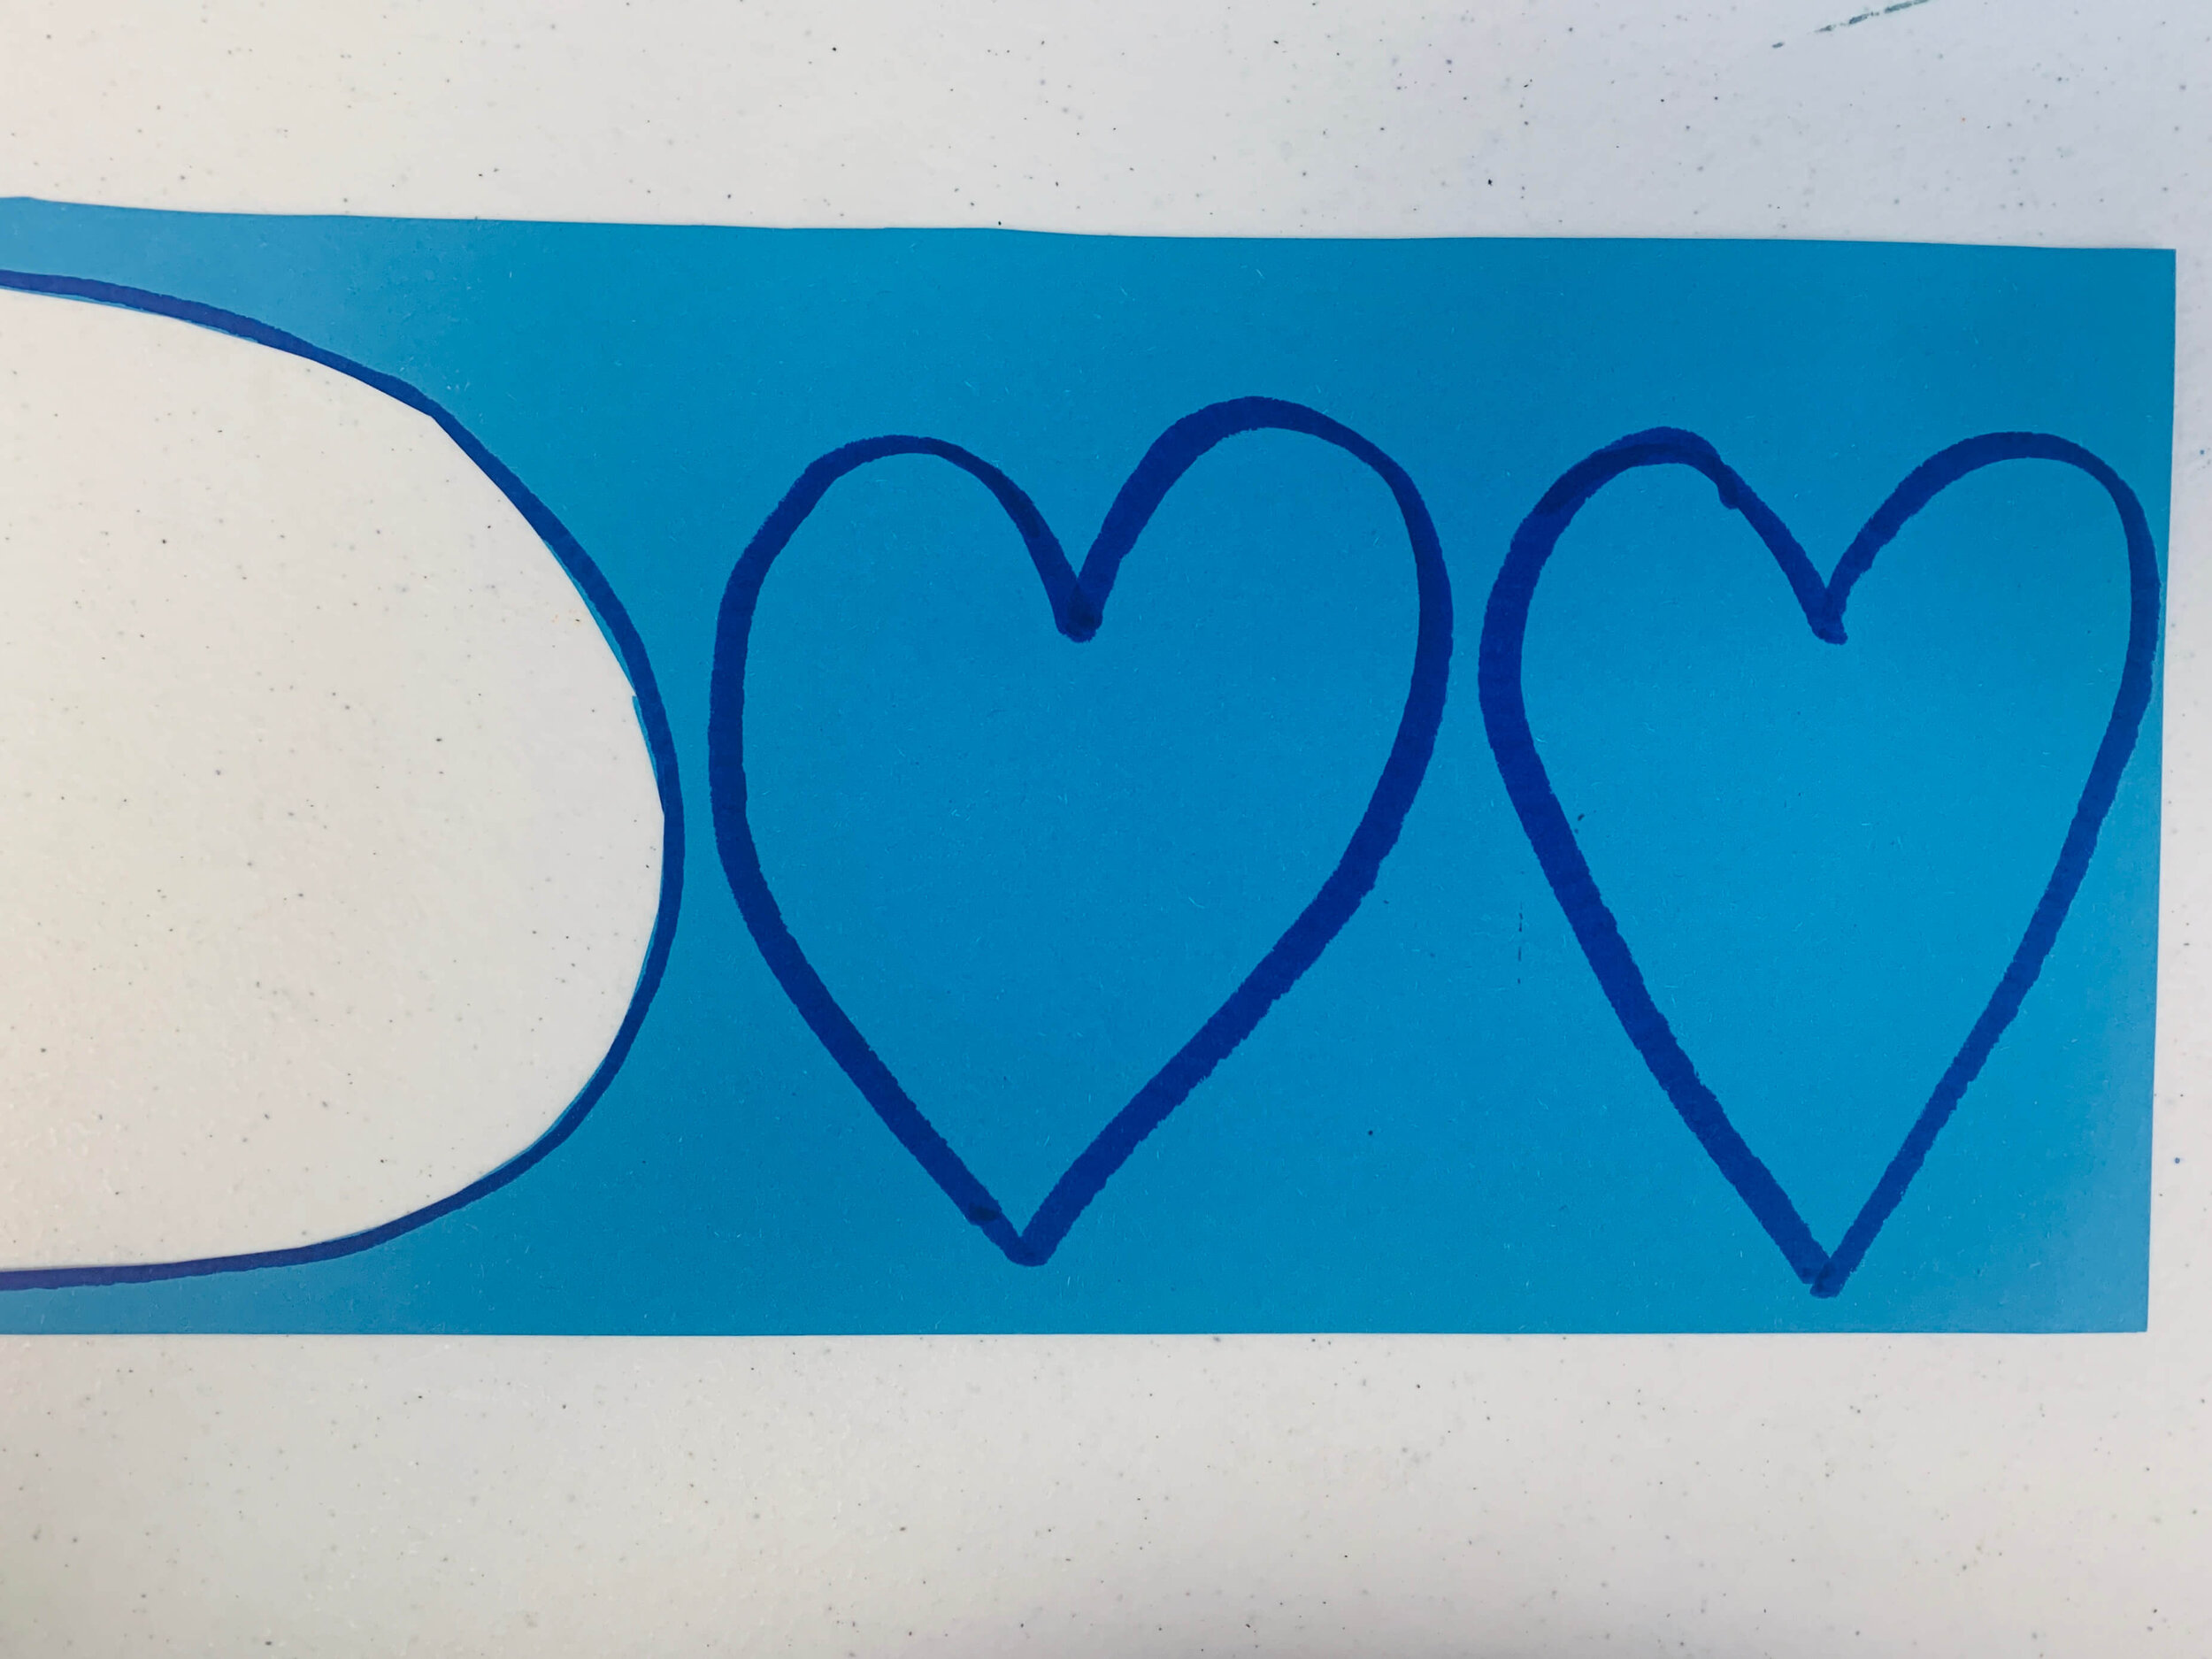
Left Over Paper
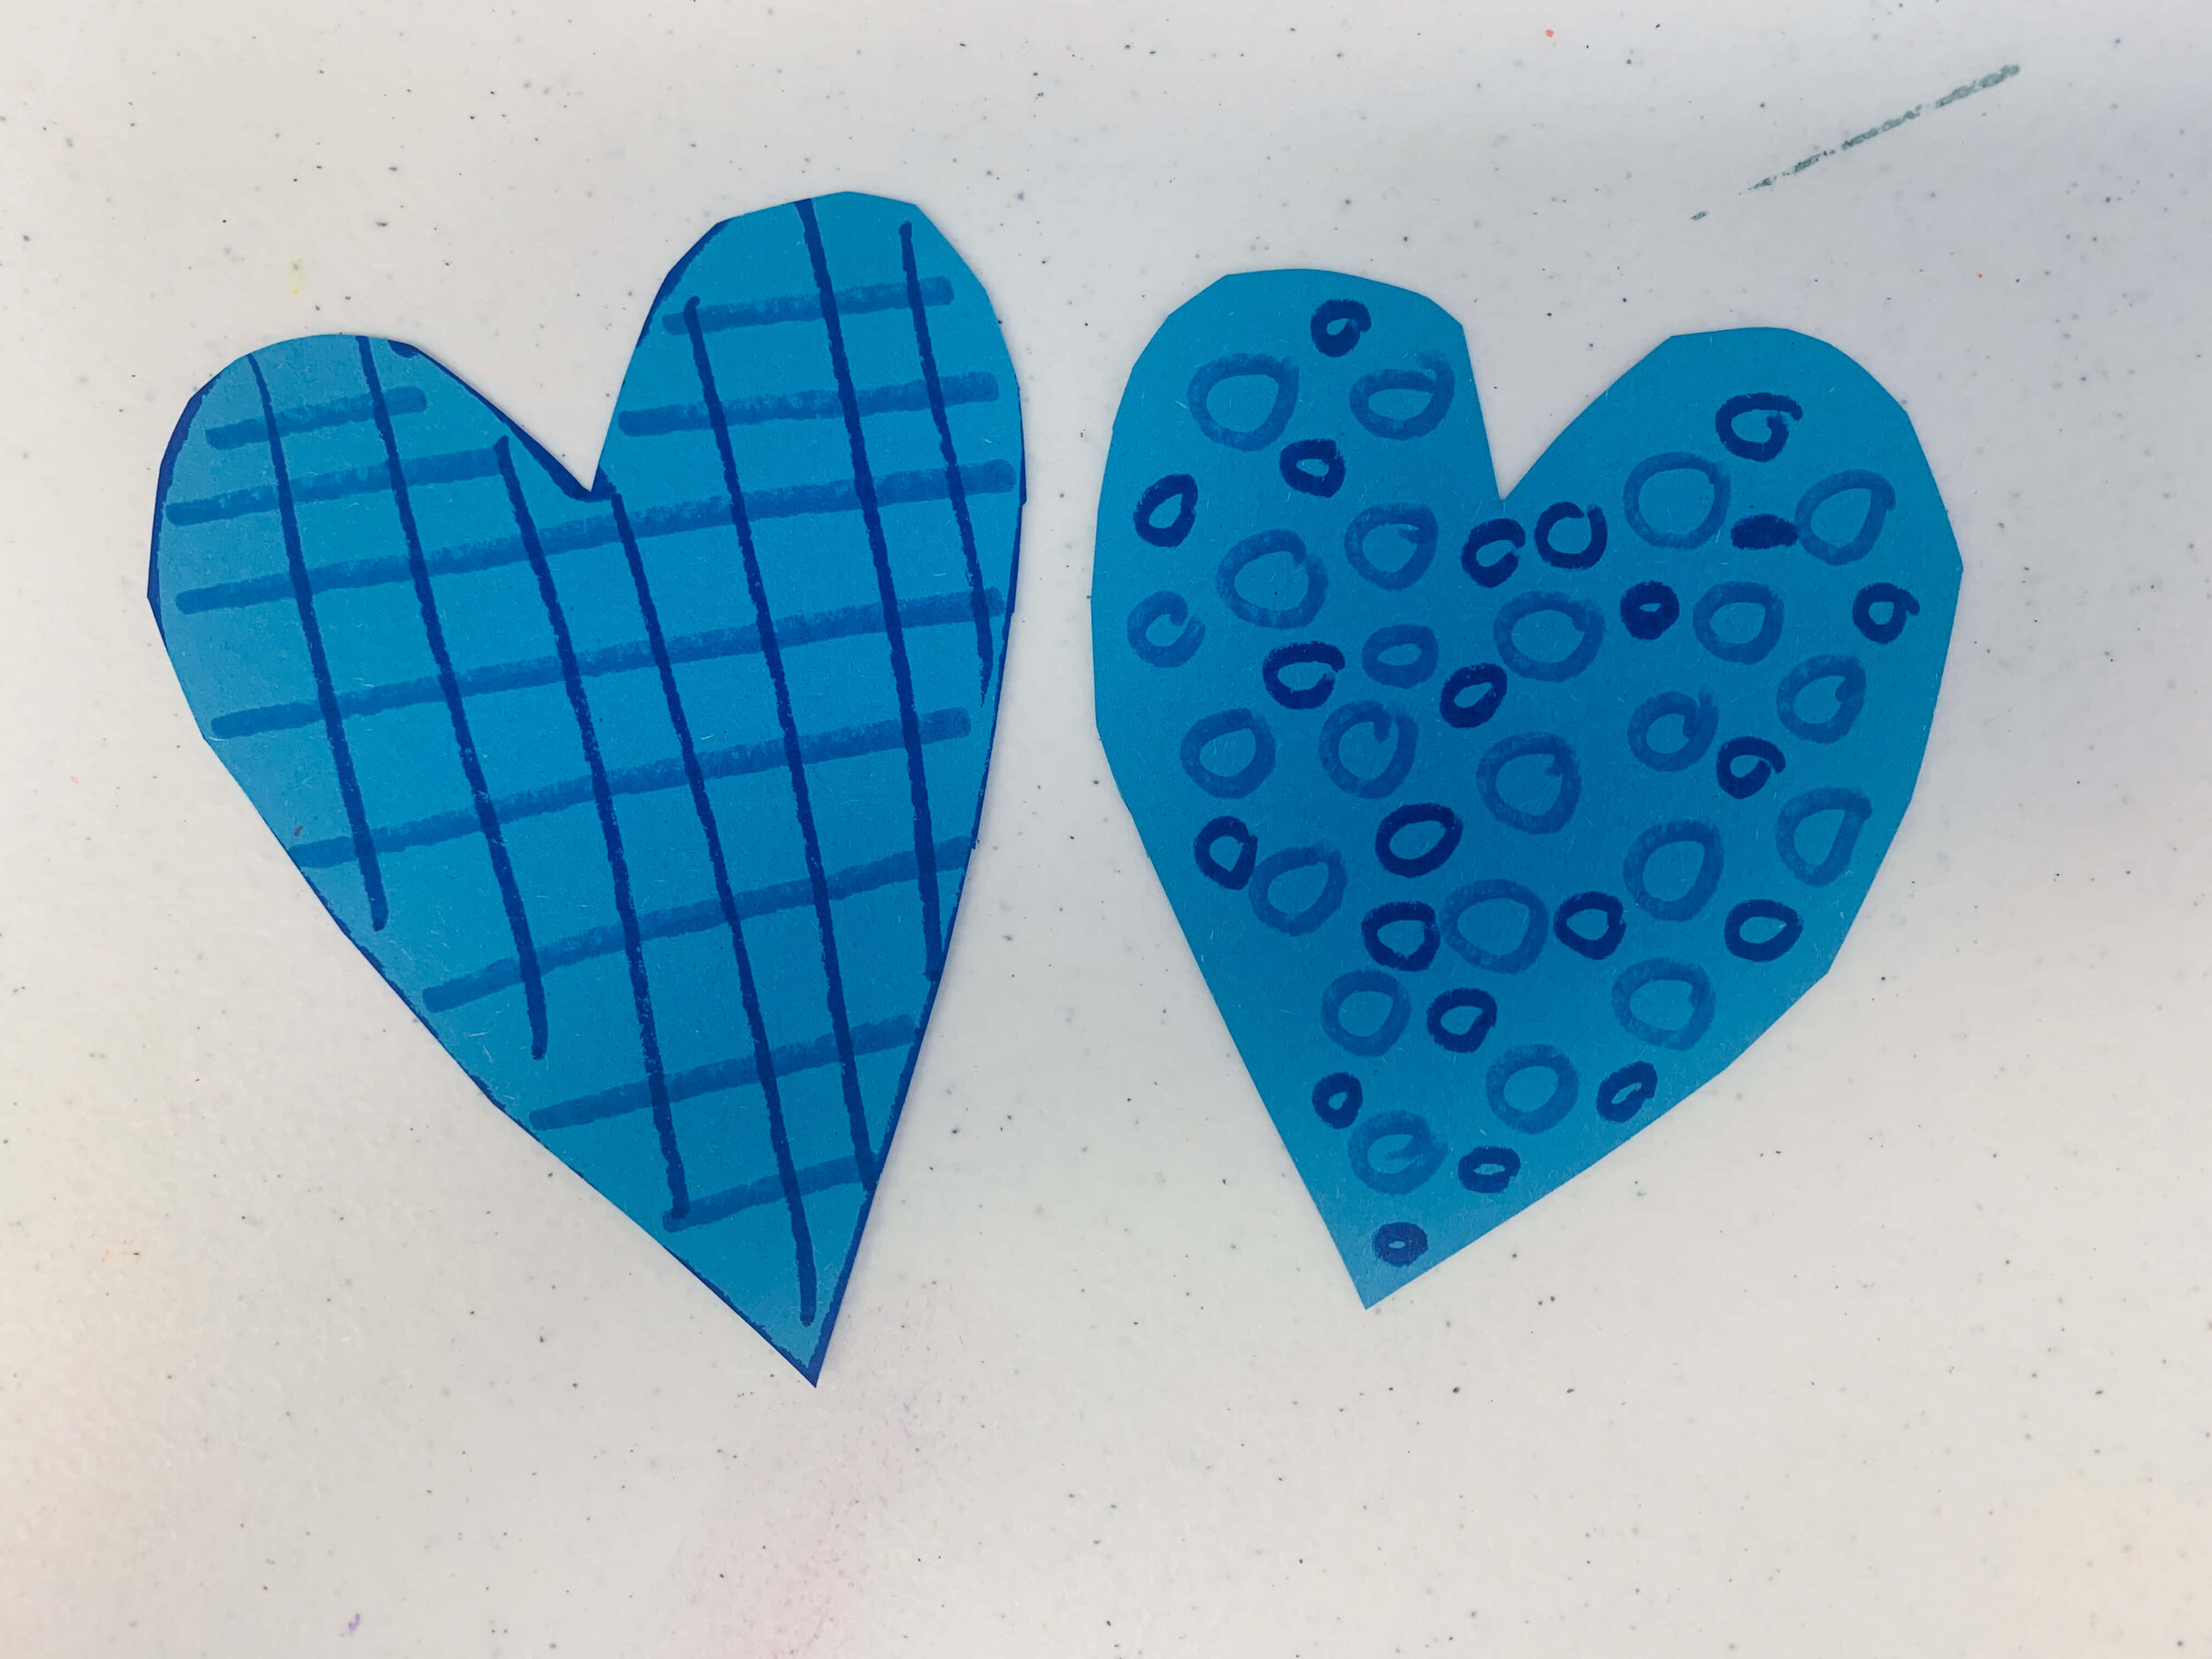
You can use the scraps from the rectangle if you would like or you can get a new sheet of paper. Draw two large heart shapes.
Cut and Decorate
Cut those two hearts out. After you cut them out decorate both sides of each heart.
The Back Fin
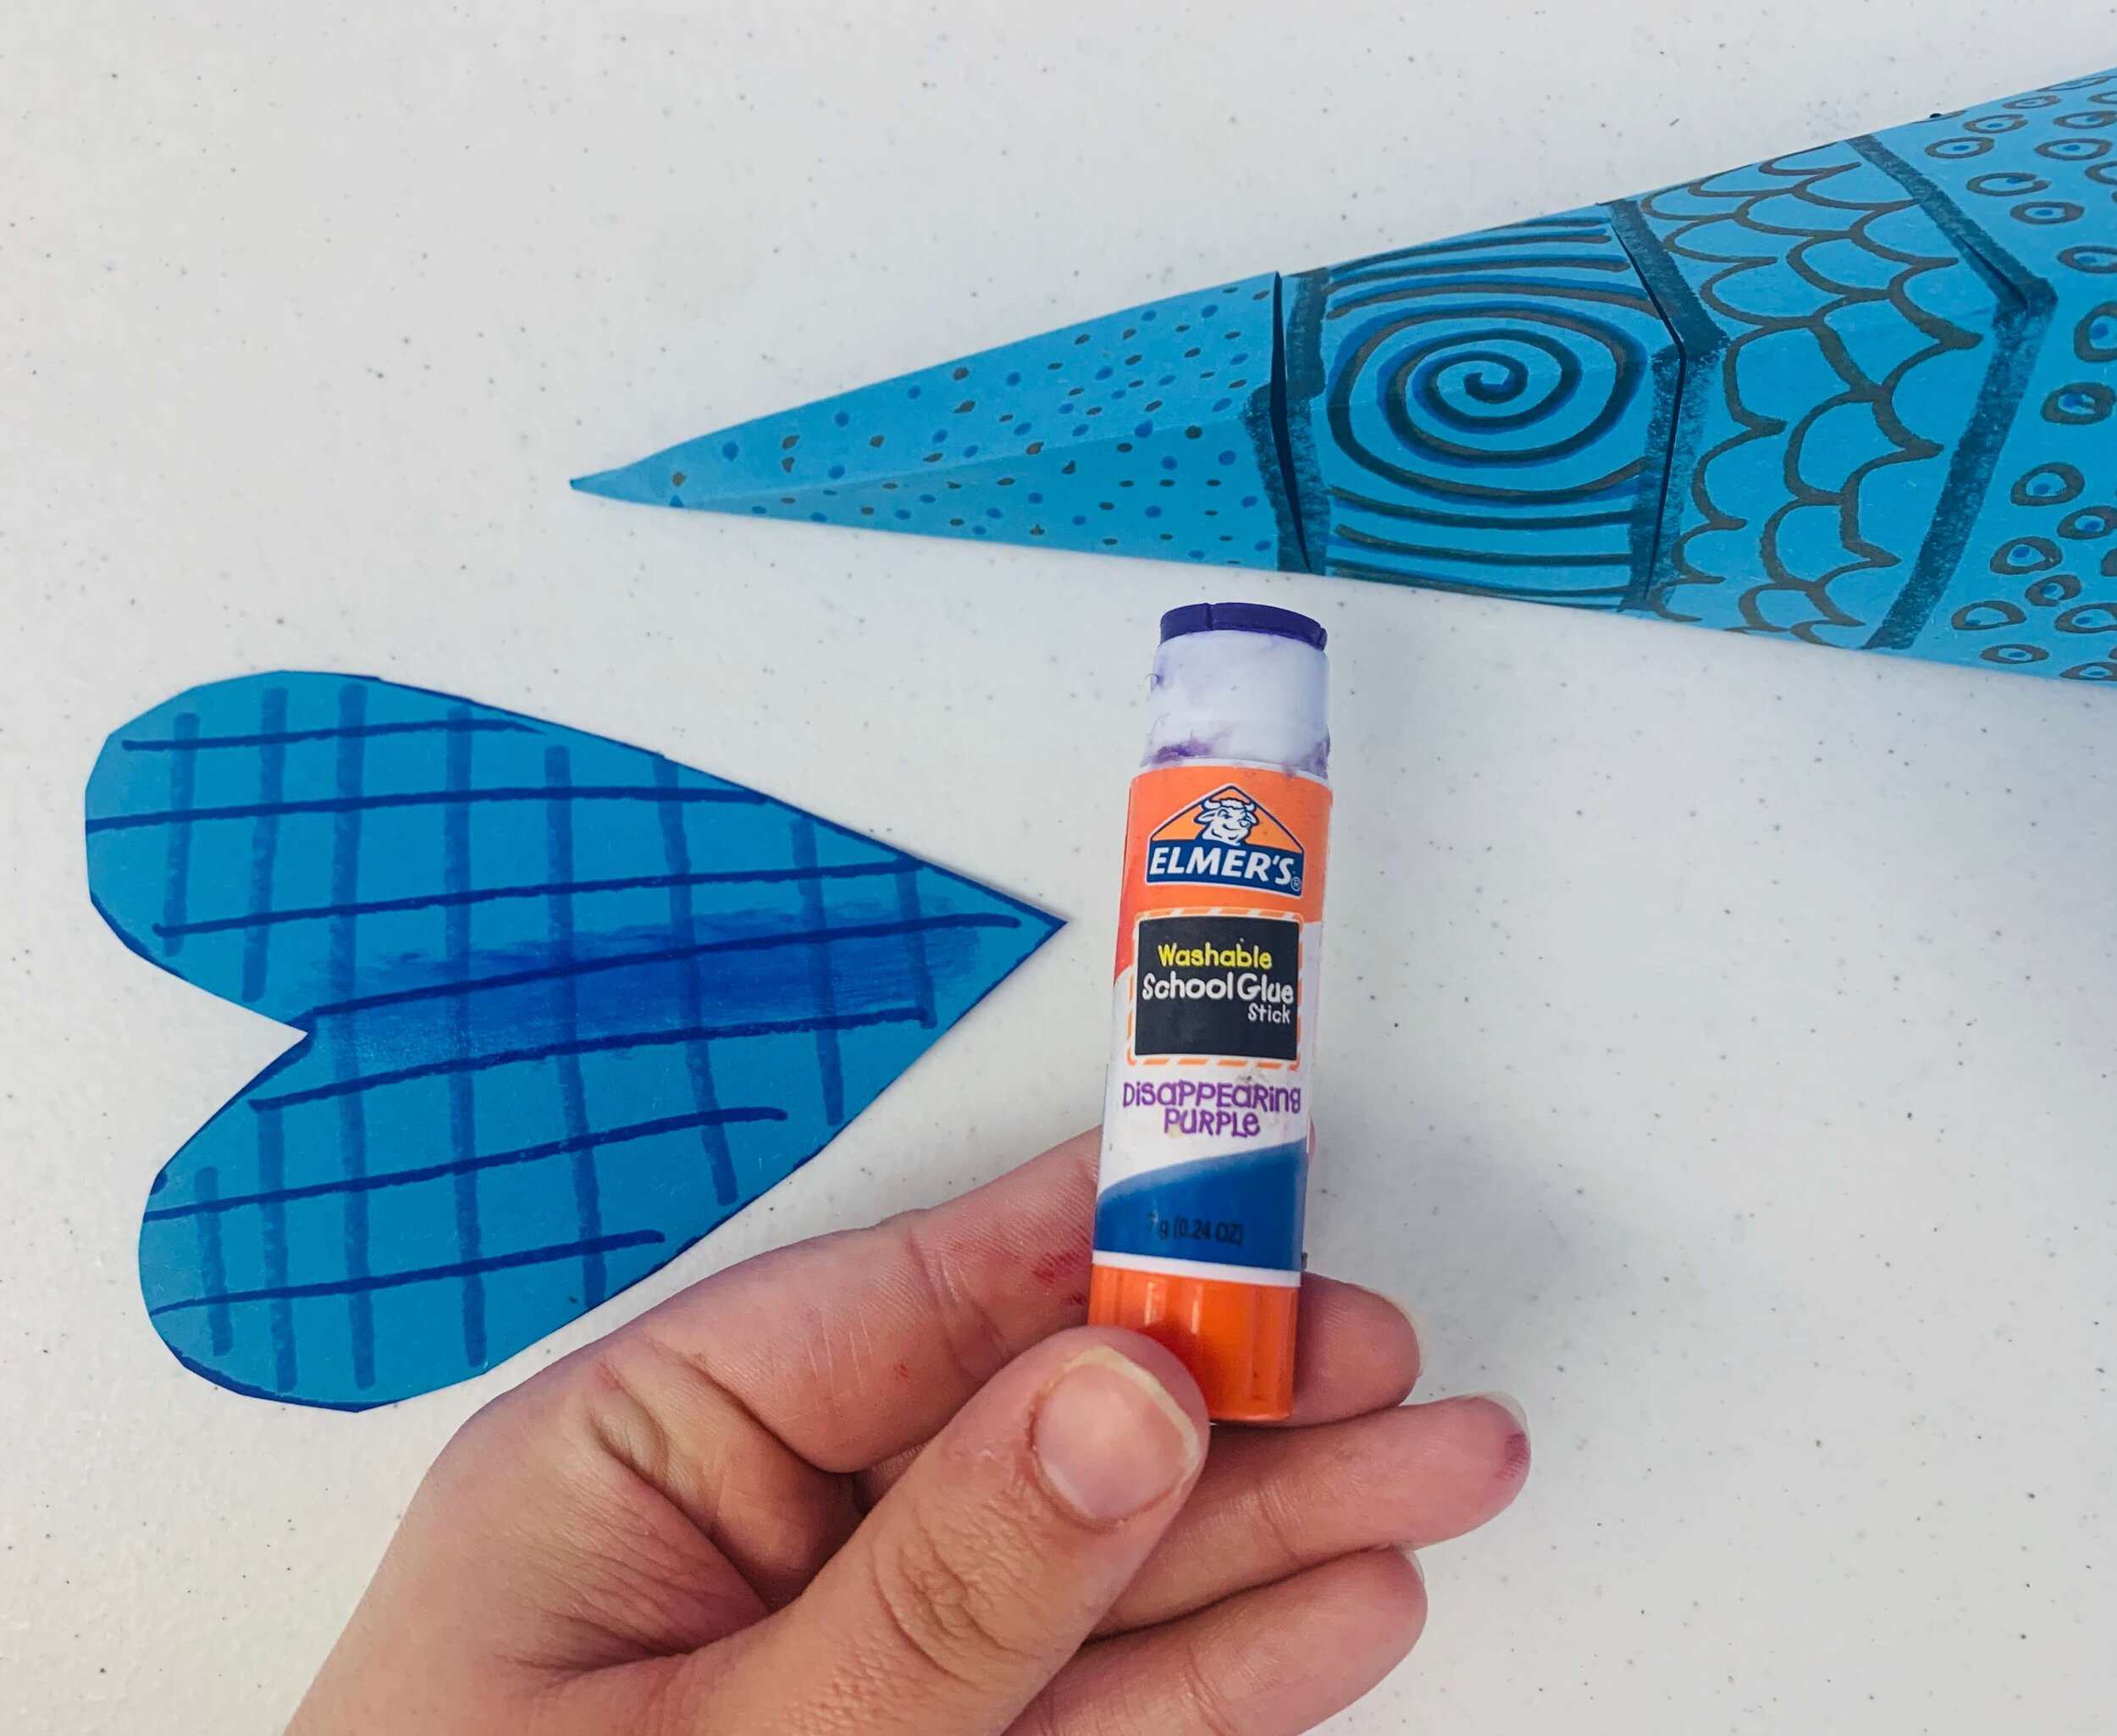
One full size heart will be glued to the back. Apply a line of glue right down the middle of the heart.
Press Down
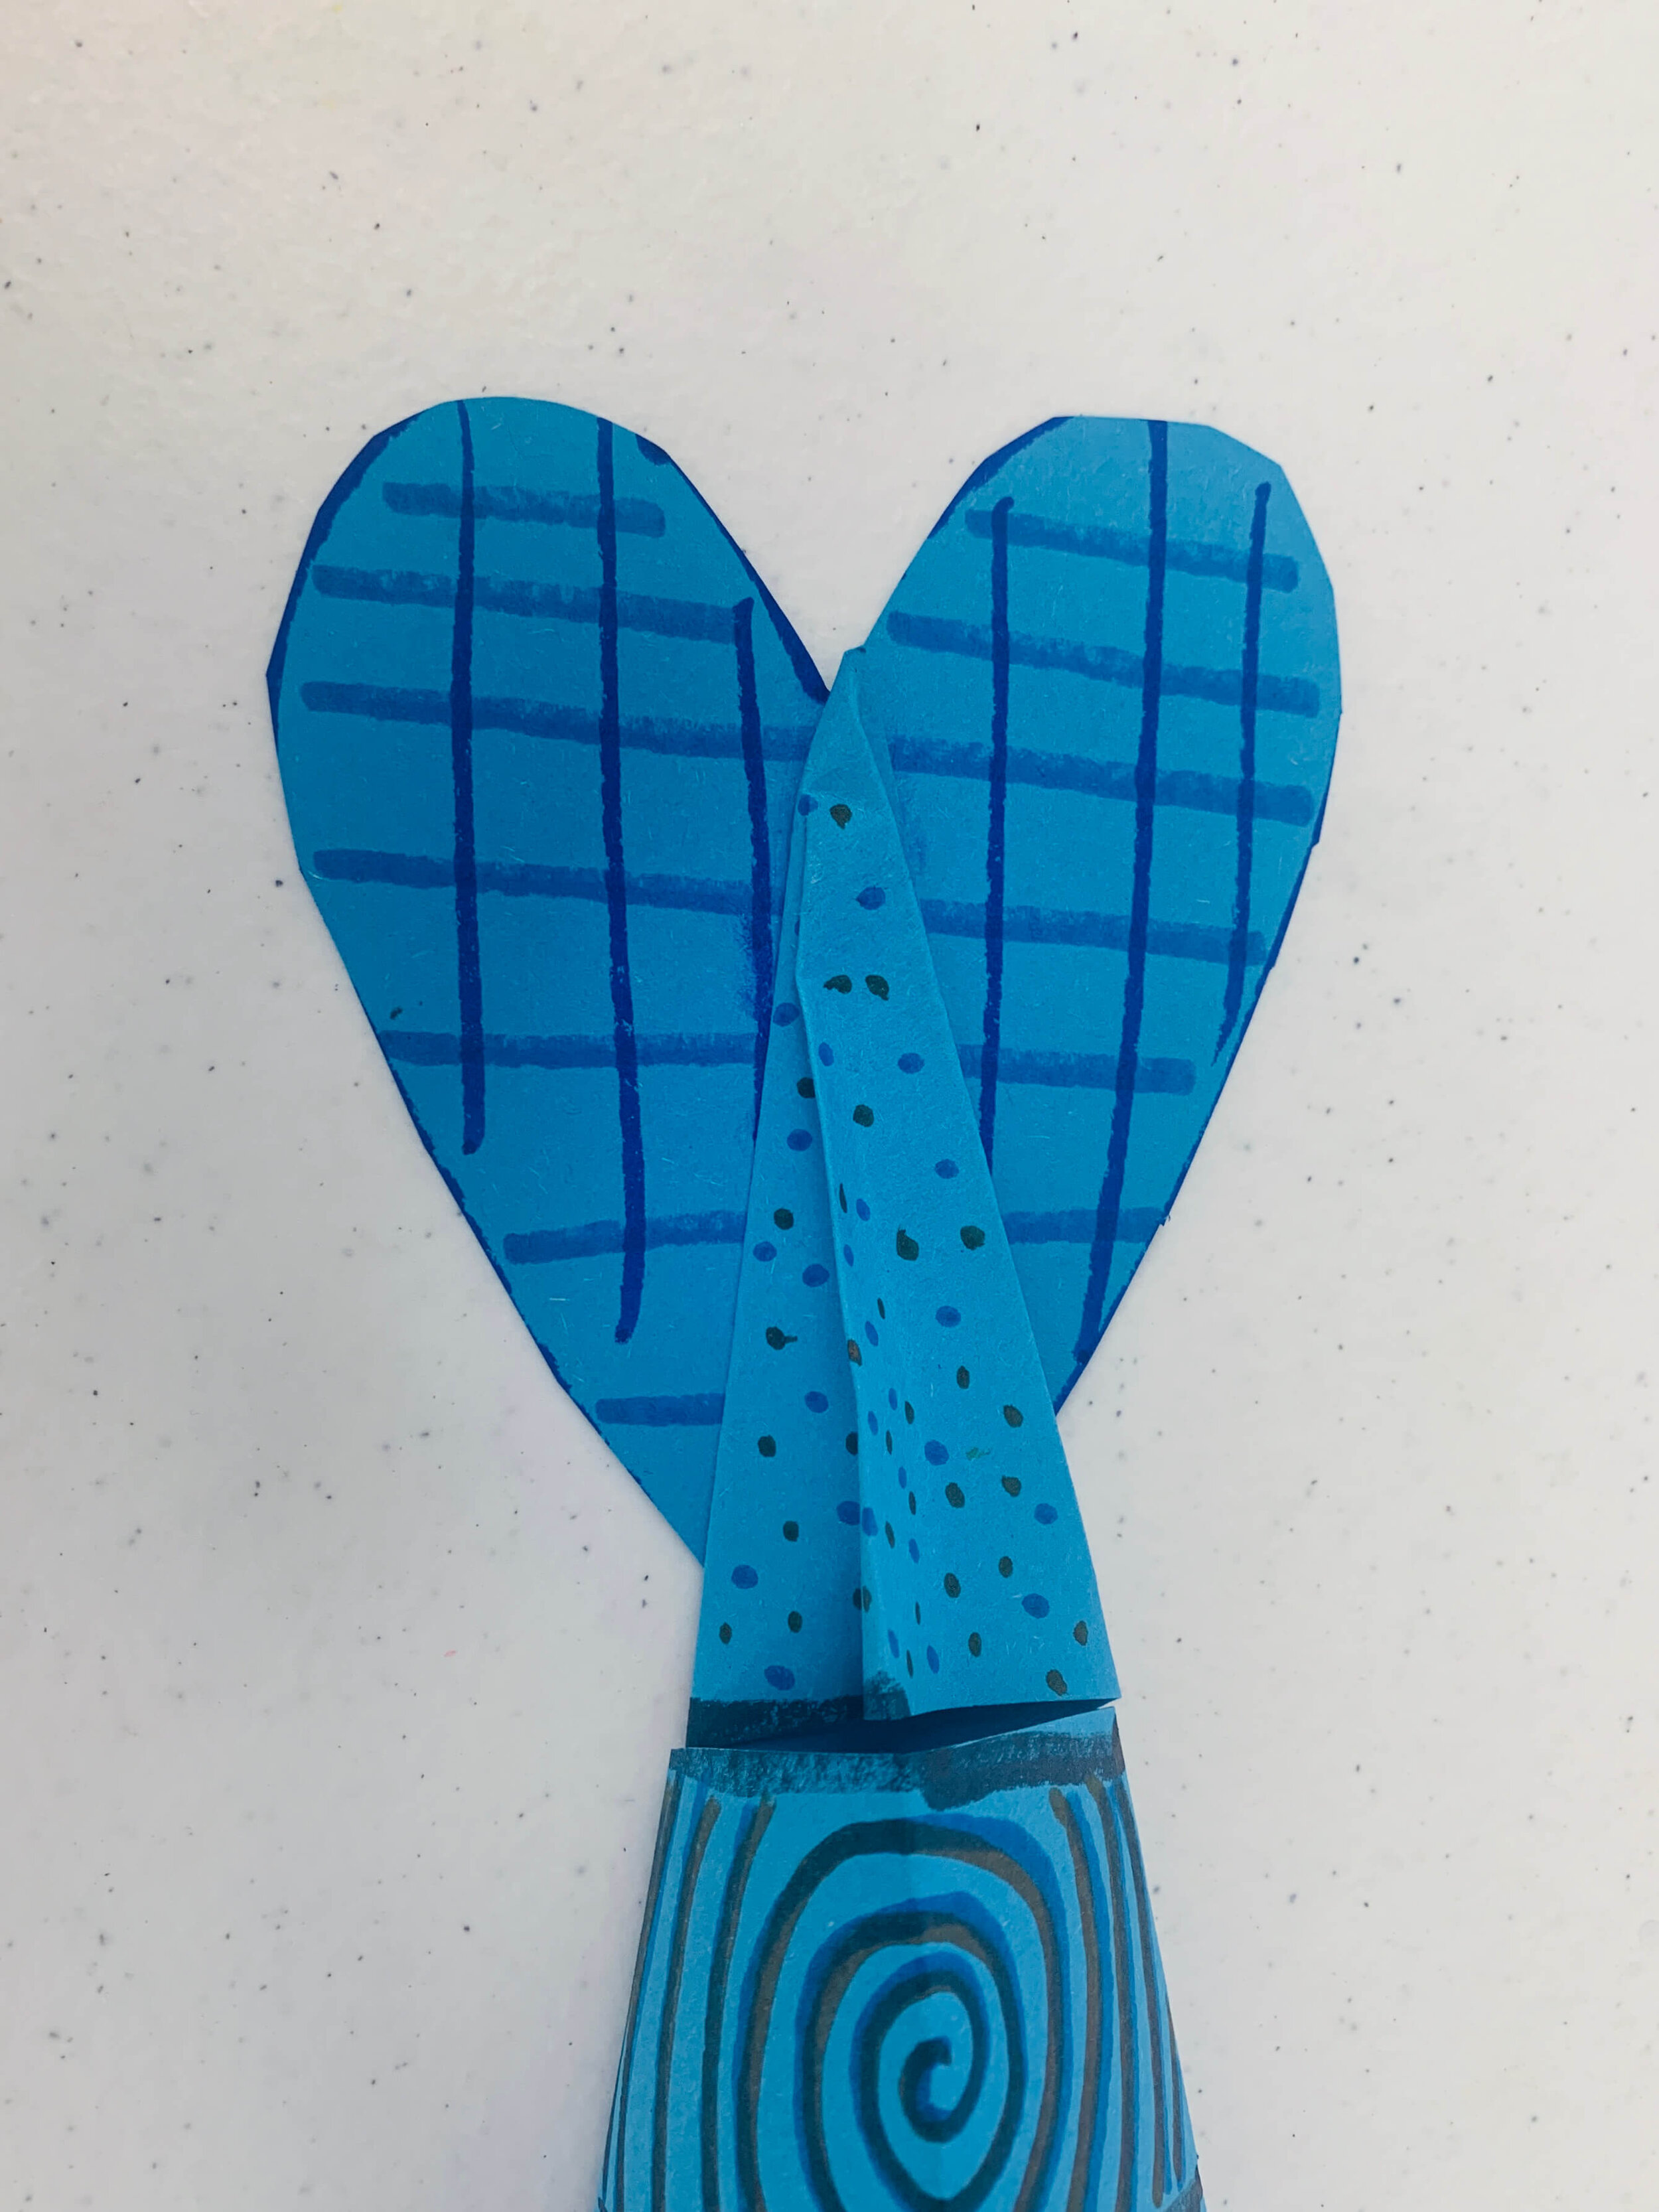
Press down on the back of the tail so the heart sticks.
Cut In Half
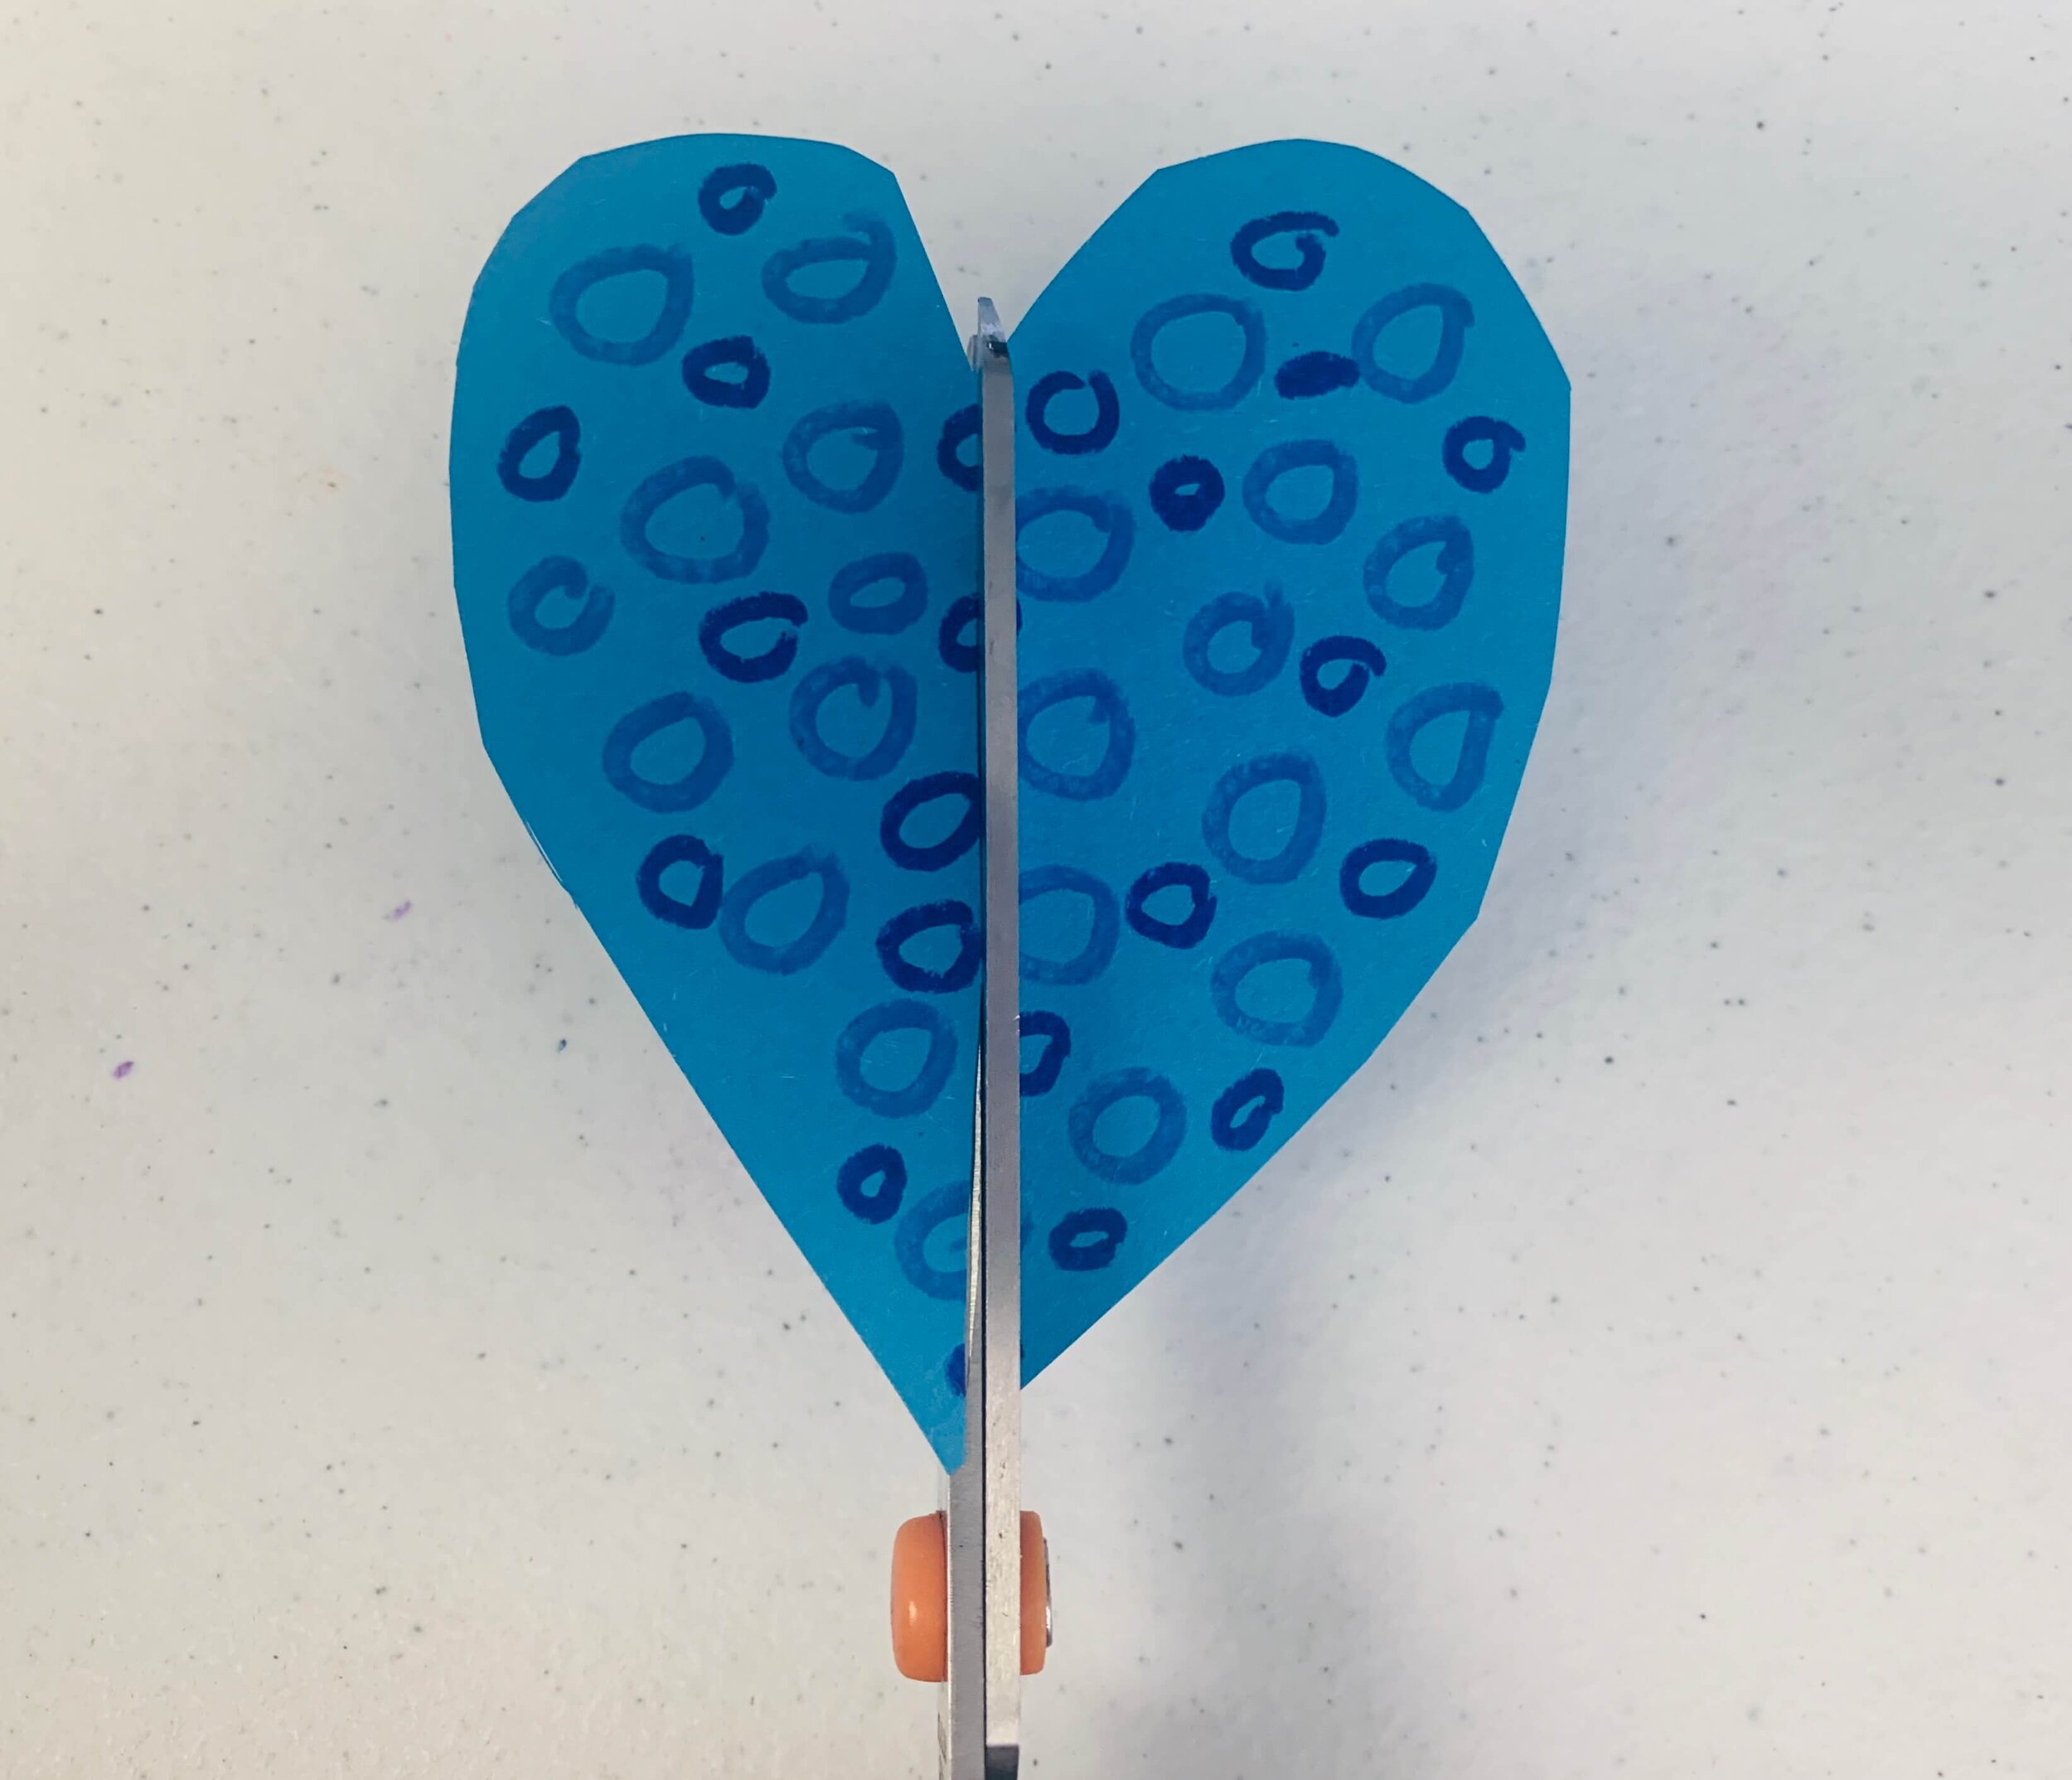
Cut the second heart in half. This will create the two pectoral fins.
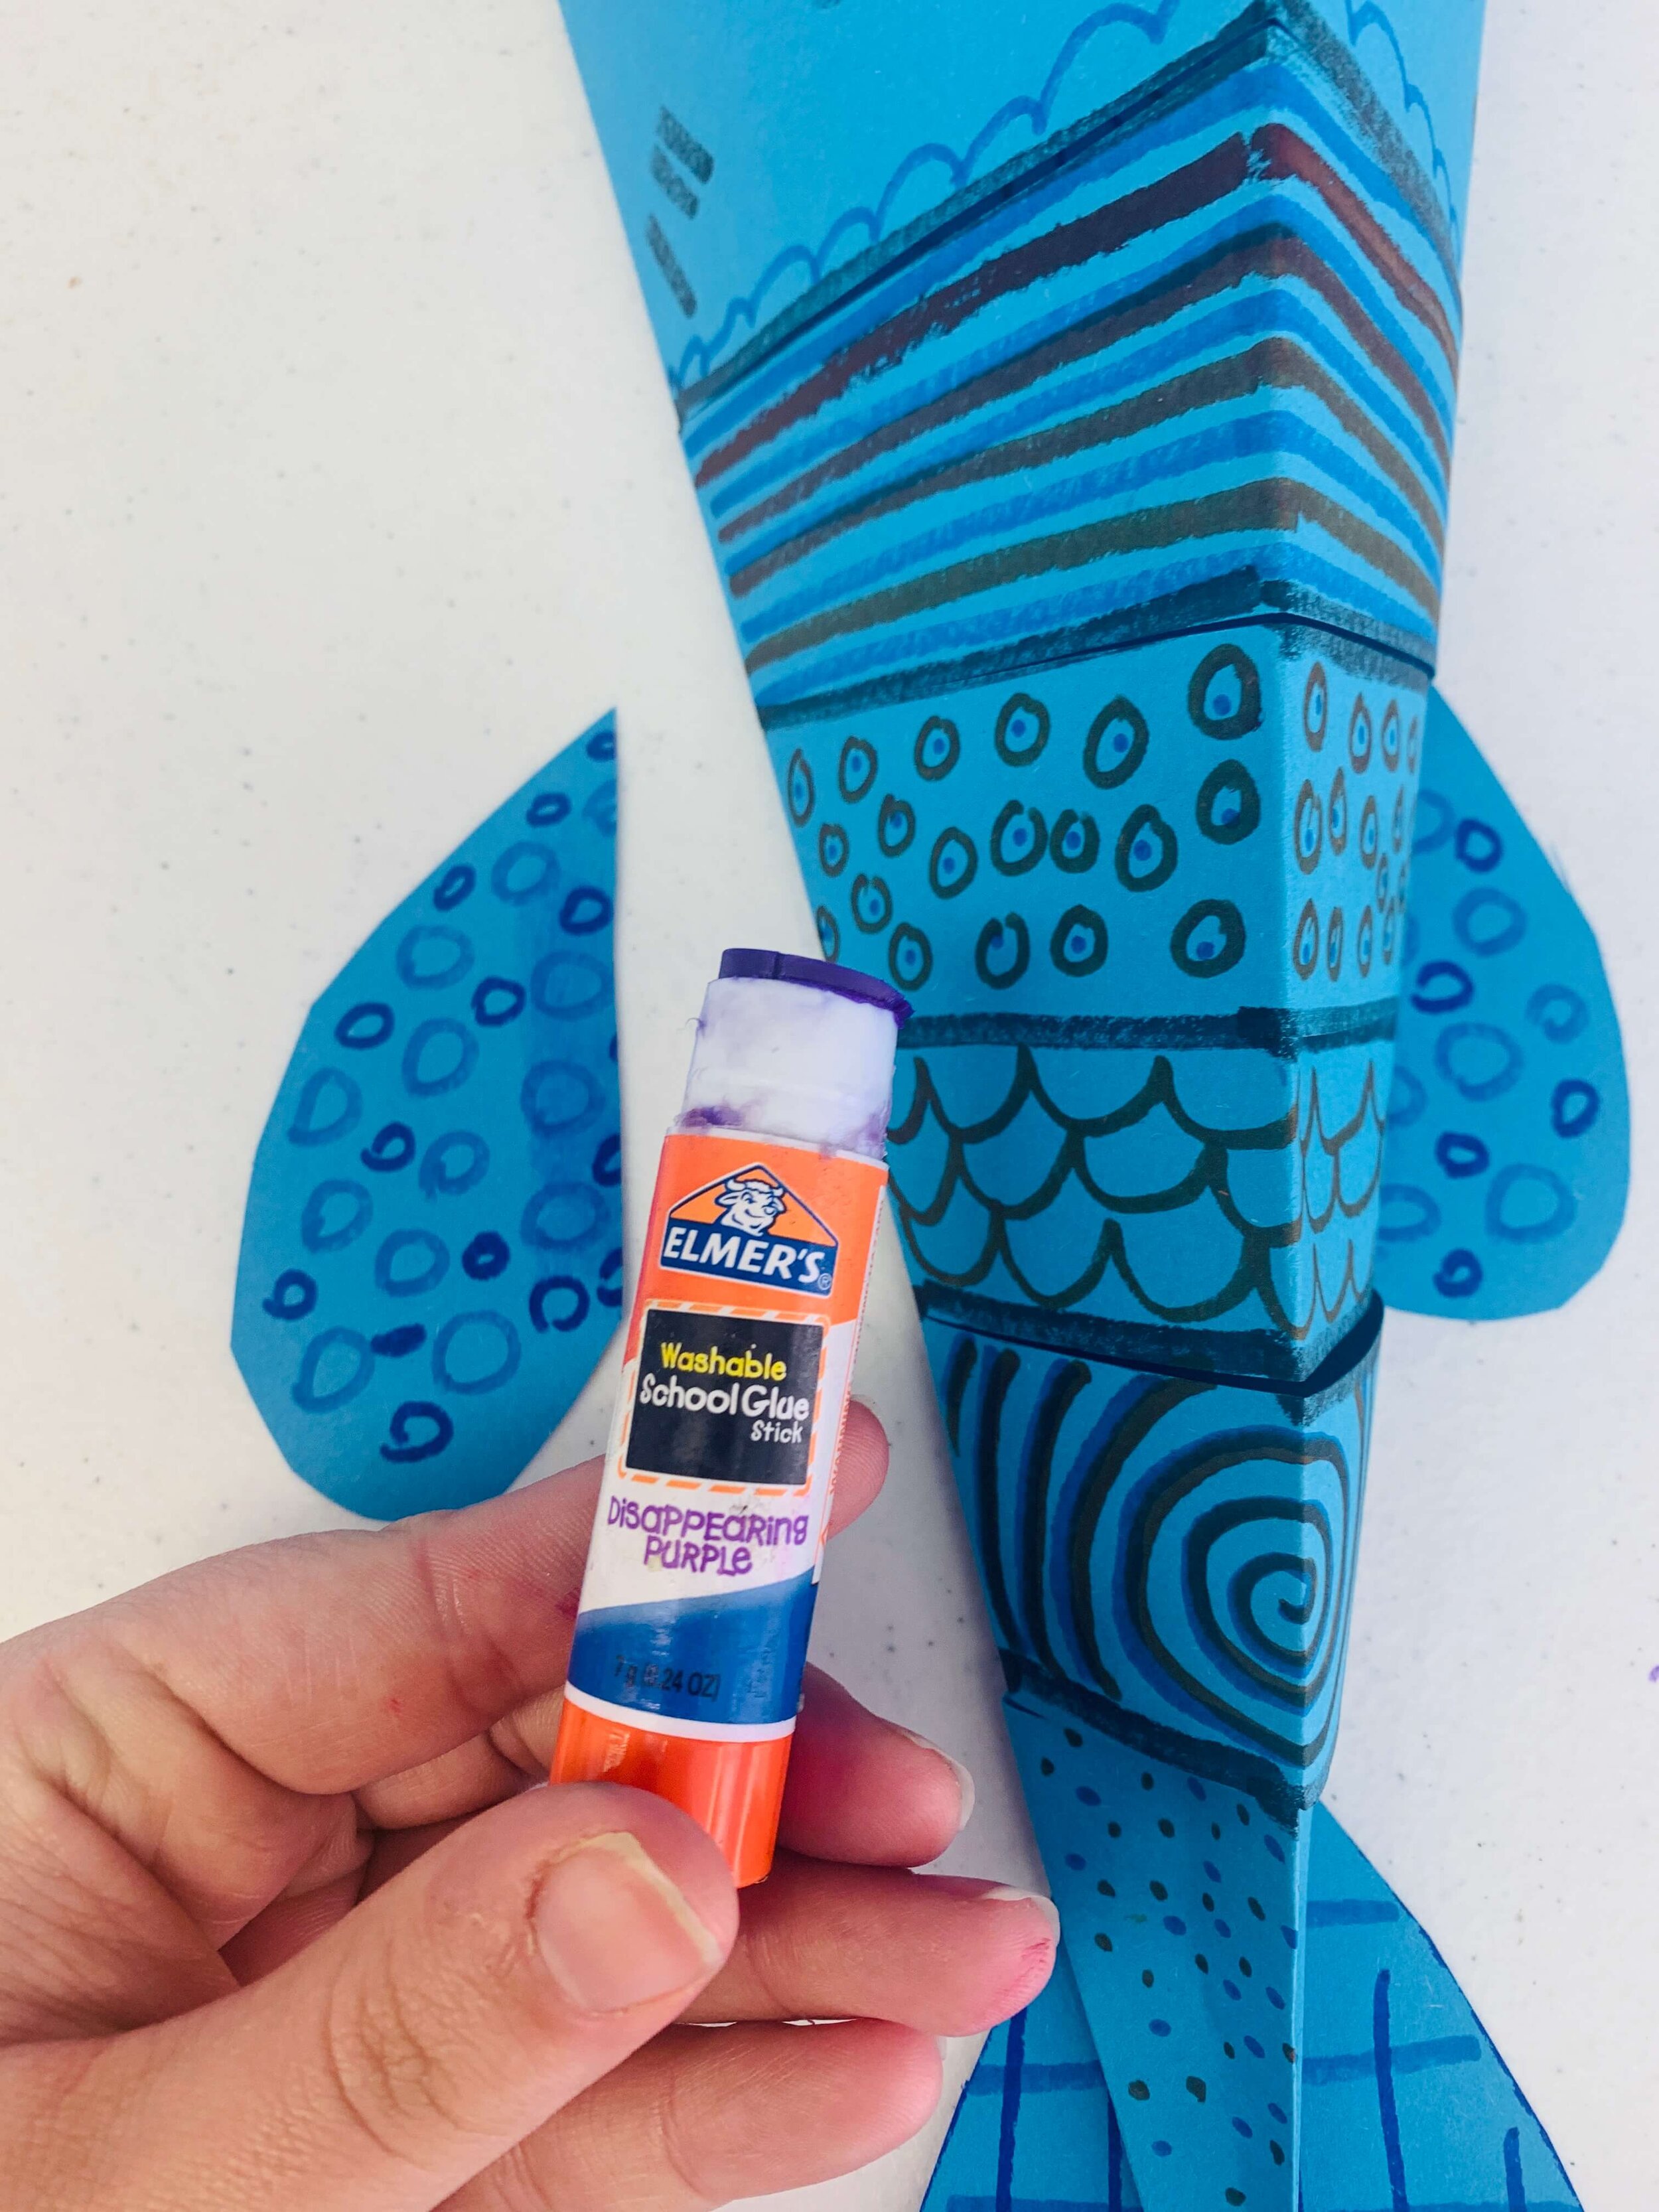
Glue
Glue one to one side and one to the other. I usually slide them under the body, put my hand on the inside of the mouth and press down.
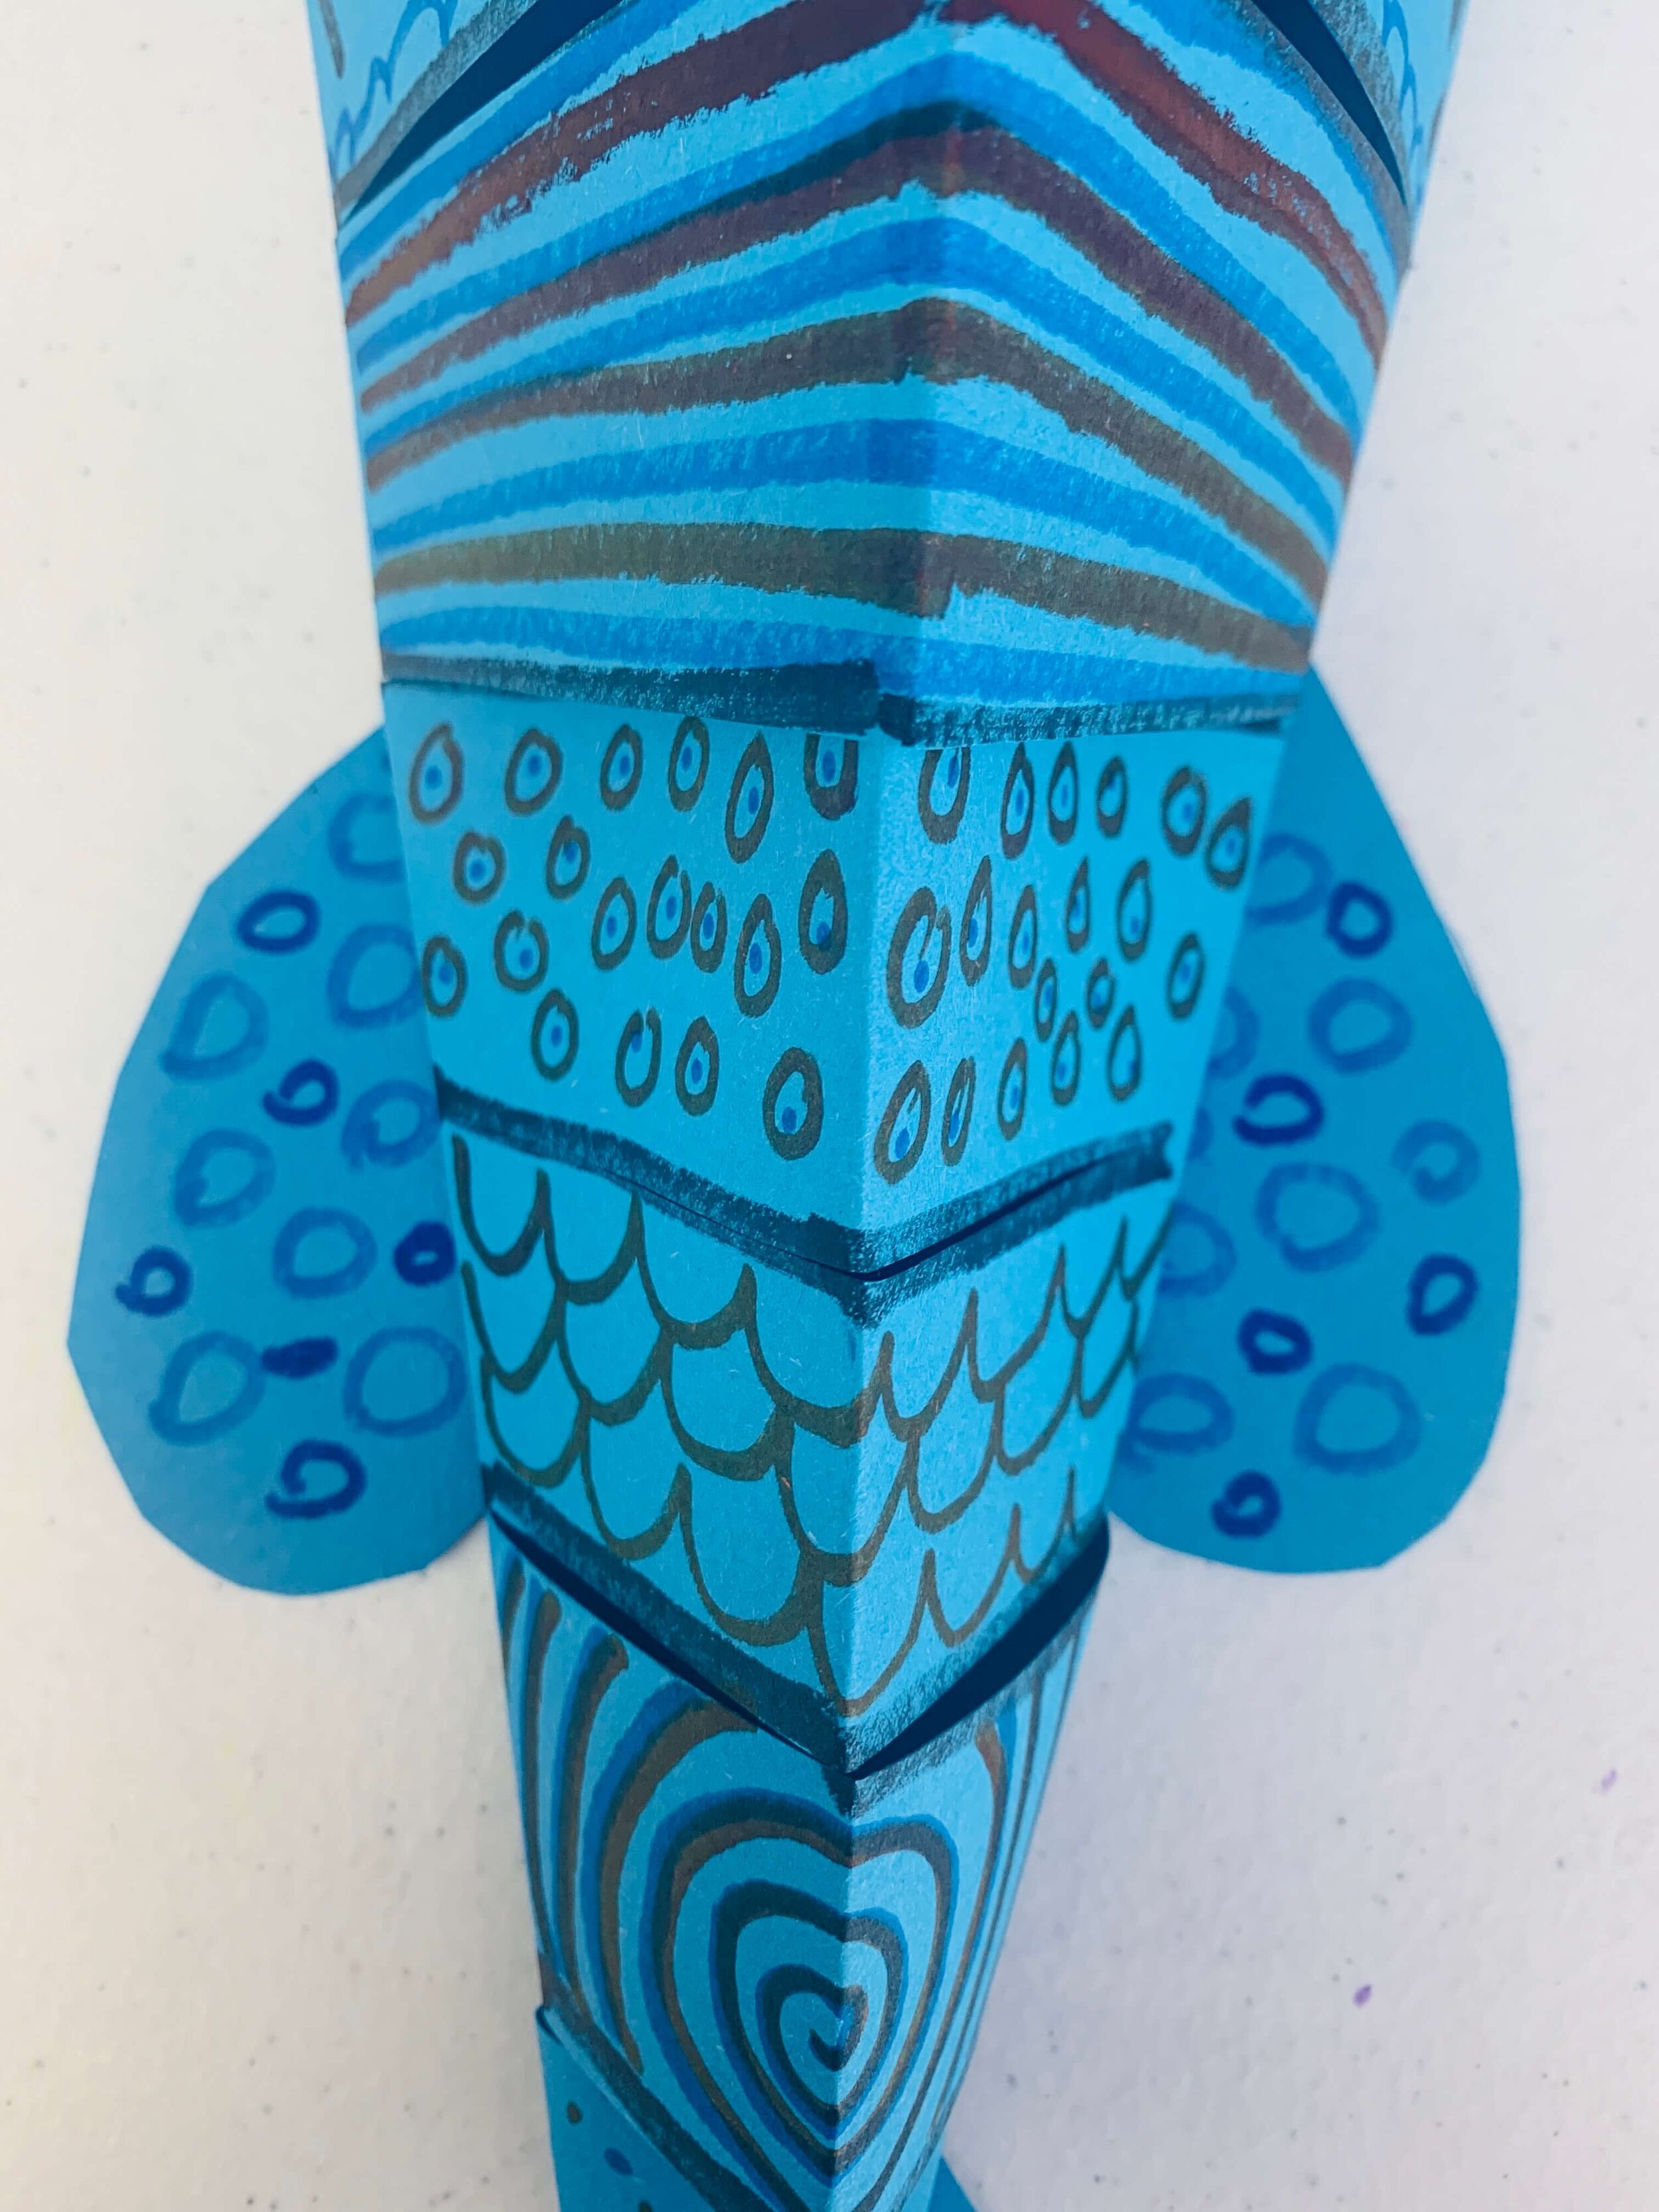
Correct!
It should look like this.
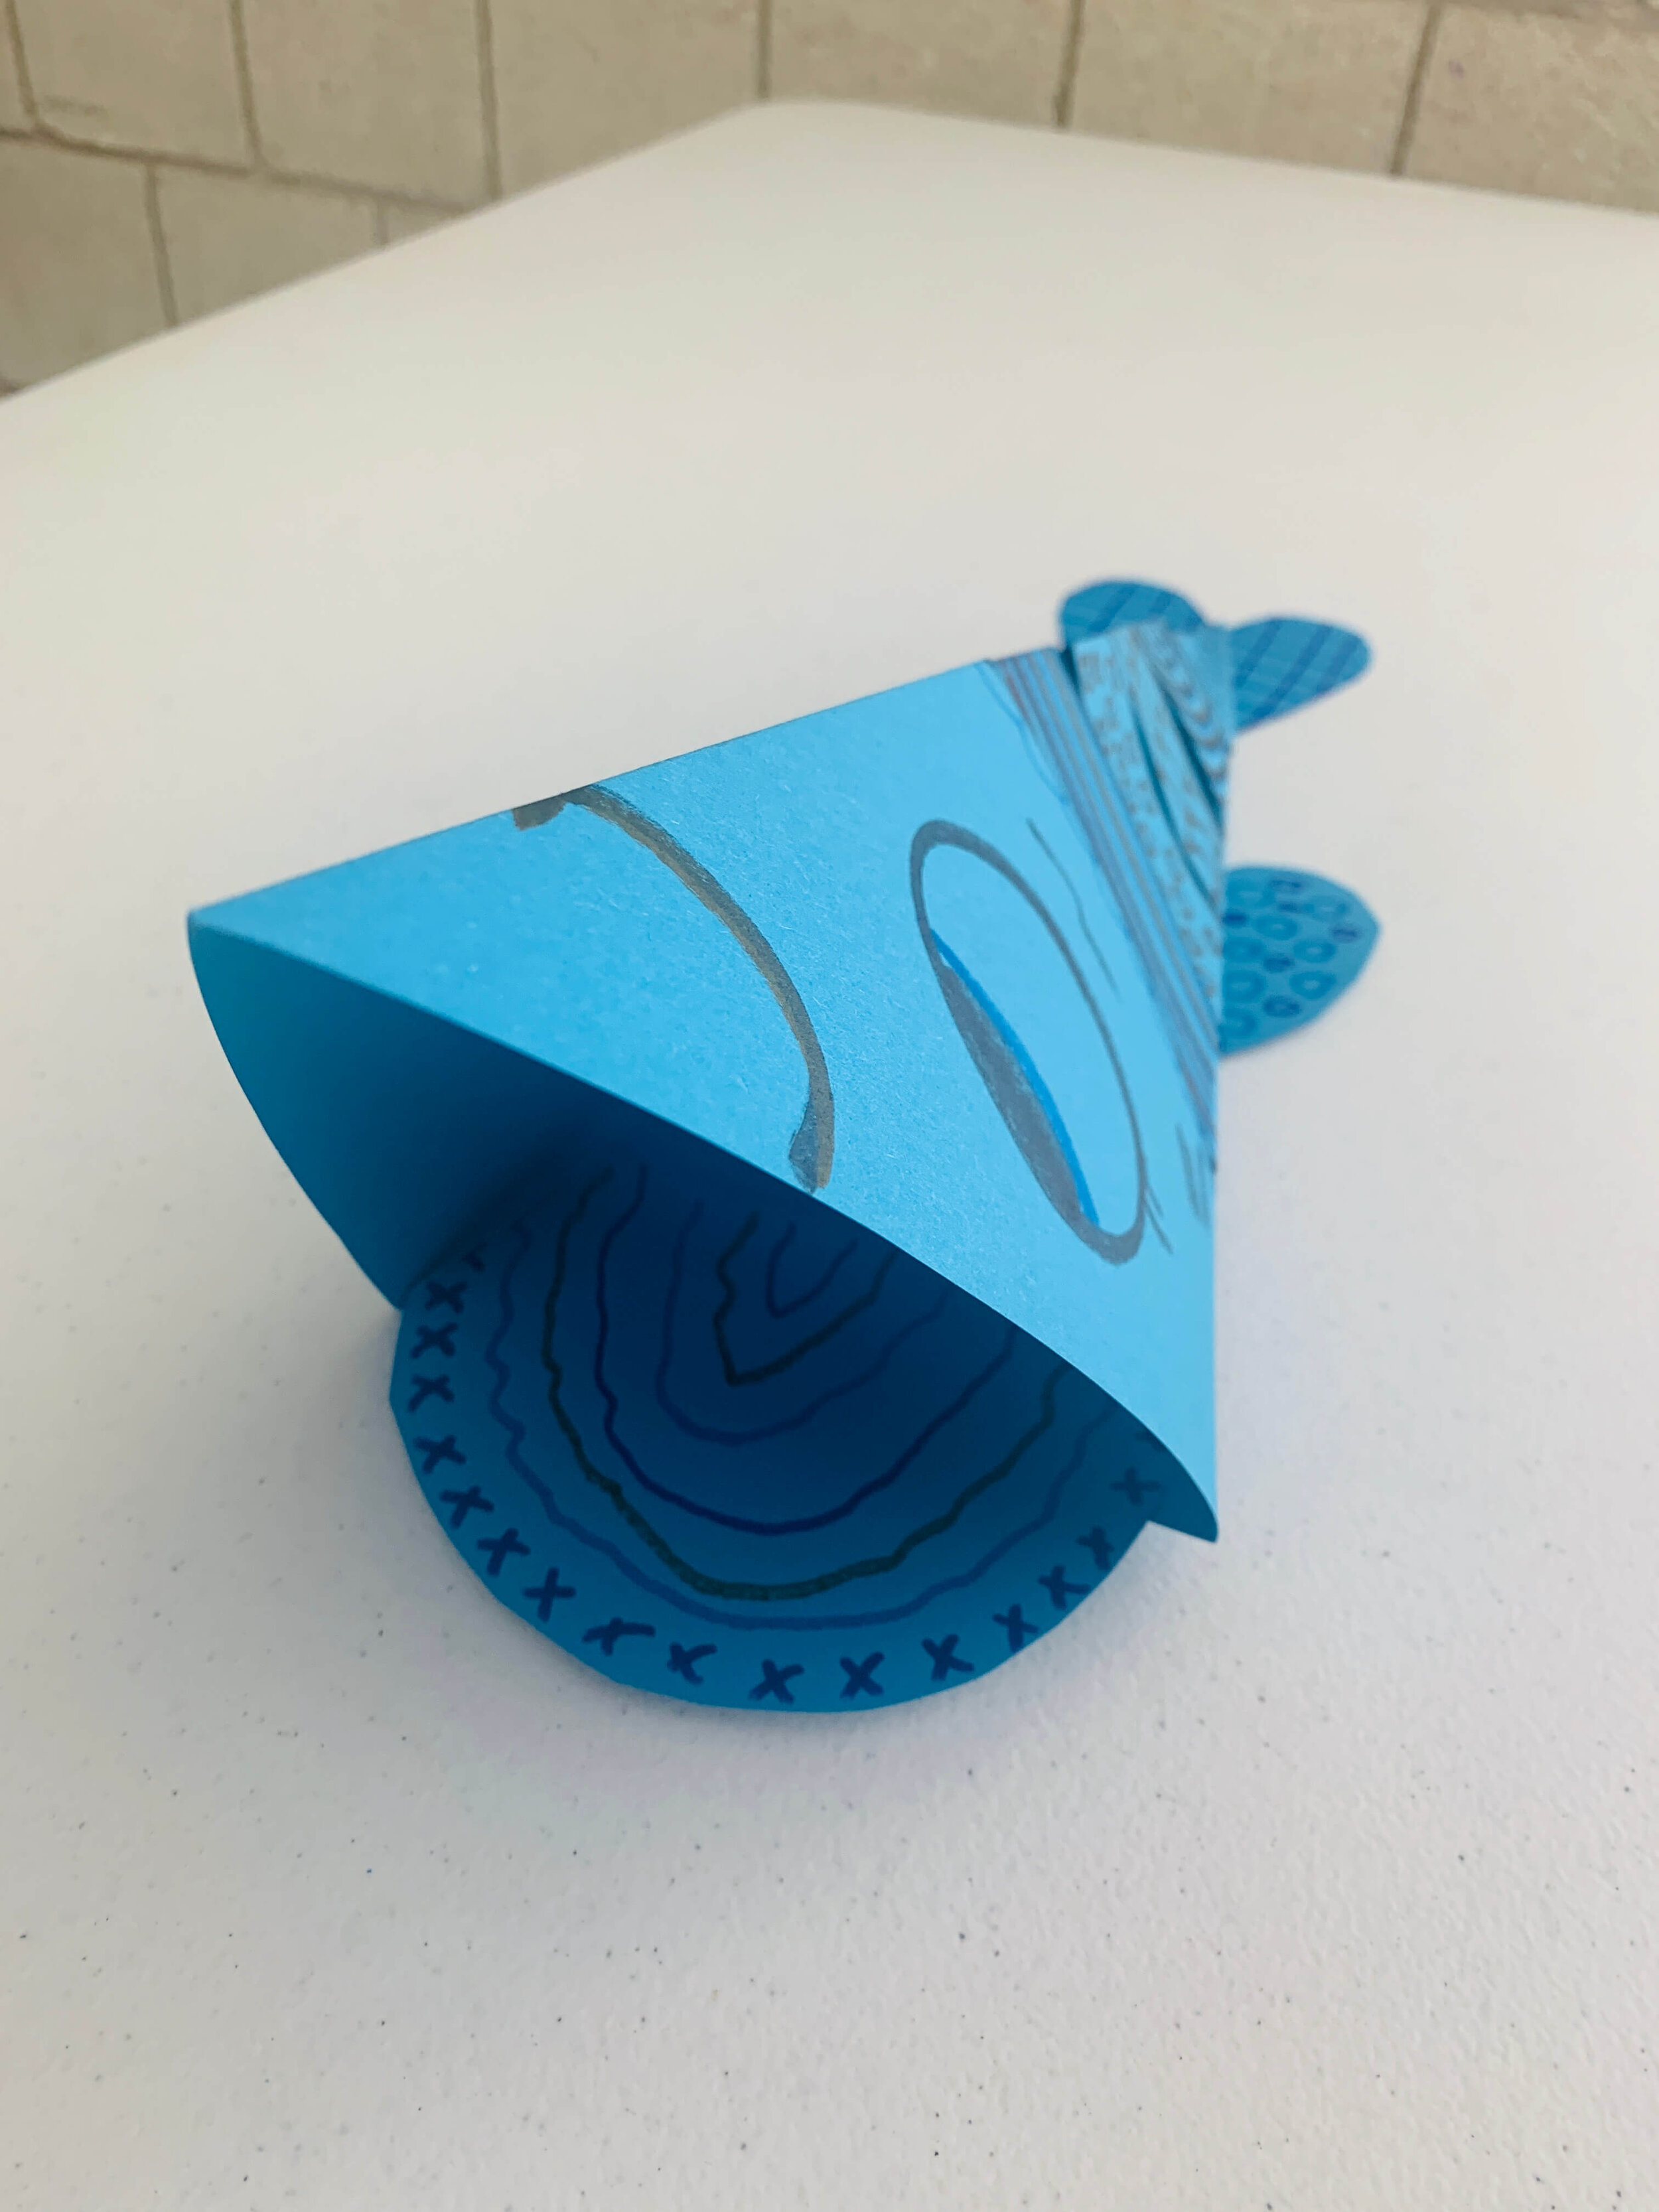
Add More Details
If you want to make actual teeth, a dorsal fin, or any other add on details this is the time to do that. You will be surprised with what kids want to add on their fish. Let them explore.
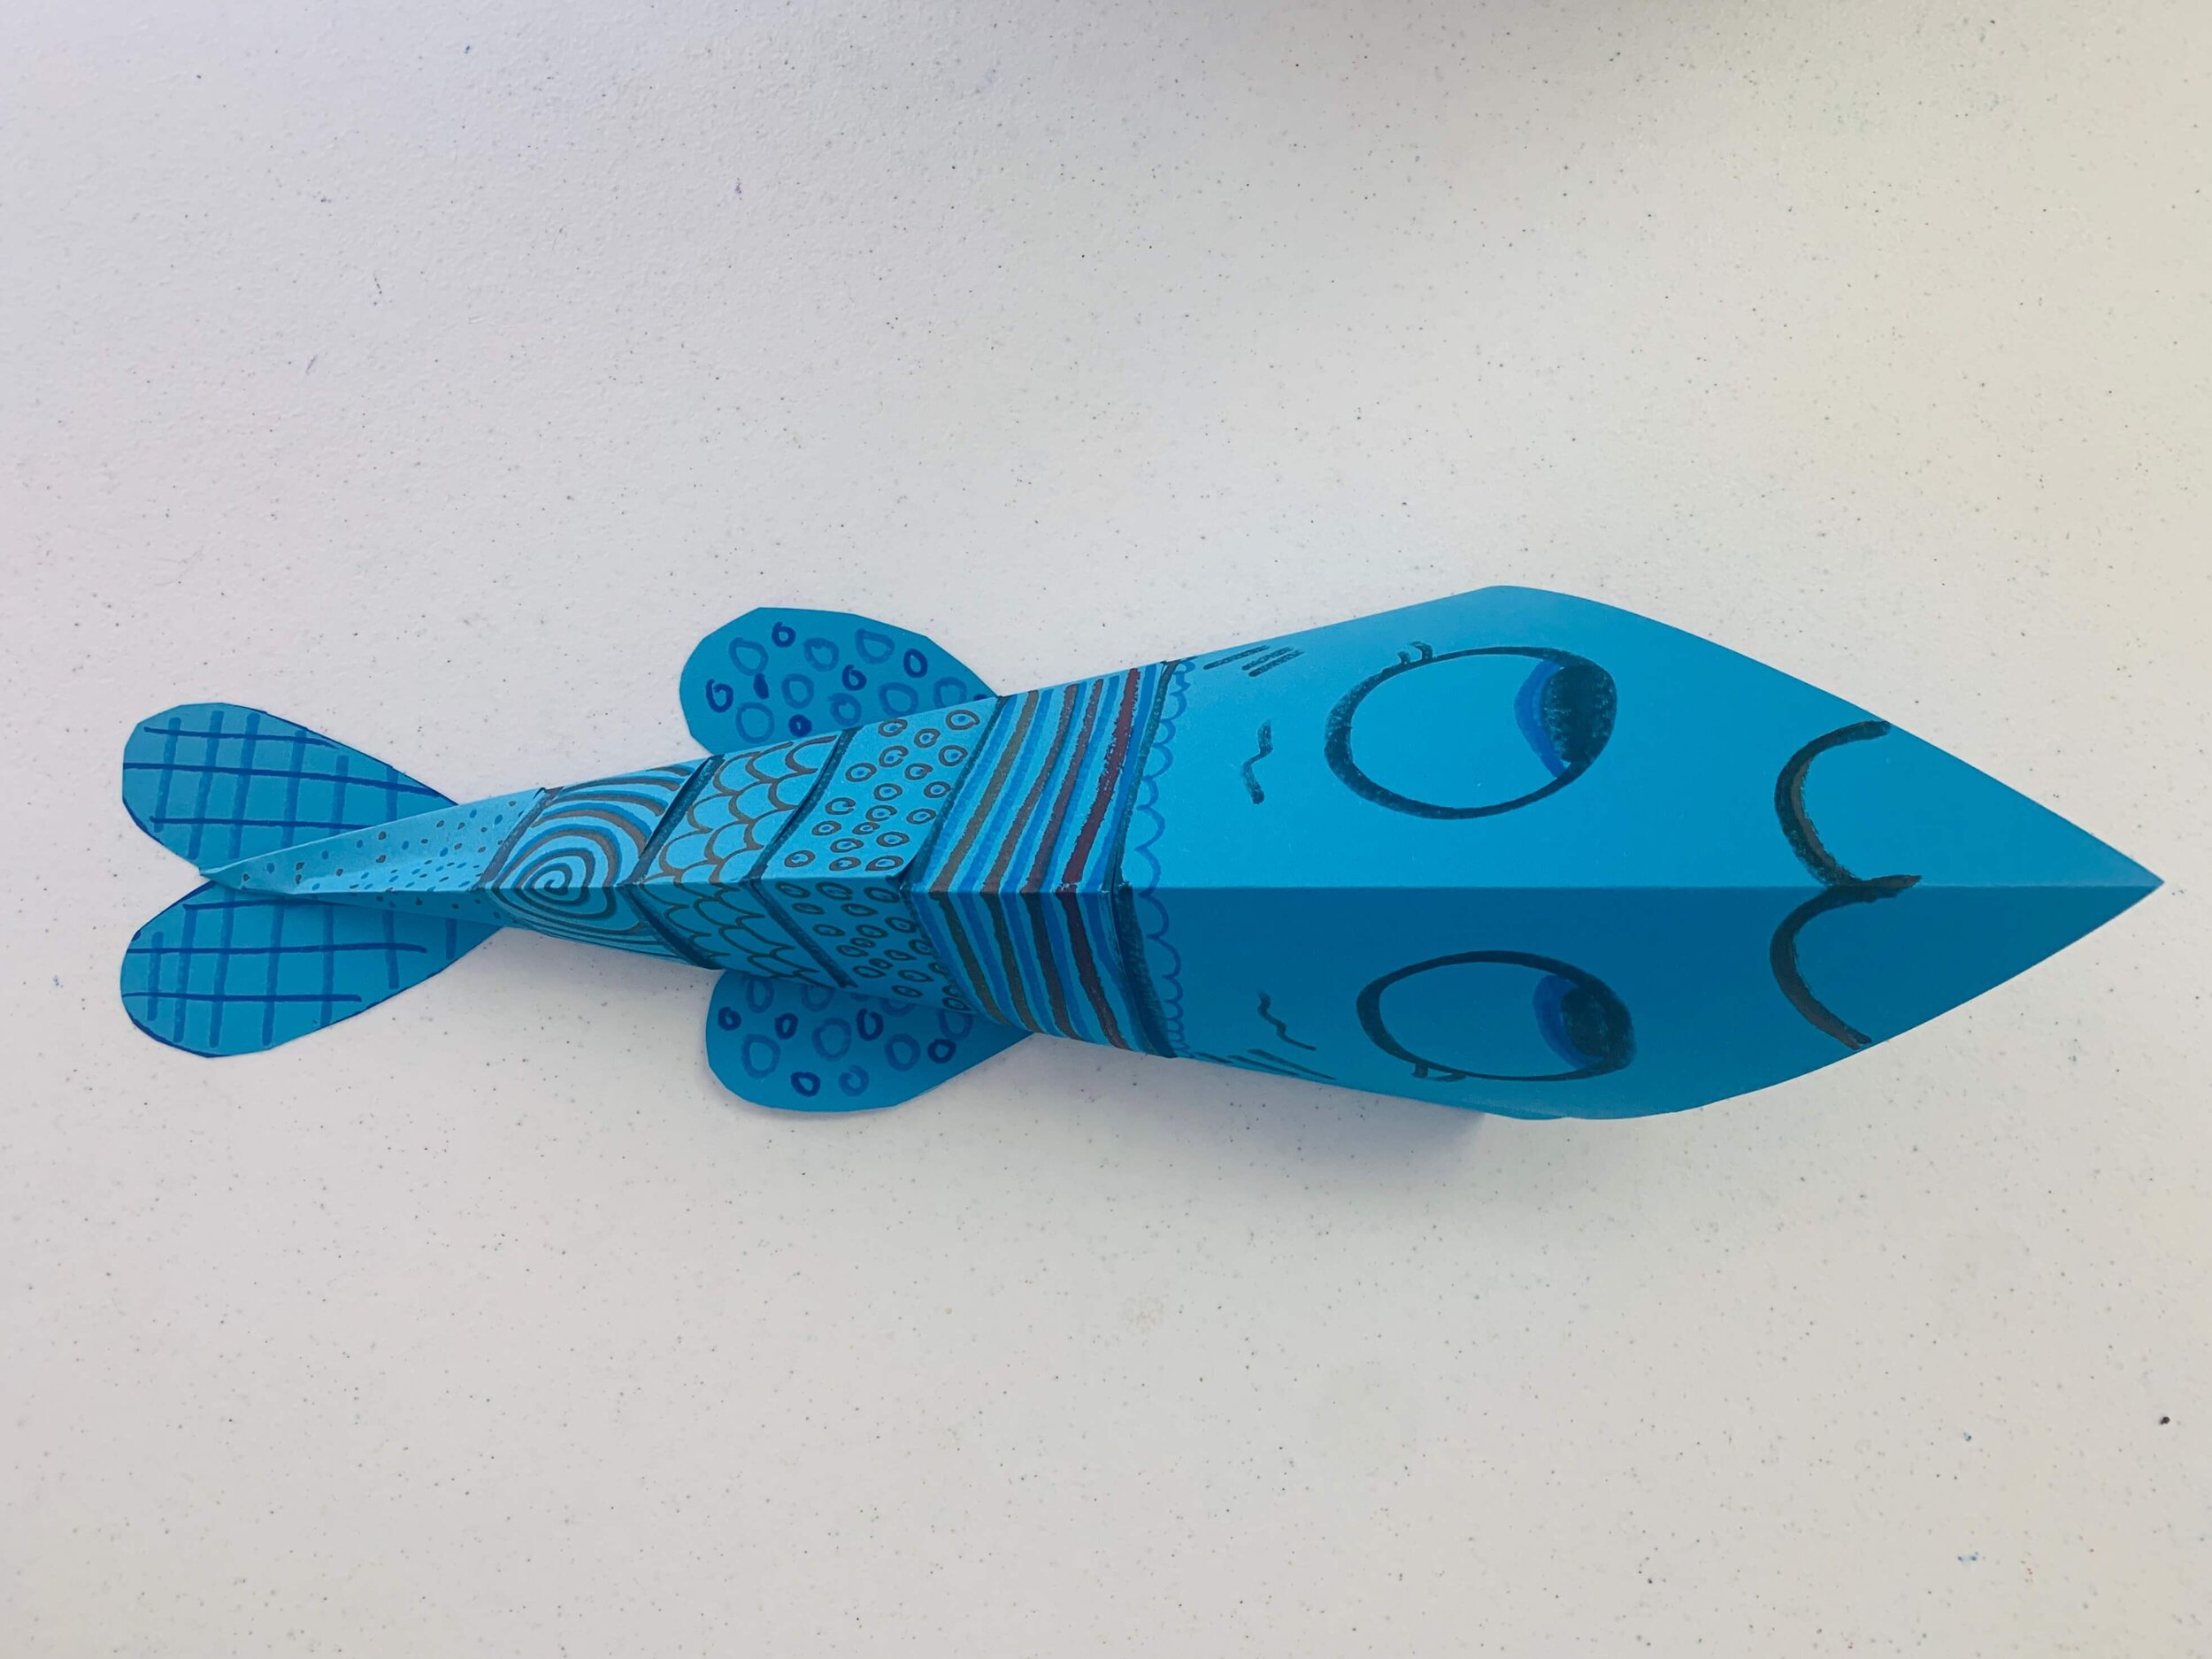
Finished!
This is the final result. I hope you all enjoyed this project. Let me know how it went!
